Table of Contents
Advertisement
Quick Links
Advertisement
Table of Contents

Related Manuals for Casablanca Brescia Casablanca Brescia Gallery Edition


Summary of Contents for Casablanca Brescia Casablanca Brescia Gallery Edition
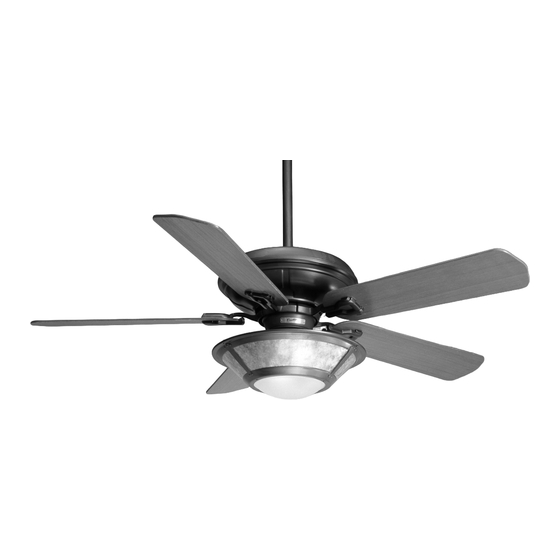
- Page 1 ™ RESCIA ALLERY DITION ’ WNER ANUAL...
-
Page 2: Before You Start
• This fan is designed to be installed on an existing electrical outlet box. The outlet box must be UL Listed for ceiling fan installations, if it is not, a new box must be installed. Casablanca extension poles are available for sloped or high ceiling installations. -
Page 3: Sloped Ceiling Installations
MOUNTING RECOMMENDATIONS Before mounting your Casablanca fan, read the following helpful recommendations. The location of the fan, air circulation, and fan size are all important factors to consider before installation. Location Ceiling fans have practical uses in almost every room in your home. We suggest you follow these mount- ing recommendations as you decide where to install your Casablanca fan. -
Page 4: Preparation Instructions
PREPARATION INSTRUCTIONS Unpacking: Before assembling and installing your ceiling fan, remove all parts from the shipping cartons and check them against the parts listed here. Before discarding packaging material, be certain that all parts have been removed. ALLEN SET SCREW ⁄... -
Page 5: Crossbar Mounting Bracket Installation
8-32 x 2 canopy screws and canopy lock washers. Tighten the screw firmly by hand only. Note: On sloped ceilings, align the canopy opening towards the top or room peak. CEILING FAN APPROVED OUTLET BOX CEILING WIRING CROSSBAR... -
Page 6: Canopy Electrical Connections
• WHITE wire from fan to white NEUTRAL wire in ceiling fixture outlet box. Secure with wire nut. • BLUE wire and BLACK power wire from fan to BLACK power wire in ceiling outlet box. Secure with wire nut. CANOPY HATCH INSTALLATION Step 5. -
Page 7: Blade Installation
INSTALLING THE BLADE/BLADE HOLDER TO FAN MOTOR Step 8. To reach the blade holder mounting holes in the fan motor the dummy switch housing must be removed. Take out the two 5-32 X ” screws secur- ing the dummy switch housing and remove. -
Page 8: Remove Shipping Blocks
Using the screwdriver, tighten securely by hand only. Your Brescia fan is equipped with a fly- wheel that allows for both 4 and 5 blade installation. The screw holes sur- rounded by squares are for 4 blade... - Page 9 Connect in this order: • White wire from fan to white wire of light fixture. Secure with wire nut. • Black wire from fan to black wire of light fixture.
-
Page 10: Fan Controls
CAUTION! TO REDUCE THE RISK OF FIRE USE MAX TWO 100W A15 INCANDESCENT LIGHT BULBS. You may now proceed to the fan control system for your fan. For Inteli•Touch (wall control) operation, please see the instructions on Page 11. RESCIA... - Page 11 Step A5! INSTALLING THE SWITCH HOUSING ASSEMBLY Step A2. Attach the two (2) 5-32 X switch housing screws removed in Step 8 (on Page 6) to fan motor as shown, leav- ⁄ " space for the switch housing installation.
- Page 12 The wall control installs in the same manner as an ordinary light switch, using an existing junction box and wiring. This controller is designed to signal the fan microcomputer as well as perform normal switching operations. For this reason the following precautions must be observed: 1.
-
Page 13: Automatic Demonstration Program
It is also used to exit or enter additional programs. POWER must be left on to retain a previously set fan speed or light level. INTELI•TOUCH OPERATION There are six individual speed settings for the fan; each speed is indicated by an audible tone of increasing pitch. - Page 14 3. Immediately operate the buttons in the following sequence: 4. The fan controller will respond with three descending tones. A timer is now initiated and the fan will reduce one speed for each two-hour interval. The fan will not, however, descend below the second lowest speed.
-
Page 15: Troubleshooting
WHEN AC POWER IS TURNED ON FOR THE FIRST TIME, THE LIGHTS OPERATE NORMALLY, BUT W-32 WALL CONTROL OPERATION IS REVERSED: FAN BUTTON OPERATES THE LIGHTS; LIGHT BUTTON OPERATES THE FAN: Reverse the 2 black and white striped wire connections. -
Page 16: Mounting Parts
WARNING: Use of batteries other than non-leak sealed alkaline in the remote control will void the warranty and can destroy the unit. Note: When the remote is in the low battery mode the fan may not respond to control commands correctly even though the fan may be running. -
Page 17: Fan Operation
The Comfort•Touch fan is controlled by the remote control. The fan is turned on and off by alternate pushes of the large right hand button. As with all button operations, an audio tone sounds with each push. With the fan on, the control display will indicate an up or down moving arrow that shows direction and places a box around the operating speed. -
Page 18: Reverse Feature
The words 'AUTO SPEED' show on the display. Set the fan speed to the speed at which you are most comfortable. Once set, the fan will increase or decrease by one speed for each 1.5 F increase or decrease in temperature. - Page 19 When two controls are used for the same fan, we suggest that both controls be set for the same features (AUTO-SPEED, SAVER, etc.) so that performance remains the same as you move from one to the other. Re- member, the fan will only respond to updates from the control that was last operated manually.
- Page 20 FAN DOES NOT RESPOND TO REMOTE CONTROL: Power to fan is off; wrong remote being used; remote channel changed; fan receive SET channel changed; or fan antenna not receiving. See above; in locations with two or more fans in different rooms check that controllers are in right rooms;...
- Page 22 761 C • P , CA 91768 ORPORATE ENTER RIVE OMONA : 888-CASA-1ST (227-2178) www.CasablancaFanCo.com ©C 2001 C • U.S. P OPYRIGHT ASABLANCA OMPANY ATENT ENDING RINTED IN...
Need help?
Do you have a question about the Brescia Casablanca Brescia Gallery Edition and is the answer not in the manual?
Questions and answers