Table of Contents
Advertisement
Advertisement
Table of Contents

Related Manuals for Casablanca Le Grande


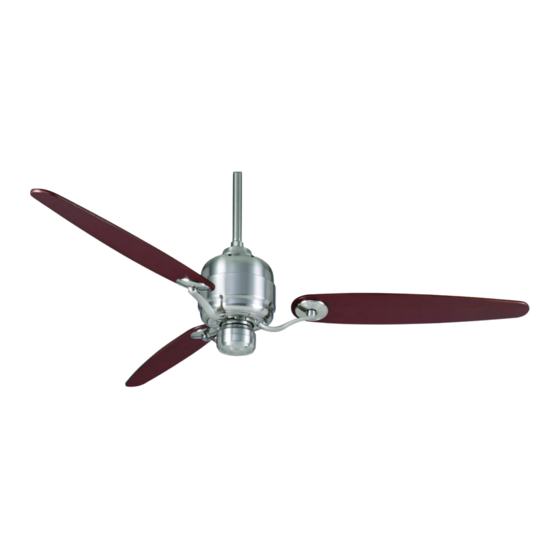
Summary of Contents for Casablanca Le Grande
-
Page 2: Before You Start
• This fan is designed to be installed on an existing electrical outlet box. The outlet box must be UL Listed for ceiling fan installations, if it is not, a new box must be installed. Casablanca extension poles are available for sloped or high ceiling installations. -
Page 3: Sloped Ceiling Installations
MOUNTING RECOMMENDATIONS Before mounting your Casablanca fan, read the following helpful recommendations. The location of the fan, air circulation, and fan size are all important factors to consider before installation. Location Ceiling fans have practical uses in almost every room in your home. We suggest you follow these mount- ing recommendations as you decide where to install your Casablanca fan. -
Page 4: Preparation Instructions
The fan carton contains the fan body, warranty card, owner's manual, and all the parts necessary to assemble and install your Casablanca ceiling fan. These parts are shown at the start of each installation section. Before you start, go through this Owner’s Manual and confirm that you have all the parts shown... -
Page 5: Crossbar Mounting Bracket Installation
CROSSBAR MOUNTING BRACKET CROSSBAR MOUNTING BRACKET INSTALLATION Proceed with installation as follows: Step 1. Route the wires from the ceiling outlet box through the crossbar mounting bracket center hole. Attach the bracket, with ground wire and ridges down, to the ceiling fixture out- let box with the mounting hardware included with the outlet box. -
Page 6: Canopy Electrical Connections
Step 2. Attach the canopy to the crossbar mount- ing bracket with three of the 8-32 x 2 canopy screws and canopy lock washers. Tighten the screw firmly by hand only. Note: On sloped ceilings, align the canopy opening towards the top or room peak. -
Page 7: Canopy Hatch Installation
CANOPY HATCH INSTALLATION Step 5. Tuck the wires into the canopy with the wire nuts pointed upwards, so that the WHITE and BLACK wires are on opposite sides of the canopy and all wires are clear of the canopy opening. Step 6. -
Page 8: Blade Installation
BLADE INSTALLATION Step 9. Attach the blade assembly to the motor using the screws provided. Tighten by hand only. BLADE SCREWS... -
Page 9: Installation
Twist a coin to unsnap the door A. Lift door away from control B and remove C. Changes or modifications not expressly ap- proved in writing by Casablanca Fan Co. may void the user’s authority to operate this equipment. INSTALLATION DRYWALL... - Page 10 Fan Control To start the fan. Press the selected speed button to run the fan at the desired speed. Low speed Medium speed High speed To turn off the fan. Press the FAN OFF Airflow Direction To reverse the airflow press the REVERSE button. Reverse operates at any speed whether fan is on or off.
-
Page 11: Troubleshooting
1-888-227-2178 TROUBLESHOOTING Never Lubricate this Fan! The precision motor at the heart of your Casablanca fan features sealed bearings that are lubricated for life. Do not attempt to oil the motor. Changing Light Bulbs Be sure to turn power to the fan OFF at the wall switch or circuit breaker before changing light bulbs. - Page 12 761 C • P , CA 91768 • T : 888-227-2178 ORPORATE ENTER RIVE OMONA ASABLANCA OMPANY ©C 2000 C • U.S. P OPYRIGHT ASABLANCA OMPANY ATENT ENDING RINTED IN...
Need help?
Do you have a question about the Le Grande and is the answer not in the manual?
Questions and answers