Table of Contents
Advertisement
Quick Links
Advertisement
Table of Contents

Related Manuals for Casablanca S3


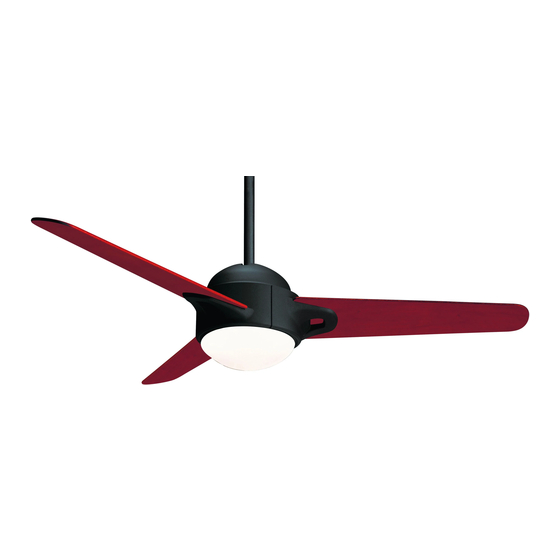
Summary of Contents for Casablanca S3
-
Page 2: Safety First
• This fan is designed to be installed on an existing electrical outlet box. The outlet box must be UL Listed for ceiling fan installations, if it is not, a new box must be installed. Casablanca extension poles are available for sloped or high ceiling installations. -
Page 3: Mounting Recommendations
MOUNTING RECOMMENDATIONS Before mounting your Casablanca fan, read the following helpful recommendations. The location of the fan, air circulation, and fan size are all important factors to consider before installation. Location Ceiling fans have practical uses in almost every room in your home. We suggest you follow these mount- ing recommendations as you decide where to install your Casablanca fan. -
Page 4: Installation Instructions
INSTALLATION INSTRUCTIONS Unpacking: Before assembling and installing your ceiling fan, remove all parts from the shipping cartons and check them against the parts listed here. Before discarding packaging material, be certain that all parts have been removed. Setup. Remove the bottom foam from the box and place the fan rightside up in the foam. -
Page 5: Ceiling Hardware
Check the ceiling fixture outlet box to be sure that it is marked ‘Approved for ceiling fan mounting’ . If it is not, a new box must be installed. -
Page 6: Canopy Installation
Step 2. Attach the canopy to the crossbar mount- ing bracket with three of the 8-32 x 2 canopy screws and canopy lock washers. Tighten the screw firmly by hand only. Note: On sloped ceilings, align the canopy opening towards the top or room peak. -
Page 7: Hanging The Fan
Secure with wire nut. • WHITE wire from fan to white NEUTRAL wire in ceiling fixture outlet box. Secure with wire nut. • BLACK power wire from fan to BLACK power wire in ceiling outlet box. Secure with wire nut. WIRE NUT CANOPY HATCH INSTALLATION Step 6. - Page 8 Step 10. Position the indentations in the outer rim of the glass shade so that they line up with the tabs on the inside surface of the fan light fixture rim. Step 11. Carefully lift the glass shade up inside the light fixture as far as it will go.
-
Page 9: Installation
Twist a coin to unsnap the door A. Lift door away from control B and remove C. Changes or modifications not expressly approved in writing by Casablanca Fan Co. may void the user’s authority to operate this equipment. INSTALLATION DRYWALL... -
Page 10: Versa•Touch Operation
Fan Control To start the fan. Press the selected speed button to run the fan at the desired speed. Low speed Medium speed High speed To turn off the fan. Press the FAN OFF Airflow Direction To reverse the airflow press the REVERSE button. Reverse operates at any speed whether fan is on or off. -
Page 11: Troubleshooting
Increase the separation between the equipment and receiver, Connect the equipment into an outlet on a circuit different from that to which the receiver is connected, Consult the dealer or an experienced radio/TV technician for help. Note: Any changes or modifications to the transmitter or receiver not expressly approved by Casablanca Fan Company may void one’s authority to operate this remote control. - Page 12 761 C • P , CA 91768 ORPORATE ENTER RIVE OMONA : 888-CASA-1ST (227-2178) www.CasablancaFanCo.com ©C 2000 C • U.S. P OPYRIGHT ASABLANCA OMPANY ATENT ENDING RINTED IN...
Need help?
Do you have a question about the S3 and is the answer not in the manual?
Questions and answers