Table of Contents
Advertisement
Quick Links
1
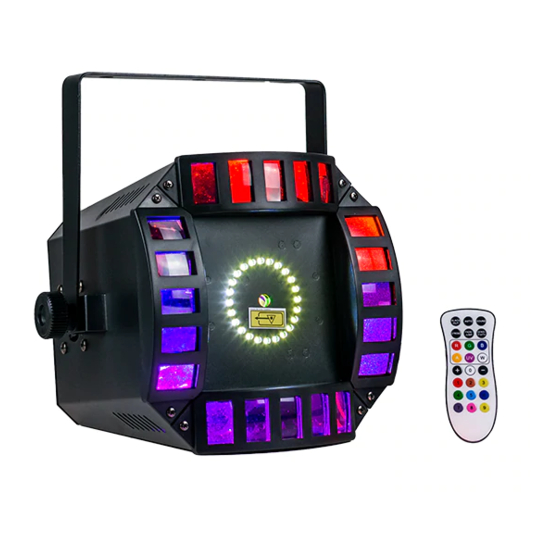
ORBIT2
3-in-1 Effect Light
USER MANUAL
For safety, please read this user manual carefully before initial use.
Event Lighting reserves the right to revise the manual at any time. Information and specifications
within this manual are subject to change without notice. Event Lighting assumes no liability or
responsibility for any errors or omissions. Please consult Event Lighting for any clarification or
information regarding this item.
Version: 10 (6 May 2020)
www.event-lighting.com.au
Advertisement
Table of Contents

Related Manuals for Event Lighting ORBIT2


Summary of Contents for Event Lighting ORBIT2
- Page 1 For safety, please read this user manual carefully before initial use. Event Lighting reserves the right to revise the manual at any time. Information and specifications within this manual are subject to change without notice. Event Lighting assumes no liability or responsibility for any errors or omissions.
-
Page 2: Safety Instructions
Safety Instructions Warning • Do not open this device, there are no user-serviceable parts inside. The laser power inside the housing can start fires or burn skin and will cause eye injury. • Do not look at the light source when the device is on. •... -
Page 3: Power Input
• ORBIT2 must be installed at least 3 metres above ground level and at least 3 metres horizontally from any person. See the Product Installation section for details. • Do not point the laser at any person or animal. •... - Page 4 Laser Interlock The use of the laser is controlled by an interlock and key located on the back of the unit. In order for the laser to operate, the interlock must be inserted, and the key switched to the unlocked position.
-
Page 5: Menu Operation
Menu Operation 1. Menu – Move up a level. 2. Up – Move selection up one item. 3. Down – Move selection down one item. 4. Enter – Select / Move down a level. 5. DMX Signal LED indicator. LED will flash when DMX connected. -
Page 6: Dmx Chart
IR Remote Button Description Black Out Turn on/off Auto Autoplay Sound Sound Active mode Strobe Strobe mode Fade/ Jump No Function Sensitivity Adjust sound sensitivity R/G/B/W/A/UV/W No Function Increase parameter (strobe speed, sound sensitivity, auto speed) Decrease parameter (strobe speed, sound sensitivity, auto speed) Switch between functions in Auto Mode and Sound Active... - Page 7 2 Channel Mode Value Function Channel 5-20 Auto 0 (combined effect) 21-35 Auto 1 (Derby effect 1) 36-50 Auto 2 (Derby effect 2) 51-65 Auto 3 (Laser + strobe) 66-80 Auto 4 (Derby + strobe) 81-95 Auto 5 (Laser + Derby 1) 96-110 Auto 6 (Laser + Derby 2) 111-125...
- Page 8 11 Channel Mode Channel Value Description Function 0-13 Derby 1 None 14-27 28-41 Green 42-55 Blue 56-69 White 70-83 Red + Green 84-97 Red + Blue 98-111 Red + White 112-125 Green + Blue 126-139 Green + White 140-153 Blue + White 154-167 Red + Green + Blue 168-181...
-
Page 9: Technical Specifications
Control Panel: 4 digital LED display figures • Control Mode: Sound activated, Auto, Master/Slave, DMX512, IR Remote • DMX Channels: 2 / 11 • Dimensions: 320x320x320 (package) • Weight: 3.35kg Warranty Please refer to your local dealer or contact Event Lighting Pty Ltd. www.event-lighting.com.au...
Need help?
Do you have a question about the ORBIT2 and is the answer not in the manual?
Questions and answers