Table of Contents
Advertisement
Quick Links
Advertisement
Table of Contents

Related Manuals for SGM PALCO 3+


Summary of Contents for SGM PALCO 3+
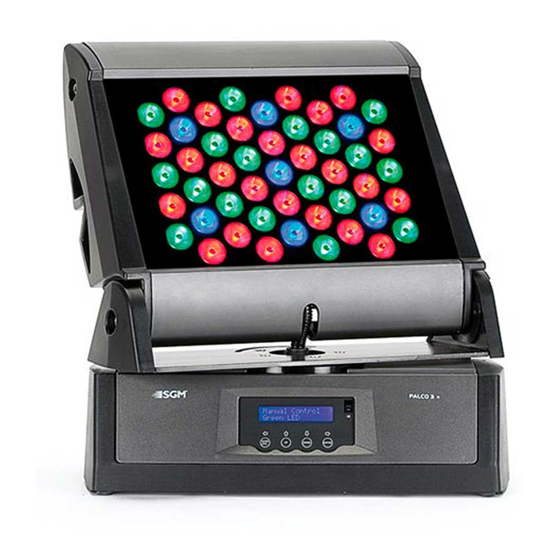
- Page 1 PALCO 3 +...
- Page 2 Thank you for your patronage. We are confident that our excellent products and service can satisfy you. In order to install, operate, and maintain the lighting safety and correctly, we suggest to have verified technicians to install the item and to strictly follow the instructions. C A U T I O N ! U n p l u g m a i n s l e a d b e f o r e o p e n i n g t h e h o u s i n g .
- Page 3 OVERVIEW...
- Page 4 1) LED 2) LCD-Displ 3) Mode/ esc- 4) Up-button 5) Down-butt 6) Enter-butto 7) IR 8) Power inpu 9) DMX-inpu 10) DMX-outp User manual of telecontrol BLACK OUT : The lamp will be turned off after...
- Page 5 having pressed the button and exit to the status of Address Display. Press BLACK OUT+ 0 to reset to the initial status of infrared setting.(except address). PROG AUTO RUN:Press this button to enter the built- in program. SOUND ACTIVE: Press this button to enter the sound active (it depends on whether this function exists in the lighting fixture).
-
Page 6: Safety Instructions
white color, press again, the white color will die out (it depends on whether this function exists in the lighting fixture). press this button to the full amber color brightness, press number+ ENTER to dim the white color, press again, the amber color will die out (it depends on whether this function exists in the lighting fixture). -
Page 7: General Guidelines
Please don't project the beam onto combustible substances. Fixtures cannot be installed on combustible substances, keep at more than 50cm distance from the wall for smooth air flow, so there should be no shelter for the fans and the ventilation for heat radiation. - Page 8 The applicable temperature for the lighting is between-25°C~45°C. Do not use the lighting under or above the temperature. The installation of the effect has to be built and constructed in order to hold 10 times its weight for 1 hour without any harming deformation. The installation must always be secured with a secondary safety attachment, e.g.
-
Page 9: Dmx-512 Control Connection
Fix the clamp to the bracket by tightening the M12 screw up on it to the Ф13 hole which is in the middle of the bracket. Pass the safety rope through the connecting hole located under the side panel, hanging on the fixed bracket or the other fixed station, it can also be floor- mounted (or on any other flat surface) without any fixing, remaining steady no matter what the angle of the head is. - Page 10 Address 1 Address 9 Address17 DMX-512 connection with DMX terminator Thought for installations where the DMX cable has to run a long distance or is in an electrically noisy environment, such as in a discotheque, it is recommended to use a DMX terminator. This helps in preventing corruption of the digital control signal by electrical noise.
-
Page 11: Control Board
In the case of the moving head, which is a 8 channel fixture, you should set the starting address of the first unit to 1, the second unit to 9 (8+ 1), the third to 17 (8+ 9) and so on. Control Board Set Dmx Address A001~AXXX... -
Page 12: Function Mode
Controller Default settings shaded Function Mode DMX address setting With this function, you can adjust the desired DMX-address via the Control Board. • Select “Set DMX address” via encoder. • Press the encoder, adjust the DMX address by turning the encoder. •... - Page 13 Software version With this function, you can display the device software version. • Select “Software version” by turning the encoder. • Press the encoder, the display shows “V-X.X”, “X.X” stands for the version number, e.g. “V- 1.0”, “V-2.6”. • Turn the encoder to read the version of every individual IC. •...
-
Page 14: Manual Hold
Manual Hold With this function activated the fixture will return to the scene manual set automatically after the re-power 1. Tap the [MENU] button until “ ” is displayed then tap the [ENTER] button. Manual Hold 2. Press the [UP] button and select “ON” to activate this function, or “OFF” to deactivate this function. - Page 15 sends “Auto Program Part 1” to the Slave unit. If set to “Slave 2”, the Slave unit receives “Auto Program Part 2”. To start a Auto Program please proceed as follows: 1. Slave-Setting • Select “Function Mode” by turning the encoder. •...
-
Page 16: Instructions On Use
• Turn the encoder to select the desired scene numbers. You can program a maximum number of 250 scenes. • Press the Enter button to confirm. • Press the Mode/ Esc button in order to return to the main menu. Example: Program 2 includes scenes: 10, 11, 12, 13 Program 4 includes scenes: 8, 9, 10... -
Page 17: Cleaning And Maintenance
0-255 Green ( 0-Black , 255-100% Green ) Blue LED : 0-255 Blue ( 0-Black , 255-100% Blue ) Color Correction : 0-19 No function 20-255 20-2700K,255-7200K Internal programs: No function 0-10 11-40 Internal program 1 41-70 Internal program 2 Store Color_mode enable 72-100 Internal program 3... -
Page 18: Technical Specifications
In order to have the lights in good condition and extend their life time, we suggest a regular cleaning. 1)Clean the inside and outside lens every week to avoid the lights weaknesses due to the dust accumulation. 2)Clean the fan every week. 3)A detailed electric check by approved electrical engineer every three months, make sure that the circuit contacts are in good condition, prevent the poor contact of circuit from overheating.
Need help?
Do you have a question about the PALCO 3+ and is the answer not in the manual?
Questions and answers