Advertisement
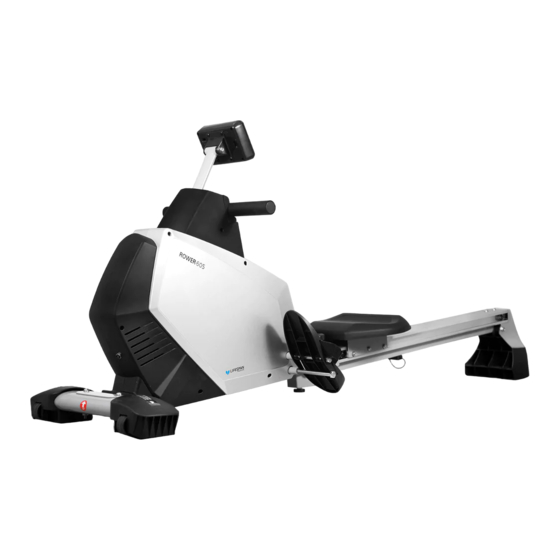
ROWER-605
OWNER'S MANUAL
Product may vary slightly from the item pictured due to model upgrades
Read all instructions carefully before using this product. Retain this owner's manual for future
reference.
NOTE: This manual may be subject to updates or changes. Up to date manuals are available through our website at
www.lifespanfitness.com.au
Advertisement
Table of Contents

Subscribe to Our Youtube Channel
Related Manuals for LifeSpan ROWER-605


Summary of Contents for LifeSpan ROWER-605
- Page 1 ROWER-605 OWNER’S MANUAL Product may vary slightly from the item pictured due to model upgrades Read all instructions carefully before using this product. Retain this owner’s manual for future reference. NOTE: This manual may be subject to updates or changes. Up to date manuals are available through our website at...
-
Page 2: Table Of Contents
TABLE OF CONTENTS IMPORTANT SAFETY INSTRUCTIONS CAREINSTRUCTIONS ASSEMBLY INSTRUCTIONS FOLDING INSTRUCTIONS OPERATION GUIDE EXERCISE GUIDE EXPLODED DIAGRAM PARTS LIST WARRANTY ROWER-605... -
Page 3: Important Safety Instructions
Do not use the equipment until the problem has been rectified. Wear suitable clothing while using the equipment. Avoid wearing loose clothing that may get caught in ROWER-605... -
Page 4: Careinstructions
Do not attempt to recharge non-rechargeable batteries Batteries are to be inserted with correct polarity g. The supply terminals are not to be short-circuited h. Do not dispose of batteries in fire, batteries may explode or leak ROWER-605... -
Page 5: Assembly Instructions
STEP 1: 1. Attach the front bottom tube (2) toon the main frame (1) with the inner hex bolts (4) and flat washer (5) as shown in above. 2. Attach the adjustable knob (20) to the main frame (1). ROWER-605... - Page 6 (1) with outer hex bolt (8), flat washer (9), nylon nut (10) and spring bolt (14) as shown in FIG 2. 2. Fix the main frame (1) and guide rail (6) well with knob (32) and flat washer (13). ROWER-605...
- Page 7 STEP 3: 1. Remove the axle for the limiting base (16), limiting base (15), flat washer (17) and cross screw (18) 2. Install the glide saddle post (27) onto the guide rail (6) like the arrow shown in FIG3. ROWER-605...
- Page 8 2. Attach the limiting base (15) to the guide rail (6) with axle for limiting base (16), flat washer (17) and cross screw (18). 3. Attach the pedal (34) to the main frame (1) with the long bolt (33).Then attach the tail boom (24) to the guide rail (6) with inner hex bolt (23) and flat washer (5). ROWER-605...
- Page 9 2. Attach the console fixer (42) to the swing tube (48) with carriage bolt (43), cushion (44), flat washer (5) and nylon nut(31). 3. Connect the motor wire (49) and sensor extended wire (37) with the wire of console (38). Then lock the console (38) to console fixer (42) with screw (39). ROWER-605...
-
Page 10: Folding Instructions
B. Remove the spring knob (14). Fold guide rail (6) easily to the suitable position as shown in the following picture. Finally, tighten the guide rail (41) with the spring knob (14). C. NOTE: The Rowing machine should look like picture B when fully folded ROWER-605... -
Page 11: Operation Guide
- Hold for 2 seconds, computer will reboot. Reset - Reset all values to zero. - Return to main menu after finishing a workout. Start/Stop - Start or Stop workout. Recovery - Track user Heart rate in recovery phase. ROWER-605... - Page 12 Resistance level (1~16) o TIME (or METERS) (Time and Meters can’t preset at the same time.) o CALORIES o PULSE Use UP & DOWN to set values and confirm your selection with the ENTER button. Press START/STOP to start workout. ROWER-605...
- Page 13 Press START/STOP to start workout. You can adjust resistance level on the paddles by pressing the UP and DOWN keys. The newly set level value will be shown on the display profile (default value is Level 1). Program profiles: ROWER-605...
- Page 14 Use UP/DOWN keys to select desired rowing METERS and confirm by ENTER. Use UP/DOWN keys to adjust resistance level. Press STATR/STOP to start workout. Computer will display USER & Computer workout status. Press UP and DOWN to adjust resistance level during workout. ROWER-605...
- Page 15 Once the program is complete, the computer will beep twice and stop. You can adjust the level of resistance while rowing by pressing UP and DOWN keys. The newly set level value will be shown in the profile (default value is Level 1). Press START/STOP to end workout. ROWER-605...
- Page 16 E-7: Check for damage to computer cables. * If only a “P” is shown instead of pulse value, the computer is not detecting a heart rate signal. Check that you are wearing the wireless heart rate monitor correctly. ROWER-605...
-
Page 17: Exercise Guide
So as you can see, the fitter you are, the healthier and greater you will feel. Warm-up Start each workout with 5 to 10 minutes of stretching and some light exercises. A proper warm-up increases your body temperature, heart rate and circulation in preparation for exercise. Ease into your exercise. ROWER-605... -
Page 18: Workout Guidelines
This will increase the flexibility of your muscles and will help prevent post-exercise problems. Workout Guidelines TARGET ZONE This is how your pulse should behave during general fitness exercise. Remember to warm up and cool down for a few minutes. ROWER-605... -
Page 19: Exploded Diagram
7. EXPLODED DIAGRAM ROWER-605... -
Page 20: Parts List
Flat washer Console fixer D6XD16X1.2 Cross screw M6*15 Carriage bolt M8*74 Bolt M10 Cushion Adjustable knob Alloy bushing L-shaped connected plate Receiver Inner hex bolt M10X110 Adaptor Inner hex bolt M8X45 Swing tube Tail boom Motor wire Seat Extensible cover ROWER-605... -
Page 21: Warranty
Please visit our website to view our full warranty terms and conditions: http://www.lifespanfitness.com.au/warranty-repairs Warranty and Support: Please email us at support@lifespanfitness.com.au for all warranty or support issues. For all warranty or support related enquiries, please lodge a support ticket first by sending us an email. ROWER-605...
Need help?
Do you have a question about the ROWER-605 and is the answer not in the manual?
Questions and answers