
Related Manuals for Phoenix Model Sonic High Wing


Summary of Contents for Phoenix Model Sonic High Wing
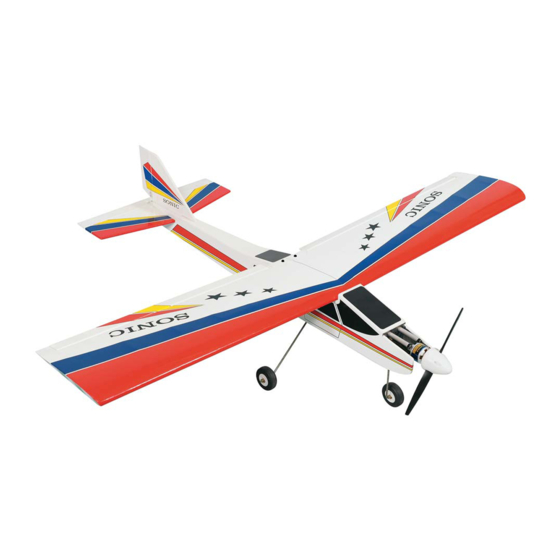
- Page 1 Instruction Manual H I G H W I N G Specification: Wingspan: 133 cm (52.3 inches) Length : 104 cm (40.9 inches) Weight : 1830gr Engine : 25 - 32 two stroke Radio : 4 channel - 4 servo...
-
Page 2: Kit Contents
KIT CONTENTS: We have organized the parts as they come out of the box for better identification during assembly. We recommend that you regroup the parts in the same manner. This will ensure you have all of parts required before you begin assembly. KIT CONTENTS AIR FRAME ASSEMBLIES MOTOR MOUNT ASSEMBLY... -
Page 3: Wing Assembly
WING ASSEMBLY Draw a center line on the wing joiner. • Center line Glue wing joiner in wing halves with 30 minute • epoxy. Put epoxy on wing joiner and in wing joiner pocket. Wipe off excess epoxy with a paper towel and alcohol. - Page 4 Locate aileron servo mouting tray. Trim covering • from bottom of wing for aileron servo and tray. 6 minute epoxy the tray in place centered over the aileron servo opening using the supplied spacer blocks (trim to fit as needed). Tape Install aileron servo using hardware supplied •...
- Page 5 horizontal - vertical installation • Cut the covering from the holes for the wing dowels in the fuselage. Glue the dowels in place with C.A Rubber band wing onto fuselage with suppied • rubber bands. See photo. Dowel Center the wing. Cut the covering from the slots •...
-
Page 6: Main Gear Installation
Put vertical fin in fuselage slot, mark where • covering needs to be trimmed. Carefully trim covering. Line up vertical fin and epoxy in place keeping the vertical fin perpendicular to the stab. Remove the Glue epoxy covering main gear installation Cut the covering the slot in the landing gear mount. -
Page 7: Fuel Tank Installation
• Install nose wheel using supplied wheel collars. Collar fuel tank installation • Assemble the fuel tank. • Put the fuel tank in the fuselage using foam rubber to cushion the tank, and route the fuel lines out the hole in the firewall. To carburator To muffler engine installation... -
Page 8: Servo Installation
servo installation Install the rubber grommets and brass eyelets into • Elevator servo the elevator, rudder and throttle servos. Test fit the servos into the servo tray. Mount the servos to the tray using the mounting • screws provided with your radio system. Rudder servo Throttle servo elevator - rudder linkage... -
Page 9: Throttle Linkage
• Install the elevator pushrod in fuselage. Thread a nylon clevis at least 6mm onto the pushrod. Route it to the elevator, attach clevis to horn and secure using small piece of silicone tubing. Silicone tube Install the rudder pushrod in fuselage. Thread a •... - Page 10 setting up the throttle This is a very important stage in the completion of has been properly set-up it can be adjusted the model. The throttle must open and close fully - mechanically or by using the Travel Adjust, or without the linkage binding at either end of its travel.
-
Page 11: Flight Preparation
We wish you many enjoyable flights with throws as illustrated. Center all control surfaces. your plane and once again thank you for your choosing a Phoenix Model's product. 2. The control throws should be measured at the widest point of each surface! - Page 12 I/C FLIGHT WARNINGS Always operate in open areas, away Keep all onlookers (especially small from factories, hospitals, schools, THE PROPELLER IS DANGEROUS children and animals) well back from buildings and houses etc. NEVER fly Keep fingers, clothing (ties, shirt the area of operation. This is a flying your aircraft close to people or built sleeves, scarves) or any other loose aircraft, which will cause serious...
Need help?
Do you have a question about the Sonic High Wing and is the answer not in the manual?
Questions and answers