
Related Manuals for Strong SRT 7300 CI+


Summary of Contents for Strong SRT 7300 CI+
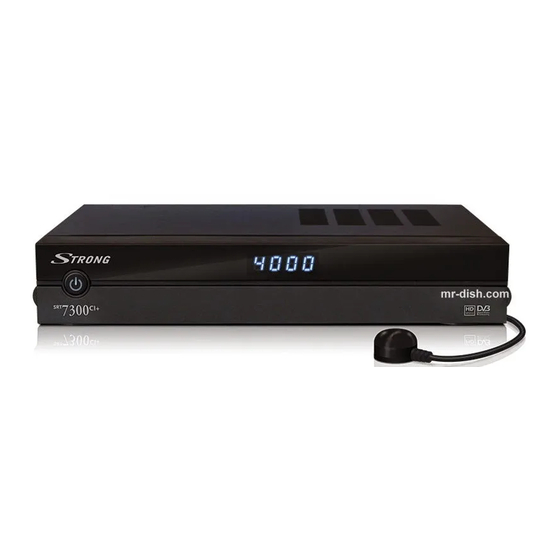
- Page 1 Digital High Definition Satellite Receiver SRT 7300 CI+ User Manual Bedienungsanleitung Gebruiksaanwijzing Manuel de l'utilisateur Manuale per l'uso Használati utasítás Návod k obsluze Používateľská príručka...
- Page 2 Fig. 1 Fig. 2 Fig. 3...
- Page 3 SCART Fig. 4 HDMI Fig. 5 Fig. 6...
-
Page 4: Table Of Contents
7.5 Games 8.0 TRoUblEshooTIng 9.0 sPECIfICATIons sTRong declares that this item complies with the basic requirements and other relevant regulations of directives 2004/108/EC and 73/23/EC, Rohs 2002/95/EC Subject to alterations. In consequence of continuous research and development technical specifications, design and appearance of products may change. HDMI, the HDMI logo and High-Definition Multimedia Interface are trademarks or registered trademarks of HDMI Licensing LLC in the United States and other countries. -
Page 5: Introduction
PART 1 • English 1.0 InTRoDUCTIon 1.1 safety Instructions Do noT InsTAll YoUR RECEIvER: In a closed or poorly ventilated cabinet; directly on top of or under any other equipment; on a surface which might obstruct the ventilation slots. Do noT EXPosE ThE RECEIvER oR ITs ACCEssoRIEs: To direct sunlight or any other equipment that generates heat;... -
Page 6: Fig.1
It is advised not to store important information on USB storage devices used with the receiver. Always make backups of data on your USB storage device before using it with this receiver. STRONG will not take responsibility for any loss of information or circumstances caused by loss of information. -
Page 7: Rear Panel
PART 1 • English 2.3 Rear Panel Fig 2. 1. sAT In To connect to the LNB of your satellite dish for reception of satellite broadcast signal 2. sAT oUT To loop through the satellite signal to a second receiver 3. -
Page 8: Connections
PART 1 • English 19. gREEn/PAUsE Freezes/resumes the current broadcast 20. YElloW/sUb Displays a list of available subtitling for the current channel 21. blUE/v.f. Toggles between available HDMI screen resolutions 22. 2 Freezes/resumes the playback of recordings or music files 23. -
Page 9: Starting Up For The First Time
PART 1 • English 4.0 sTARTIng UP foR ThE fIRsT TImE Ensure that your satellite signal is of good quality and that all connections are sound. In case of difficulties or questions, please ask you local dealer for assistance. It is recommended to follow the Setup Wizard step by step. -
Page 10: Satellite Selection
5.0 QUICk gUIDE To UsIng YoUR RECEIvER We at STRONG understand that you can’t wait to enjoy your new HD receiver. The following quick guide will make you familiar with the basic operation of this device. We do, however, advice you to read the full manual to get the best performance from your STRONG HD receiver. -
Page 11: Operation
PART 1 • English 6.0 oPERATIon In viewing mode, several features are available to make watching TV a true pleasure. This paragraph describes these features. Please also read chapter 7.0 to get familiar with the menu of your new receiver. 6.1 Changing channels Your new receiver is equipped with three ways to change channels. -
Page 12: Subtitles
PART 1 • English remote control allow you to jump to selected pages directly, as indicated on the bottom of the teletext screen. Press EXIT to go back to viewing mode. 6.5 subtitles Some channels support a choice of different DVB subtitle languages. Press sUb in viewing mode to display a list of available subtitle languages. -
Page 13: Main Menu
The Timeshift will only work correctly when a fast USB storage device such as an USB2.0 HDD is connected to the receiver. Distorted picture and / or audio during Timeshift indicate a low USB device speed. STRONG cannot guarantee for USB devices used. Especially when Timeshift is activated at channels with high data rate (High quality SD/HD), STRONG cannot guarantee an accurate Playback of the Timeshift file. - Page 14 PART 1 • English Scrambled: scan scrambled channels only. Service Type All: scan TV and Radio channels TV scan: TV channels only Radio: scan radio channels only. Network Search Disabled: no network search Enabled: network search will be performed. Once all settings are made, press the gREEn button on the remote control to start the scan or EXIT to quit without scanning.
-
Page 15: Setup
PART 1 • English highlight Location and use tu to change the location. Possible settings are: East and West. Once all settings are made press gREEn to save or EXIT to quit without saving. Adding a satellite To add a satellite, make sure the highlight is not in the transponders list (press t in case of doubt) and press YElloW. - Page 16 PART 1 • English to a digital surround amplifier. The digital output can be switched off by setting Digital Audio to Off. Video Format: This setting is only active when the receiver is connected to the TV set via HDMI. It allows you to set the preferred HDMI screen resolution. Available options depend from your TV set.
-
Page 17: Channel
PART 1 • English wishes. Use pq to highlight the setting you wish to change and tu or [0~9] to change the value of the highlighted setting. Press ok for a list with all available options for the chosen setting. Banner Show: When set to On, the info banner displaying channel name, channel number and Now/Next information will be shown every time you change channels. - Page 18 The Format function will delete all records, data and information from your USB device. STRONG will not take any responsibility for damaged or lost data on the USB device. Please make a backup copy of important data on your USB device before using it with your receiver.
- Page 19 PART 1 • English listening to mP3 music Select the desired MP3 file and press ok to start playback. During playback, the following functions are available: starts playback of the next MP3. starts playback of the previous MP3. " stops playback. All files in the directory will be played back in random order.
-
Page 20: Advanced
7.4.2 system Info Displays valuable information about the software and hardware version of your receiver and our web address www.strong.tv . A customer support agent might ask for the information given in this screen. Press EXIT to leave the System Info screen. -
Page 21: Games
If the receiver does not work properly after checking it, please contact your local Serviceline or STRONG dealer. Alternatively you can send a support mail via our website: www. strong.tv. NEVER open or disassemble your receiver. This may cause a dangerous situation and will void the warranty. -
Page 22: Specifications
PART 1 • English symptom Cause Remedy The USB storage device Wrong formatted. Format USB device by receiver in is not working properly. menu Channel>File Explorer. The external USB Power consumption is too high. Connect an extra power supply HDD does not start. adapter to your USB HDD device. - Page 23 PART 1 • English system & memory CPU: STi7111 Flash Memory: 8 MBytes System Memory: 256 MBytes Connectors SAT IN; SAT OUT TV SCART (RGB, CVBS, Audio L/R Output with volume control) HDMI (V/A-Output) Type A Version 1.0 HDCP 1.1 RCA Output - Audio L/R &...
Need help?
Do you have a question about the SRT 7300 CI+ and is the answer not in the manual?
Questions and answers