Table of Contents
Advertisement
Quick Links
Advertisement
Table of Contents

Related Manuals for Converters.TV 15200


Summary of Contents for Converters.TV 15200
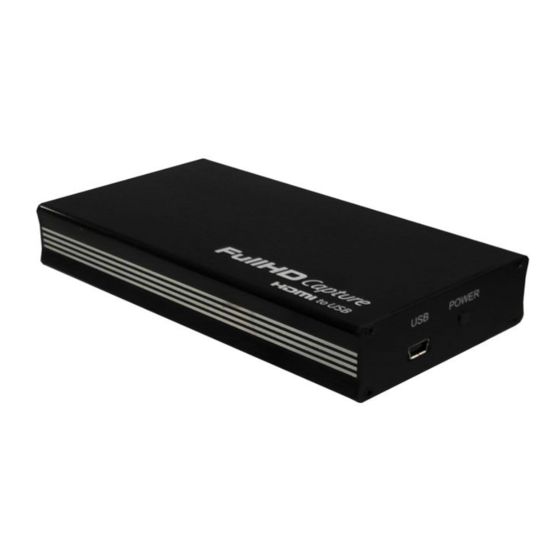
- Page 1 Multiformat Video to USB HD Capture Box ID# 15200 Operation Manual...
-
Page 2: System Requirement
Introduction The Multi Format Video to USB HD Capture Box is High Definition capture box supports HDMI 1080p video/component/SV/CVinput and record to H.264 video format. Its low power consumption and superior video processing capabilities make it ideal for integration into high- end portable and desk top PC products System Requirement... -
Page 3: Installation
Operation Controls and Functions Front Panel 1. COMP/SV/CV IN This slot is to connect with Composite video/S-Video/Component video input source equipment such as Set-Top-Box or DVD with 8 pins cable. 2. HDMI IN This slot is where you plug your input source equipment with HDMI cable for input signal sending. -
Page 4: Hardware Installation
Hardware Installation Connect the HDMI to USB Full HD Capture to NB/PC with mini USB to USB type A cable and the LED will illuminate in green with a Found New Hardware message from NB/PC desk screen A Wizard dialogue will appear, click” Yes”, and click “Next” to continue the installation Insert the CD driver included in the package now and tick on “Install the software automatically”... - Page 5 Another dialogue will appear as below. Tick “Search” and click on “Next” to continuing the installation.
- Page 6 Allowing the Wizard to search and find the proper installation file for a while and click “Finish” to complete the installation. Software Installationon Download “DivXInstaller.exe” from the website: http://www.divx.com/en/software/divx-plus click on the “FREE DOWNLOAD” to install it. Run and click the “AUTORUN.EXE” in your CD root directory and click on PL 330 to install. The setup dialogue of PL330 will appear, click “Next”...
- Page 7 Allowing the setup to process for few moments and select a destination location for saving the PL 330’s folder. Users are free to set the destination location and it is recommended to save it under the easy finding place.
- Page 8 Click “Install” to confirm the installation.
- Page 9 Click “Finish” again to complete the PL330’s installation. Then click on Exit to finish the installation. Cypress PL330’s icon should appear on the desk Double click on the Cypress PL330 to set the configuration of HDMI to USB FullHD Capture.
- Page 10 Select CUSB-603 and click on “OK”. Select your AV system of NTSC or PAL, language and Video type then click on “OK” A DVR player will appear on the screen...
-
Page 11: Dvr Panel's Functions
DVR Panel’s Functions Power Click this button to exit the application. Minimize Click this button to minimize the control panel. Record Click this button to save the video file. Play Click this button to play the video file from the recorded file. Pause Click this button to pause the video. - Page 12 Save Clipboard Click this button to copy the image for other DDE application. Mute Click this button to mute the audio. Snapshot BMP Click this button to save the still image as the BMP or JPEG file. Help Click this button to enable the online help tool.
-
Page 13: Specifications
Specifications Input port 1x HDMI Output port 1 x USB Power Supply 5V/500m A DC USB bus Dimensions 121 mm (W) × 21.6 mm (D) × 65.5 mm (H) Weight 146g Chassis Material Aluminum Silkscreen Colour Black Power Consumption 2.5 W Operating Temperature 0 ˚C~40 ˚C / 32 ˚F~104 Storage Temperature...
Need help?
Do you have a question about the 15200 and is the answer not in the manual?
Questions and answers