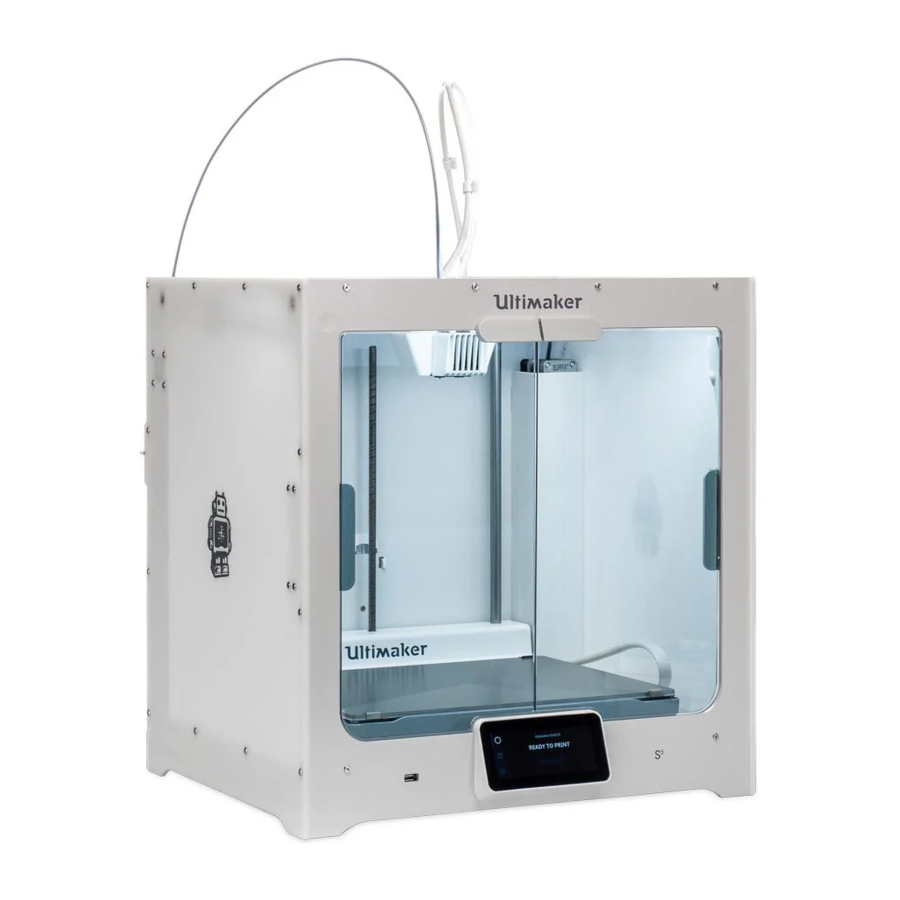
Ultimaker S5 Manual
- Quick start manual (174 pages) ,
- Installation and user manual (68 pages) ,
- Repair manual (10 pages)
Advertisement
Required
Tools
- ESD prevention supplies
- Torque screwdriver (adjustable)
- 0.5 Nm
- Safety Torx TX10 bit
- 2.0 mm hex bit
- 2.0 mm hex screwdriver
- Flat sided screwdriver(recommended)
- Ferrite core tool
- Safety plug
- Door fixation tools
Parts
- 1x 210213 - Ultimainboard-Olimex assembly
- 1x 2004 - Wi-Fi board(optional)
Time
- 20 minutes
Notes

Make sure the Ultimaker S5 is turned off and the power cable is disconnected before you start the replacement.
 Safety note: The Ultimaker S5 a built-in power supply that is exposed when the bottom cover is removed. Insert the safety plug before removing the cover. Never connect the power cable when the bottom cover is removed.
This repair involves working with or exposing sensitive electronic components. Take ESD precautions before starting this procedure.
Tip: All orientations are as seen from the front in the upright orientation, unless specified otherwise.
Disassembly
- Place the door fixation tools between the glass doors to keep the doors in place


Tip: This prevents the door(s) from falling open when handling the printer
Tools: 2x (or more) door fixation tools
- Place the printer on its left side, with the bottom facing towards you
![]()

Tip: This orientation is the most stable and provides the best access to the electronics.
Do not place the printer on its back; this can damage the feeders
- Insert the safety plug into the power entry


This is an important safety procedure. Never connect the power cable when the bottom cover is removed. This puts you at risk of serious electric shock.
- Remove the eight safety Torx bolts thatsecure the bottom cover
Tools: Screwdriver with safety Torx (TX10) bit

- Move the cover away from the printer and disconnect the speaker cable
Note: The bottom cover can be placed aside

- Insert the ferrite core tool into the slots of the small ferrite core and push down to open it
Tip: The small ferrite core is located between the Ultimainboard and the power supply
Tools: Ferrite core tool

- Open the large, round ferrite core and release all the cables
Tip: The third ferrite core (in the top-left corner in this orientation) does not need to be opened
Tools: Flat sided screwdriver (recommended)

- Press the clip of the ethernet cable to disconnect it from the Olimex board
Tip: This can be difficult to reach; use a flat sided screwdriver to press the clip upwards
Tools: Flat sided screwdriver (recommended)

- Push open the orange latches of the gray terminal marked 'HEATED BED' to release the two white heater wires

- Push open the orange latches of the gray terminal marked 'RED BLACK' to release the 24 V cable

- Disconnect all cables from the Ultimainboard and Olimex


Tip: Start in the bottom-right corner (in this orientation) and disconnect all cables in a clockwise direction
Do not pull on the cables, but the connectors
- Remove the six M3x6 bolts that secure the Ultimainboard to the bottom panel
Tools: 2.0 mm hex screwdriver

- Pull the Ultimainboard-Olimex assembly away from the bottom panel
Tip: The board is stuck to the panel with thermal conductive pads; apply force, but carefully

- Remove the M2.5x4 bolt that secures the Wi-Fi board to the Ultimainboard
Tools: 2.0 mm hex screwdriver

- Pull the Wi-Fi board away from the Ultimainboard
![]()


Keep the Wi-Fi board parallel to the Ultimainboard. Do not pull it away at an angle, as this can damage the pins of the Wi-Fi board
- Remove the two thermal conductive pads from the underside of the Ultimainboard
Tip: It is possible that the thermal conductive pads are still attached to the bottom panel. If this is the case, leave them in place


Reassembly
- Place the Wi-Fi board on the Ultimainboard and secure with a M2.5x4 bolt
Tip: Ensure the pins of the Wi-Fi board are inserted fully into the black connector
Tools: 2.0 mm hex screwdriver

- Locate the five stepper drivers on the underside of the Ultimainboard
Tip: The stepper drivers can be recognized by the 12 small dots behind the motor connectors
Tip: If the thermal conductive pads are still on the bottom panel, this step can be skipped

- Firmly push the thermal conductive pads onto the Ultimainboard, over the stepper drivers
Tip: The longer pad is placed on the left side of the Ultibot, the shorter on its right side
Tip: If the thermal conductive pads are still on the bottom panel, this step can be skipped

- Align the Ultimainboard-Olimex assembly with the six spacers in the bottom panel
Tip: Firmly push it in place

- Secure the Ultimainboard-Olimex assembly with six M3x6 bolts
Tools: Torque screwdriver with hex 2.0 mm bit, 0.5 Nm

- Connect the small end of the micro USB cable
Tip: All cables will be connected in a clockwise pattern, starting in the bottom-right corner (in its current orientation)

- Insert the wires of the 24 V cable into the gray terminal and firmly push the latches closed


Mind the orientation; insert the red wire on the right and the black wire on the left, as marked on the board
Tip: Gently pull each individual wire to check that they are secure
- Connect the motor cables as indicated: 2563 to 'Z-MOTOR', 2565 to 'Y-MOTOR', and 2568 to 'EXT-LEFT'
Tip: The motor cables are marked with shrink sleeves and their part numbers to show which motor the cable belongs to

- Connect the red-black wires of the left system fan to the connector marked 'FAN24V'

- Connect the black wires of the Z limit switch to 'Z-BLACK'

- Connect the white wires with the blue shrink sleeve of the X limit switch to 'X-BLUE'

- Connect the gray filament detection cable of the left feeder to 'F. FLOW LEFT'
Tip: There is an identical cable on the other side; ensure you are connecting the cable on the correct side of the Ultimainboard

- Connect the cables to the Olimex as indicated: The ethernet cable on the right, the USB- micro USB cable in the middle, and the white camera cable on the left
Tip: Ensure the ethernet cable securely clicks into place

- Place the three cables inside the ferrite core and push the core closed


Ensure the cables do not get pinched by the housing of the ferrite core. If this happens, immediately use the ferrite core tool to open the core again
- Connect the red-black wires of the LED strip to the connector on the side of the Ultimainboard, marked 'RGBW'

- Connect the HDMI cable and the USB cable to the connectors at the top of the Olimex board
Tip: The USB cable should point towards the back panel (the right side in the printer's current orientation)

- Connect the gray filament detection cable of the left feeder to 'F. FLOW RIGHT'

- Connect the white wires with the red shrink sleeve of the Y limit switch to 'Y-RED'

- Connect the white wires of the heated bed PT100 sensor to the connector marked 'BPT100'


Ensure to connect this cable to the correct location. Do not connect the bed PT100 to the unused connector marked 'EPT100'. This will lead to temperature sensor errors
- Connect the red-black wires of the right system fan to the connector marked 'FAN24V'

- Connect the motor cables as indicated: 2570 to 'EXT-RIGHT' and 2566 to 'X-MOTOR'
Tip: The motor cables are marked with shrink sleeves and their part numbers to show which motor the cable belongs to

- Push the print head cable into the wide connector marked 'PRINTHEAD'
Tip: Ensure the clip faces towards the Ultimainboard and securely clicks the print head cable in place

- Insert the two white heater wires into the gray terminal and firmly push the latches closed
Tip: The orientation of the white wires does not matter
Tip: Gently pull each individual wire to check that they are secure

- Run all wires from the top-right corner through the large ferrite core and close it


Ensure the cables do not get pinched by the housing of the ferrite core. If this happens, immediately use the ferrite core tool to open the core again
- Push the small connector of the Wi-Fi antenna wire onto the top-right side of the Wi-Fi board

- Hold the bottom cover close to the Ultimaker S5 and connect the speaker cable to the side of the board, to the connector marked 'SPEAKER'

- Place the Ultimaker S5 upright again
![]()


Before placing the bottom cover back on the Ultimaker S5, double-check that all cables are connected correctly and securely.
See "Product Assembly connection overview".

- Align the bottom cover with the Ultimaker S5 and secure it with the eight safety Torx bolts
Tools: Screwdriver with safety Torx (TX10) bit, 0.5 Nm


Finished!
The safety plug may now be removed and the power cable can be reinserted

Product assembly connection overview

Documents / ResourcesDownload manual
Here you can download full pdf version of manual, it may contain additional safety instructions, warranty information, FCC rules, etc.
Advertisement


Need help?
Do you have a question about the S5 and is the answer not in the manual?
Questions and answers