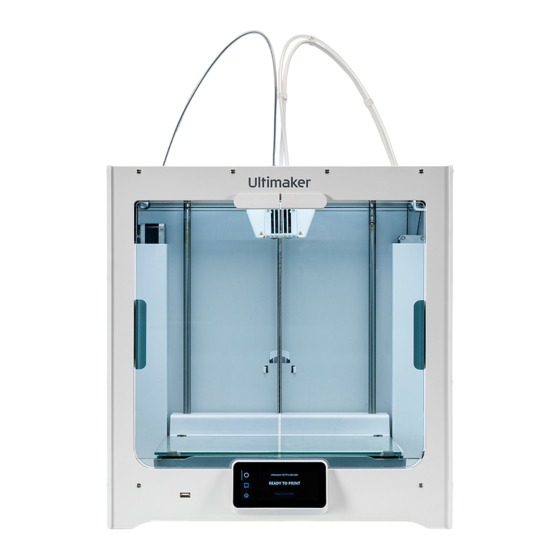
Ultimaker S5 Repair Manual
Heated bed
Hide thumbs
Also See for S5:
- Installation manual ,
- Quick start manual (174 pages) ,
- Installation and user manual (68 pages)
Advertisement
Quick Links
Ultimaker S5
Repair manual: Heated bed
Required
Tools
• ESD prevention supplies
• Torque screwdriver (adjustable)
• 0.8 Nm
• Safety Torx TX10 bit
• 5.5 mm socket wrench bit
• Cutting pliers
• Blue tape
• Thumb wheel rotation tool (recommended)
• Z-stage spacer 150 mm (recommended)
• Safety plug
• Door fixation tools
Parts
• 1x 210886 - Print table heater mat assembly
• 1x 2494 - Heat resistant tie wrap
Time
• 25 minutes
Notes
Caution:
Make sure the Ultimaker S5 is turned off and the
power cable is disconnected before you start the replacement.
Safety note:
The Ultimaker S5 a built-in power supply that is
exposed when the bottom cover is removed. Insert the safety
plug before removing the cover. Never connect the power cable
when the bottom cover is removed.
Caution:
This repair involves working with or exposing
sensitive electronic components. Take ESD precautions before
starting this procedure.
Caution:
Allow the heated bed to fully cool down before
starting this procedure.
Tip:
All orientations are as seen from the front in the upright
orientation, unless specified otherwise.
Advertisement

Summary of Contents for Ultimaker S5
- Page 1 Repair manual: Heated bed Required Notes Tools Caution: Make sure the Ultimaker S5 is turned off and the • ESD prevention supplies power cable is disconnected before you start the replacement. • Torque screwdriver (adjustable) • 0.8 Nm • Safety Torx TX10 bit...
- Page 2 5. Move the cover away from the printer and 6. Push open the orange latches of the gray disconnect the speaker cable terminal marked ‘HEATED BED’ to release the two white heater wires Note: The bottom cover can be placed aside Ultimaker S5 Repair manual: Heated bed...
- Page 3 Tip: Ensure the Z stage is all the way at the bottom of the printer Tip: This keeps the print head out of the way during the next steps of the repair procedure Ultimaker S5 Repair manual: Heated bed...
- Page 4 Tip: This keeps the cover out of the way during the next steps of Tip: 3D print a 150 mm spacer the repair procedure Tools: Blue tape Ultimaker S5 Repair manual: Heated bed...
- Page 5 Tip: Place the heated bed assembly face down, with the Tip: Place the four lock nuts and two build plate clamps aside heater mat towards you Tools: 5.5 mm (socket) wrench Ultimaker S5 Repair manual: Heated bed...
- Page 6 Tip: Ensure that the front two build plate clamps stay in place aroudn the front two bolts Tip: Ensure that the heated bed cable is not under the bed Ultimaker S5 Repair manual: Heated bed...
- Page 7 12. Lower the Z stage to the bottom of the printer the hole in the back right corner Note: Ensure that the heated bed cable does not get twisted Note: Be careful that the heated bed cable does not get trapped under the bed Ultimaker S5 Repair manual: Heated bed...
- Page 8 17. Place the door fixation tools and 18. Place the printer on its left side again, with the close the two glass doors bottom facing towards you Tools: 2x (or more) door fixation tools Ultimaker S5 Repair manual: Heated bed...
- Page 9 Tip: Gently pull each individual wire to check that they are secure 23. Hold the bottom cover close to the Ultimaker S5 24. Align the bottom cover with the Ultimaker S5 and connect the speaker cable to the side of the and secure it with the eight safety Torx bolts board, to the connector marked ‘SPEAKER’...
- Page 10 Reassembly 28. Place the Ultimaker S5 upright again and Finished! remove the door fixation tools The safety plug may now be removed and the power cable can be reinserted Ultimaker S5 Repair manual: Heated bed...


Need help?
Do you have a question about the S5 and is the answer not in the manual?
Questions and answers