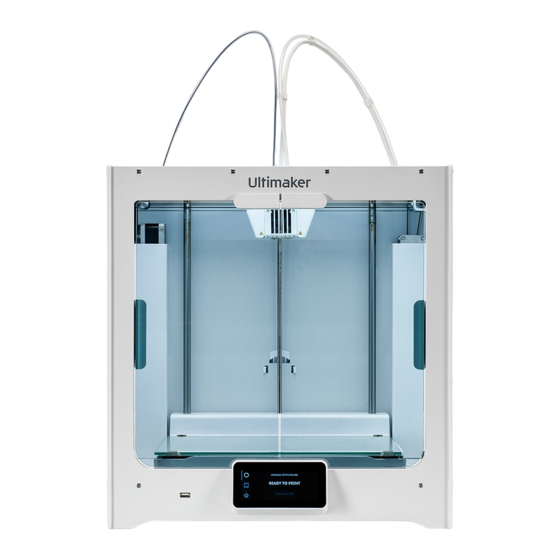
Ultimaker S5 Repair Manual
Hide thumbs
Also See for S5:
- Installation manual ,
- Quick start manual (174 pages) ,
- Installation and user manual (68 pages)
Advertisement
Quick Links
Ultimaker S5
Repair manual: Display module
Required
Tools
• ESD prevention supplies
• Torque screwdriver (adjustable)
• 0.5 Nm
• Safety Torx TX10 bit
• 2.0 mm hex bit
• 2.0 mm hex screwdriver
• Safety plug
• Door fixation tools
• Ferrite core tool (optional, only for HDMI cable)
Parts
• 1x 217741 - Display module
• 1x 200619 - HDMI cable (optional)
Time
• 5 minutes
Notes
Caution:
Make sure the filaments are removed, the Ultimaker
S5 is turned off, and the power cable is disconnected before you
start the replacement.
Safety note:
The Ultimaker S5 a built-in power supply that is
exposed when the bottom cover is removed. Insert the safety
plug before removing the cover. Never connect the power cable
when the bottom cover is removed.
Caution:
This repair involves working with or exposing
sensitive electronic components. Take ESD precautions before
starting this procedure.
Tip:
All orientations are as seen from the front in the upright
orientation, unless specified otherwise.
Advertisement

Summary of Contents for Ultimaker S5
- Page 1 Tools Caution: Make sure the filaments are removed, the Ultimaker • ESD prevention supplies S5 is turned off, and the power cable is disconnected before you • Torque screwdriver (adjustable) start the replacement. • 0.5 Nm • Safety Torx TX10 bit •...
- Page 2 This puts you at risk of serious electric shock. 5. Move the cover away from the printer and 6. Disconnect the HDMI cable disconnect the speaker cable from the display module Note: The bottom cover can be placed aside Ultimaker S5 Repair manual: Display module...
- Page 3 Tools: 2.0 mm hex screwdriver 11. Carefully remove the door fixation tools 12. Hold the right door open and slide the display and open the left door module off the front panel Ultimaker S5 Repair manual: Display module...
- Page 4 Tip: current orientation) 5. Run the HDMI cable through the cable clip and 6. Hold the bottom cover close to the Ultimaker S5 ferrite core and close them and connect the speaker cable to the side of the board, to the connector marked ‘SPEAKER’...
- Page 5 Reassembly 7. Align the bottom cover with the Ultimaker S5 8. Place the Ultimaker S5 upright again and secure it with the eight safety Torx bolts Tools: Screwdriver with safety Torx (TX10) bit, 0.5 Nm Tip: Handle the glass doors carefully or first place the door fixation tools...


Need help?
Do you have a question about the S5 and is the answer not in the manual?
Questions and answers