Ultimaker S7 Manual
- Installation and user manual (38 pages) ,
- Quick start manual (65 pages)
Advertisement
Introduction
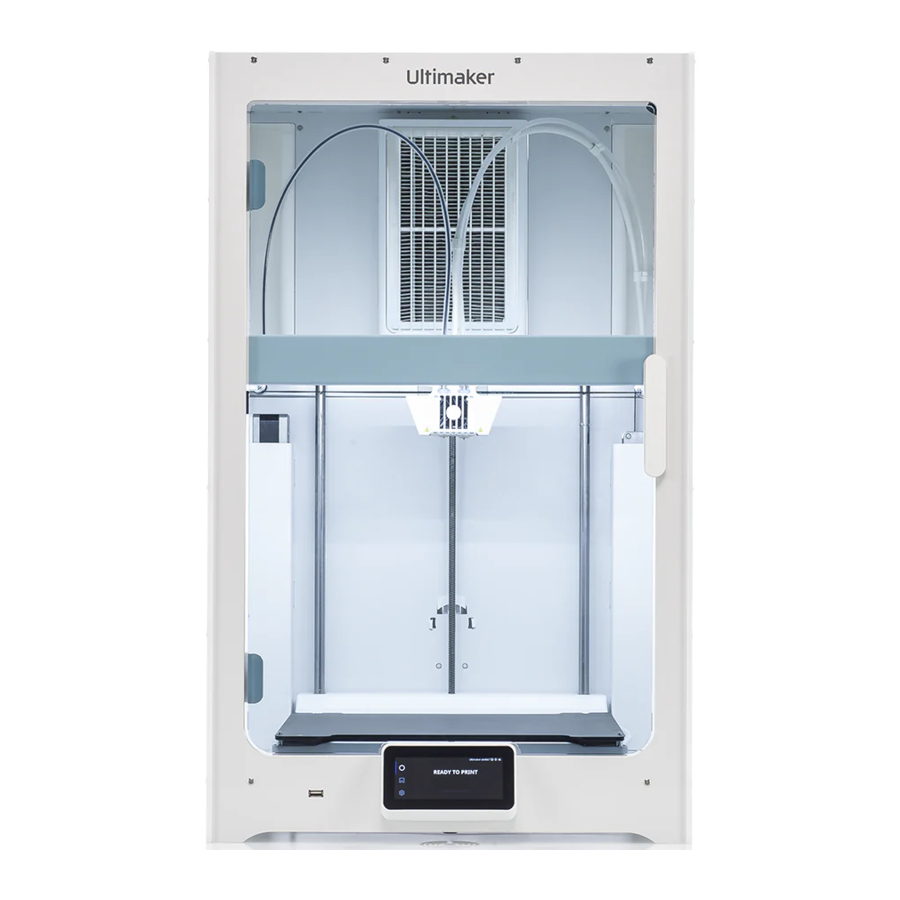
This quick start guide will help you set up your Ultimaker S7 for first use.
3D printing is made easier and more dependable with the Ultimaker S7. Its integrated Air Manager, flexible build plate, and inductive bed leveling system increase productivity and safety to help you achieve a new level of print success – from the first layer to the last.
 Please retain all packaging material for warranty purposes.
What's in the box
Accessories
- Flexible build plate
- Spool holder with material guide1
- Power cable
- Ethernet cable
- USB stick
- Print core AA 0.42
- Print core BB 0.4
- XY calibration sheet
- Nozzle cover (3x)
Consumables
- Tough PLA Black 750 g
- PVA 750 g
- Oil
- Grease
Tools
- Hex screwdriver 2 mm
Notes
1 Not required in combination with the Material Station.
2 Another AA 0.4 print core is already inserted into print head slot 1.
Safety messages
This quick start guide contains warnings and safety notices.
 Provides additional information that is helpful to do a task or to avoid problems.
Warns of a situation that may cause material damage or injuries if one does not follow the safety instructions.
Support
For more information on technical support, visit support.ultimaker.com or contact your local reseller.
Material Station
![]() The Ultimaker S7 is compatible with the Material Station. If these products are installed together, some installation steps are different. These have been marked with a Material Station symbol.
The Ultimaker S7 is compatible with the Material Station. If these products are installed together, some installation steps are different. These have been marked with a Material Station symbol.
Install the Ultimaker S7
The Ultimaker S7 should be lifted by at least two people during installation.
Choose a suitable location for installation of the Ultimaker S7: a flat, level, and stable surface that is capable of carrying the printer's weight (~ 35 kg / 77 lbs). Take proper measures to prevent the printer from falling.
The Ultimaker S7 must be positioned out of direct sunlight when in use. Ensure there is at least 10 cm of space behind the Ultimaker S7 for unrestricted airflow.
![]() If the Ultimaker S7 is going to be installed in combination with the Material Station, place the Material Station first. Place the Ultimaker S7 on top of the Material Station and ensure the two products are correctly aligned. Including the Material Station, the total weight is up to 57 kg / 126 lbs.
If the Ultimaker S7 is going to be installed in combination with the Material Station, place the Material Station first. Place the Ultimaker S7 on top of the Material Station and ensure the two products are correctly aligned. Including the Material Station, the total weight is up to 57 kg / 126 lbs.
Instructions
- Unpack the Ultimaker S7 and remove the starter pack and packaging material from inside the printer.
![]()
- Align the flexible build plate with the pins at the back of the base plate and lower it until it snaps into place.
![]()
- Align the Air Manager filter with the housing and gently push it in place.
![]()
- lose the glass door and move to the back of the printer.
![]()
- Disconnect the Air Manager cable tip from the clips and connect it to the UMB OUT port.
![]()
![]()
- Insert the spool holder into the back panel and push until it snaps into place.
![]()
![]()
- Connect the spool holder cable to the NFC socket and secure behind the cable clips.
![]()
![]()
- Connect the power cable to the printer and the other end to a power outlet.
![]()
![]()


A power outlet with an earth connection must be used. Be sure that the building installation has dedicated means for over-current and short-circuiting.
Material Station configuration
If the Ultimaker S7 is installed in combination with a Material Station, follow the instructions for setting up the Material Station in the included quick start guide.
Note that some Ultimaker S7 installation steps are different in this configuration:
Spool holder
The spool holder is not used in combination with the Material Station. Do not install or connect this, but place the spool holder cap from the Material Station accessories in the Ultimaker S7 back panel.

Connections
Connect the Material Station cable to the UMB IN port on the Material Station and the other end to the UMB OUT port on the Ultimaker S7. Connect the Air Manager cable to the UMB OUT port on the Material Station.

Power
Connect the power extension cable to the Ultimaker S7 and the Material Station. Connect the power cable to the Material Station and the other end to a power outlet.

The Material Station will automatically power on when power is supplied. This way, the humidity can be continuously controlled while the door is closed.
Set up for first use
- Turn on the Ultimaker S7 using the power switch at the back.
- Complete the installation according to the welcome setup on the display. The printer will guide you through the steps.
- Go to digitalfactory.ultimaker.com to set up your Ultimaker account and add your Ultimaker S7.
- Download Ultimaker Cura from ultimaker.com/software and install it on your computer.
Start a print
- Start Ultimaker Cura and sign in to your account to sync to your Ultimaker S7.
![information]() If your printer is not connected to the internet, select the Ultimaker S7 from the list of non-networked printers in Ultimaker Cura.
If your printer is not connected to the internet, select the Ultimaker S7 from the list of non-networked printers in Ultimaker Cura. - Load a 3D model in Ultimaker Cura and slice it with your preferred settings.
- Send the print to the Ultimaker S7 by selecting the Print via Cloud button.
![information]() Alternatively, you can start a print from a USB stick.
Alternatively, you can start a print from a USB stick. - When the print has finished and the build plate has cooled, take the flexible build plate out of the printer.
- Carefully bend the plate to remove the print. Remove any support structures.
- Place the flexible build plate back into the printer to start the next print job.
Documents / Resources
References
Download manual
Here you can download full pdf version of manual, it may contain additional safety instructions, warranty information, FCC rules, etc.
Advertisement


Need help?
Do you have a question about the S7 and is the answer not in the manual?
Questions and answers