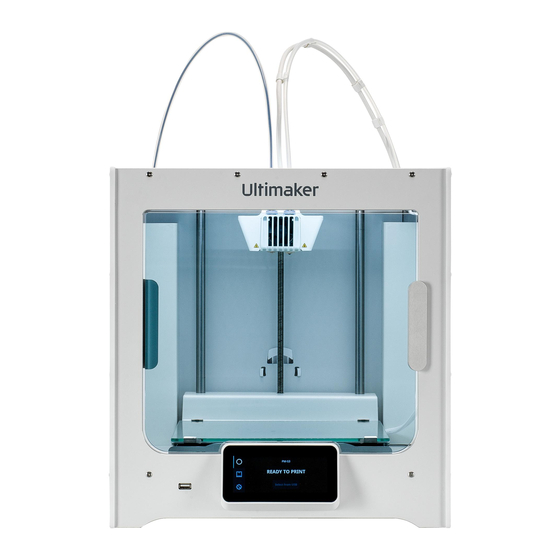
Ultimaker S3 Basic Instructions
Hide thumbs
Also See for S3:
- User manual ,
- Quick start manual (88 pages) ,
- Installation and user manual (33 pages)
Advertisement
Advertisement
Table of Contents

Summary of Contents for Ultimaker S3
- Page 1 Basic instructions for 3D printing using: Ultimaker 2+ Connect Ultimaker S3...
- Page 2 What you need to bring: and / or Laptop...
- Page 3 Cura software If your file needs support material, we recommend using an S3 printer, which can use dissolvable PVA support. If For these printers we recommend using Cura as the no support is required, we recommend using a 2+ slicing software. Export your model from your CAD Connect printer.
- Page 4 A – Check spool(s) are clear of obstructions and fed into the feeders. B – Check clamp(s) are in a down position on feeders. C – Switch on the printer, and wait until ‘ready to print’ appears on the touch screen. Do not attempt any maintenance or material changes.
- Page 5 Leave a note with your name and student email address next to the machine, so you can be contacted if necessary. A – Check that the glass bed is secured and clear of debris (if not clean see step 4B). The bed is fully secured if the clips close parallel with the glass bed.
- Page 6 A – Select your file from the list. Scroll to page 2 once the file is selected to see and check an image of the file. Select Print. If a material change warning displays, as long as the materials set in the slicing software match up closely with those on the printer, it is fine to select ‘print anyway’.
- Page 7 ‘ready to print’ screen. Turn off the printer using the switch on the back. If your model was printed on an S3 printer, the support material, Natural PVA, can be removed either by breaking it away, or sitting the model in warm water until...


Need help?
Do you have a question about the S3 and is the answer not in the manual?
Questions and answers