Advertisement
Quick Links
Advertisement

Related Manuals for HOOKE ROAD BXG.7016-S


Summary of Contents for HOOKE ROAD BXG.7016-S
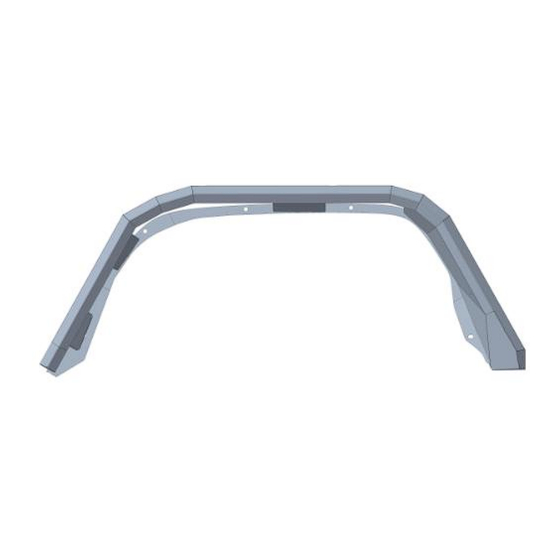
- Page 1 BXG.7016-S Rear Fender Flares (1) Contents:...
- Page 2 Part Name Size(mm) Picture Button Head Socket Cap Bolts Screws M8*25 Flat Washer M8*20*1.5 Flange Hex Lock Nuts Protective Foam Cushion (2) Tools required: a. 5mm Hex Bit Socket; b. Drive Socket Ratchet Wrench; c. 8mm socket;...
- Page 3 About 2 hours, 1-2 people may be needed. Installation time may differ according to your mechanical skill level. (PLEASE VERIFY ALL PARTS ARE PRESENT AND READ INSTRUCTIONS CAREFULLY BEFORE STARTING INSTALLATION!) To view the electronic version (BXG.7016-S), please scan the QR code.
- Page 4 (4) Installation instruction: Rear Factory Flare Removal Step 1: Use a 8mm socket to remove the bolts located along the interior of the inner fender. Then, use a trim clip tool to remove clips located in each corner of the fender.
- Page 5 Step 2: Remove the fender flare by pulling the front section towards the front of the vehicle, and the rear section towards the rear. Then pull the fender directly “away” from the vehicle, to release the remaining clips. On the JT, you should be able to reach around and squeeze the clips to remove if needed.
- Page 6 Passenger Side Installation: Note: This fender flare isn’t suitable for the factory inner fender, so we use our inner fender with it installing together as example. We highly recommend our inner fender for you. Step 4: Before installation, please ensure this five installation holes. As the picture showed.
- Page 7 Step 6: Firstly, to install the middle three holes first. Use the Button Head Socket Cap Bolts Screws (M8*25), Flat Washer (M8*20*1.5), Flange Hex Lock Nuts (M8). Don’t tighten up those bolts. Step 7: At last, to install the both side holes. Use the Button Head Socket Cap Bolts Screws (M8*25), Flat Washer (M8*20*1.5), Flange Hex Lock Nuts (M8).
- Page 8 Step 8: Repeat the same installation steps in the driver side. Step 9: The installation is complete. We hope you enjoy a wonderful off-road life with this quality Hooke Road product! Attention: 1.The product parts in this instruction may differ slightly from the actual product contents but generally does not affect the installation of the product.
Need help?
Do you have a question about the BXG.7016-S and is the answer not in the manual?
Questions and answers