Table of Contents
Advertisement
Quick Links
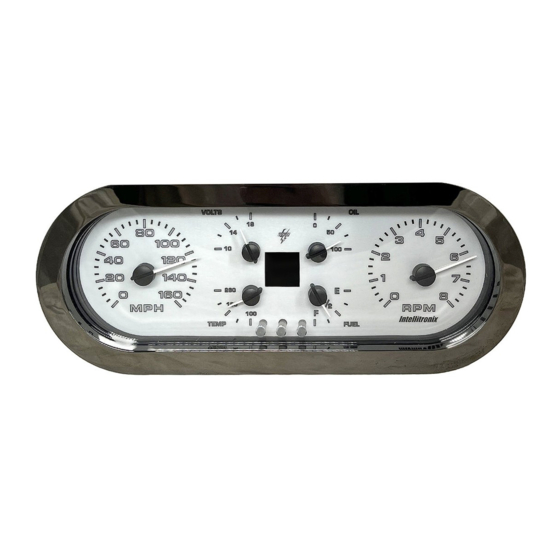
Aurora Programmable Dashboard
Your Kit Contains
•
(1) AUR1001 Programmable Dashboard
•
(1) Aurora wiring harness
•
(1) S8013 temperature sending unit w/bushing
•
(1) S8868 oil sending unit
•
(1) S9013 speed sending unit
•
(1) Ground wire
•
Mounting hardware:
(4) 4-40 X 2 ½" studs
(8) 4-40 nylon locking nuts
Wiring Instructions
Notes:
1. Please be sure to read our 'Before You Begin' page before proceeding – it contains important
information about your installation.
2. LS Engines or any other computer-based engine systems must use provided sensors in
conjunction WITH the factory senders.
Page: 1 of 6
© 2023 Intellitronix / Intellitronix.com
All rights reserved.
Installation Guide
Part Number: AUR1001
Please note that due to continuing improvements, the actual product may differ slightly from the photos.
Aurora Programmable Dashboard
Installation Guide
AUR1001-IG
Revision: 2023.12.27A
Advertisement
Table of Contents

Related Manuals for Intellitronix AUR1001


Summary of Contents for Intellitronix AUR1001
- Page 1 Aurora Programmable Dashboard Part Number: AUR1001 Please note that due to continuing improvements, the actual product may differ slightly from the photos. Your Kit Contains • (1) AUR1001 Programmable Dashboard • (1) Aurora wiring harness • (1) S8013 temperature sending unit w/bushing •...
- Page 2 3. If doing a LS engine swap, pick up the tach signal wire from the ECM/ECU and then set the tach switch to 4-cylinders. You may also need to order the Intellitronix LS Engine Swap Adapter Kit for Series 1, 2 and 3 engines - part number 8014LS. If you are getting the tach signal from the ECU, the resistor in the adapter kit will help pull a stronger signal for the tach.
- Page 3 RPM-activated switches will not read directly from a magneto, so your installation may need a magneto signal converter to function properly. Page: 3 of 6 Aurora Programmable Dashboard AUR1001-IG © 2023 Intellitronix / Intellitronix.com Installation Guide All rights reserved.
- Page 4 If you have a two-wire (high out / low out), you will have to acquire an aftermarket speed interface converter. 3) Intellitronix Speed Sender to replace factory cable drive Disconnect the mechanical speedometer cable from the transmission and insert the provided new electronic sensor into the transmission.
- Page 5 Page: 5 of 6 Aurora Programmable Dashboard AUR1001-IG © 2023 Intellitronix / Intellitronix.com Installation Guide All rights reserved.
- Page 6 Drill (4) holes into the mounting location in the vehicle, insert the unit and secure with the remaining nylon locking nuts. Product Care To clean the lens, GENTLY use a clean dry microfiber cloth. Page: 6 of 6 Aurora Programmable Dashboard AUR1001-IG © 2023 Intellitronix / Intellitronix.com Installation Guide All rights reserved.
Need help?
Do you have a question about the AUR1001 and is the answer not in the manual?
Questions and answers