Advertisement
Quick Links
Advertisement

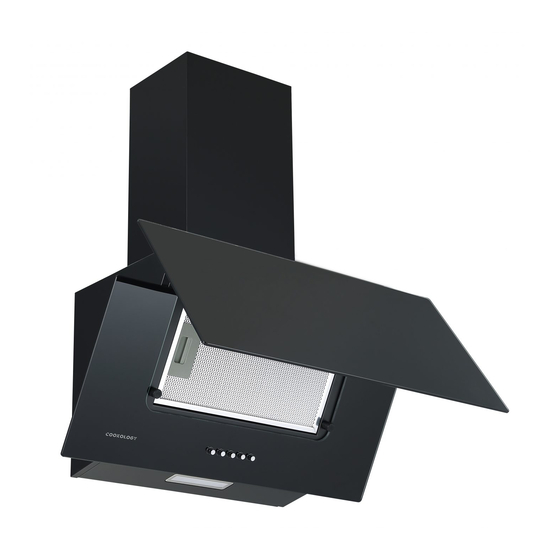
Summary of Contents for Cookology CHA600BK
- Page 1 Cooker Hood Instruction Manual...
-
Page 2: Safety Instructions
Content 1…………………………………..………………………………Safety instructions 2…………………………………..………………………………Installation 3…………………………………..………………………………Start using your cooker hood 4…………………………………..………………………………Troubleshooting 5…………………………………..………………………………Maintenance and cleaning 6…………………………………..………………………………Environment protection SAFETY INSTRUCTIONS his manual explains the proper installation and use of your cooker hood, please read it carefully before using even if you are familiar with the product. The manual should be kept in a safe place for future reference. - Page 3 Never to do: o not try to use the cooker hood ● Always to do: without the grease filters or if the filters mportant! Always switch off the are excessively greasy! ● electricity supply at the mains during o not install above a cooker with a high ●...
- Page 4 Always to do: arning: Before obtaining access to ● terminals, all supply circuits must be lways put lids on pots and pans when ● disconnected. cooking on a gas cooker. hen in extraction mode, air in the room ● is being removed by the cooker hood. Please make sure that proper ventilation Always to do: measures are being observed.
- Page 5 hen the cooker hood and appliances steam cleaner is not to be used. ● ● supplied with energy other than EVER try to extinguish a fire with water, ● electricity are simultaneously in but switch off the appliance and then operation, the negative pressure in the cover flame e.g.
- Page 6 3. After decide the cooker hood height, measure the position of the holes for hanging hood and inside chimney bracket. Drill 4 holes, 2 for inside chimney bracket and 2 for hanging φ8 the hood,and keep the hood level. The fixed position of the inside chimney bracket is the highest place of chimney.
- Page 7 8. Adjust the height of the inside chimney to the position of the inside chimney bracket and fix on it by screw.See Pic 6. HINTS FOR EXHAUST DUCT INSTALLATION The following rules must be strictly followed to obtain optimal air extraction: •...
-
Page 8: Start Using Your Cooker Hood
Ensure the exhaust ducting selected for installation complies with relevant standards and is fire retardant. WARNING: ➢ For safety reason, please use only the same size fixing mounting screw which recommended in this instruction manual. ➢ Failure to install the screws or fixing device in accordance with these instructions may result in electrical hazards. -
Page 9: Maintenance And Cleaning
Fault Possible Cause Solution Fan switch turned off Select a fan switch position. Light on, but motor Fan switch failed Contact service center. does not work Motor failed Contact service center. House fuses blown Reset/Replace fuses. Light does not work, Refit cord to power outlet. - Page 10 The stainless steel must be cleaned regularly (e.g.weekly) to ensure long life expectancy.Dry with a clean soft cloth. A specialized stainless steel cleaning fluid may be used. NOTE: Ensure that wiping is done along with the grain of the stainless steel to prevent any unsightly crisscross scratching patterns from appearing.
- Page 11 CARBON FILTER-not supplied Activated carbon filter can be used to trap odors. Normally the activated carbon filter should be changed at three or six months according to your cooking habit. The installation procedure of activated carbon filter is as below. 1.
-
Page 12: Environment Protection
2. Apply the cross screwdriver to loose the 2 pcs screws from the terminal box and take out the terminal box cover. 3. Loose the wiring terminal screw from the lamp connection part with a small straight screwdriver, and then pull out the lamp wire. 4. - Page 13 INFORMATION FOR DISMANTLING Do not dismantle the appliance in a way which is not shown in the user manual. The appliance could not be dismantled by user. At the end of life, the appliance should not be disposed of with household waste. Check with you Local Authority or retainer for recycling advice.


Need help?
Do you have a question about the CHA600BK and is the answer not in the manual?
Questions and answers