Advertisement
Quick Links
Advertisement

Related Manuals for Cookology CEI1100SS


Summary of Contents for Cookology CEI1100SS
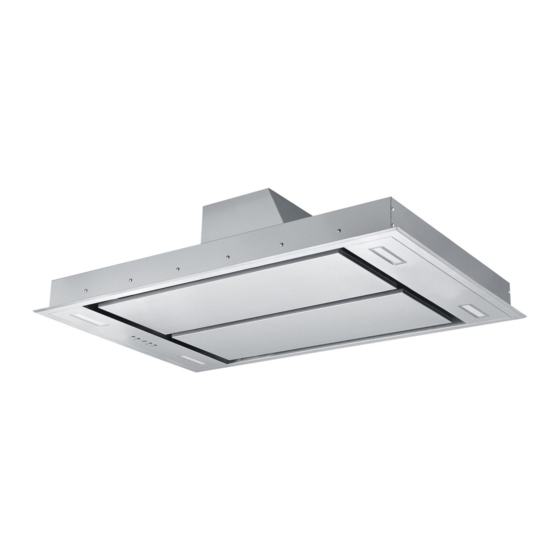
- Page 1 CEI1100SS CEI110WGP CEI110BGP Cooker hood Instruction manual...
-
Page 2: Table Of Contents
CONTENT 1……………………………………….Notice 2……………………………………….Feature 3………………………………………..Installation 4………………………………………..Notice of installation 5………………………………………..Safety Warning 6…………………………………………Speed adjustment 7…………………………………………Maintenance 8…………………………………………Abnormity and Solution... -
Page 3: Notice
1.Notice This appliance can be used by children aged from 8 years and above and persons with reduced physical, sensory or mental capabilities or lack of experience and knowledge if they have been given supervision or instruction concerning use of the appliance in a safe way and understand the hazards involved. - Page 4 The instructions shall state the substance of the following: – there shall be adequate ventilation of the room when the range hood is used at the same time as appliances burning gas or other fuels (not applicable to appliances that only discharge the air back into the room);...
- Page 5 – CAUTION: Accessible parts may become hot when used with cooking appliances. The installation instructions shall include the substance of the following: – the air must not be discharged into a flue that is used for exhausting fumes from appliances burning gas or other fuels (not applicable to appliances that only discharge the air back into the room);...
- Page 6 discharge of air have to be fulfilled. The installation instructions for range hoods with accessible metallic enclosures of class II construction shall include details that indicate the location and maximum permitted lengths for any fixing or mounting screw or other fixing device that penetrates into the range hood to attach an accessory such as a facia or duct fitting.
-
Page 7: Feature
substance of the following warning. Warning: Failure to install the screws or fixing device in accordance with these instructions may result in electrical hazards. Feature 1. The cooker hood uses high quality materials, and is made with a streamlined design. 2. -
Page 8: Installation
INSTALLATION 1. Before installation, turn the unit off and unplug it from the outlet. 2. The cooker hood should not be placed at a distance of no more than 150cm from the cooking surface for the best performance. Refer to Pic 3. - Page 9 4. According to the size shown on pic 2, drill 14pcs φ8mm holes on the ceiling once the installation height is determined,14pcs explode screws(or 14pcs ST6*40mm big flat screws+14pcs wall plugs) will be used to fix the two hanging board on the ceiling.( see pic. 3) 5.
- Page 10 d. Install the panel decorative strip and filter well apply to the reverse order of a/b steps above. Meanwhile, install the expansion pipe to the outlet (refer to pic 10). 7. As pic 11 shown, connect the 4 adjustable angle iron bracket with the housing by 8pcs M4*12mm machine silk screw, next refer to pic 12/13, lift up the housing, use...
-
Page 11: Notice Of Installation
4. Notice of installation 1. Before installation, please ensure the area is clean to avoid suction of the remaining bits of broken wood and dust. 2. It cannot share the same air ventilation tube with other appliance such as gas tube, warmer tube, and hot wind tube. 3. -
Page 12: Speed Adjustment
competent person. Before cleaning, always ensure that you have switched your cooker • hood off. Clean the cooker hood according to the instruction manual and keep • the cooker hood from the danger of burning. No fire for drying your cooker hood. •... - Page 13 The motor has the low speed, mid. speed and high speed. When the hood is working with low speed, LED display will show 1. Ventilation speed Press the button, then the hood will transfer to the mid speed for working; the LED will show 2 , press the speed button again , the hood will transfer to the high speed for working immediately.
- Page 14 one button to another ,the cooker hood is in connection mode, then, press any button on remote control to confirm the connection. Remote control 1. Lighting press button once, the light is on, press again, the light is off. The lighting button it is controlled separately and will not affect any other functions.
-
Page 15: Maintenance
lower speed; when it is in low speed, press the speed increase, it will turn to a higher speed. 5. Timer Press the button to set up the timer on/off function. 7. MAINTENANCE 1. It is recommended to operate the appliance prior to cooking. 2. - Page 16 6. Changing and cleaning the anti-grease filters -Removing the filters as the instruction of picture. You can clean the filter as below measure: Soak them for about 3 minute in hot water (40-50 degrees) with a mild detergent and then brush it gently with a soft brush. Please do not apply too much pressure so as to avoid any damage to it.
- Page 17 NOTE: • Make sure the filter is securely locked. Otherwise, it would loosen and cause danger. • When activated carbon filter attached, the suction power will be lowered. BULB REPLACEMENT Important : The bulb must replaced manufacturer, its service agent or similarly qualified persons.
-
Page 18: Abnormity And Solution
Abnormity and Solution Cause Solution Fault The leaf blocked Get rid of the blocking The capacitor damaged Replace capacitor Light on, but motor does not work The motor jammed bearing Replace motor damaged The internal with of motor off or Replace motor a bad smell from the motor Beside the above mentioned, check the following:... - Page 19 ENVIRONMENTAL PROTECTION: This product is marked with the symbol on the selective sorting of waste electronic equipment. This means that this product must not be disposed of with household waste but must be supported by a system of selective collection in accordance with Directive 2002/96/EC.
Need help?
Do you have a question about the CEI1100SS and is the answer not in the manual?
Questions and answers