
Related Manuals for Cookology CDD600BK


Summary of Contents for Cookology CDD600BK
- Page 1 CDD600BK& CDD900BK CDD605BK&CDD905BK CDD600WH&CDD900WH Cooker hood Instruction Manual CONTENT...
- Page 2 1………………………………………..Safety warning 2………………………………………. Notice 3……………………………………….. Feature 4……………………………………….. Installation instructions 5……………………………………….. Lamp replacement 6…………………………………………Maintenance 7…………………………………………Switch instruction 8…………………………………………Abnormity and Solution 1.SAFETY WARNING...
- Page 3 Never let children operate the cooker hood. The cooker hood is for home use only. It is not suitable for barbecues, Roast shop and other commercial purposes. The installation must be completed by a qualified and competent fitter, and connect the correct power before use.
- Page 4 mental capabilities or lack of experience and knowledge if they have been given supervision or instruction concerning use of the appliance in a safe way and understand the hazards involved. Children shall not play with the appliance. Cleaning and user maintenance shall not be made by children without supervision If the supply cord is damaged, it must be replaced by the manufacturer, its service agent or similarly qualified...
- Page 5 accordance with the instructions; – do not flambé under the range hood; – CAUTION: Accessible parts may become hot when used with cooking appliances. The installation instructions shall include the substance of the following: – the air must not be discharged into a flue that is used for exhausting fumes from appliances burning gas or other fuels (not applicable to appliances that only discharge the air back into the room);...
- Page 6 The installation instructions for range hoods with accessible metallic enclosures of class II construction shall include details that indicate the location and maximum permitted lengths for any fixing or mounting screw or other fixing device that penetrates into the range hood to attach an accessory such as a facia or duct fitting.
-
Page 7: Installation
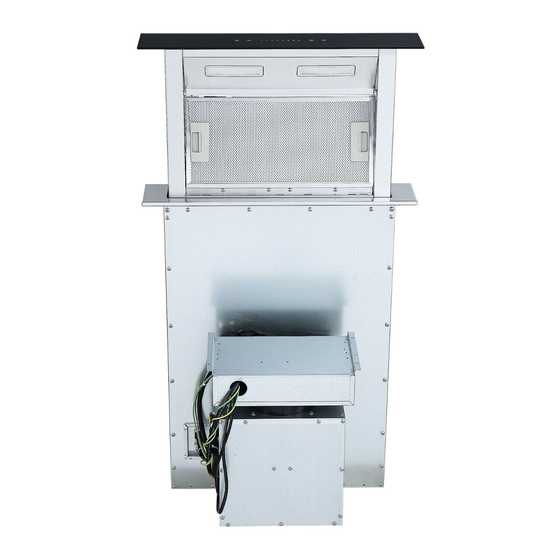
The cooker hood has a streamlined design and is made with high quality materials. Other features include a large power low noise electric motor and centrifugal leaf that produces strong suction. Also, a non-stick grease filter ensures that the cooker hood is easy to clean. The cooker hood’s special wind tunnel construction and oil collector design enables free dirt to be absorbed in seconds. - Page 8 Pic 6 5.LAMP REPLACEMENT BULB REPLACEMENT The bulb must be replaced by a competent person. Important : Always switch off the electricity supply before carrying out any operations on the appliance. When handling bulb, make sure it is completely cool down before any direct contact to hands.
-
Page 9: Maintenance
6.MAINTENANCE Replace and clean the filter Please follow the below filter dismantled method operation (See pic 9) Method 1: Put the filter into 40-50°C clean water, pour on detergent, and soak for 2-3 minutes. Wear gloves and clean with a soft brush. Please do not apply too much pressure, as the filter is delicate and will damage easily. - Page 10 Timer Light Slide control Speed Power Functional Operation 1 Power on, the hood will standby with backlight, backlight will be extinguished after 5 seconds without any operation, for using the hood again, touch any key to wake up it’s standby motion. 2 Touch the power button for 2 seconds, the hood will slide upwards, and works at the first speed.
-
Page 11: Abnormity And Solution
also use the manual keys by touching the button to operate the hoods on one pilot light and it will be on in corresponding light intensity. The pilot light will stop flashing after 15s if no function adjustment. 5. Timer button 5.1 Touch timer button when light or motor is working;... -
Page 12: Environmental Protection
not work The motor jammed bearing damaged Replace motor The internal with of motor off or a Replace motor bad smell from the motor Beside the above mentioned, check the following: Light does not work, Light damaged Replace lights motor does not work Power cord looses Connect the wires as per the electric diagram... - Page 13 hazardous substances. For more information, please contact your local or regional authorities. Note: a. In order to reduce the environmental impact (e.g. energy use) of the cooking process, please be sure that your product is installed according to the user manual, keep the operation place ventilated, keep the extraction duct be direct and short as possible as it can be.
Need help?
Do you have a question about the CDD600BK and is the answer not in the manual?
Questions and answers