Advertisement
Quick Links
Advertisement

Subscribe to Our Youtube Channel
Related Manuals for Cookology PREM900BK


Summary of Contents for Cookology PREM900BK
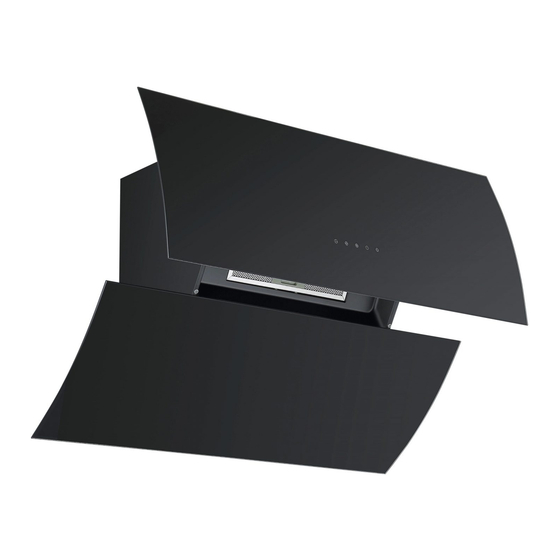
- Page 1 PREM900BK Cooker hood Instruction manual...
-
Page 2: Table Of Contents
CONTENT 1……………………………………….Notice 2…………………………………….Feature& Notice of installation 3………………………………………..Installation 4……………………………………….. Speed adjustment 5………………………………………..Safety Warning 6…………………………………………Maintenance 7………………………………………….. Abnormity and Solution... -
Page 3: Notice
1.Notice This appliance can be used by children aged from 8 years and above and persons with reduced physical, sensory or mental capabilities or lack of experience and knowledge if they have been given supervision or instruction concerning use of the appliance in a safe way and understand the hazards involved. - Page 4 The installation instructions shall include the substance of the following: – the air must not be discharged into a flue that is used for exhausting fumes from appliances burning gas or other fuels (not applicable to appliances that only discharge the air back into the room); –...
- Page 5 Feature The cooker hood uses high quality materials, and is made with a streamlined design. 2. Equipped with a large power low noise electric motor and centrifugal leaf, it produces strong suction, low noise, non stick grease filter and easy to clean. 3.
-
Page 6: Installation
3. Installation MOUNTING OF THE V-FLAP If the cooker hood does not have an assembled V-flap 1, you should mount the half-parts to its body. The images only show an example of how to mount the V-flap, the outlet may be various according to different models and configuration. - Page 7 4) Hang the cooker hood onto the fixing screws. 5) For the PREM900BK - Connect the cooker hood to the mains supply and turn the cooker hood on by pressing the power button for 3 seconds. This will open the decorative cover. Disconnect the cooker hood from the mains supply.
-
Page 8: Speed Adjustment
4. SPEED ADJUSTMENT Five-key touch control There are five touch buttons: (Low), (Mid), (High), (Light), (delay).See Pic above. 1. Press button once; lights will be turn on . Press button again to turn off the lights. 2. Power on: After you have connected the cooker hood to the mains supply, you can start using the cooker hood by selecting the motor fan speed that you want, (Low),... -
Page 9: Maintenance
experience and knowledge, unless they have been given supervision or instruction concerning use of the appliance by a person responsible for their safety. Do not touch the light bulbs when/after appliance use. • Do not check the status of the filters while the cooker hood is •... - Page 10 2. It is recommended to leave the appliance in operation for 15 minutes after cooking is terminated in order to completely eliminate cooking vapors and odors. 3. The proper function of the cooker hood is conditioned by the regularity of the maintenance operations, in particular, the active carbon filter.
- Page 11 CARBON FILTER-not supplied Activated carbon filter can be used to trap odors. Normally the activated carbon filter should be changed at three or six months according to your cooking habit. The installation procedure of activated carbon filter is as below. 1.
- Page 12 gloves to ensure perspiration does not come in contact with the globe as this can reduce the life of the globe. Changing the light bulbs 1. Switch the unit off and pull out the plug first. 2. Wait until the light bulb is cooled down before replacement. 3.
-
Page 13: Abnormity And Solution
Abnormity and Solution Cause Solution Fault The leaf blocked Get rid of the blocking The capacitor damaged Replace capacitor Light on, but motor does not work The motor jammed bearing Replace motor damaged The internal with of motor off or Replace motor a bad smell from the motor Beside the above mentioned, check the following:... - Page 14 The machine inclines The fixing screw not tight Tighten the hanging enough screw and make it horizontal The hanging screw not tight Tighten the hanging enough screw and make it horizontal ENVIRONMENTAL PROTECTION: This product is marked with the symbol on the selective sorting of waste electronic equipment.
Need help?
Do you have a question about the PREM900BK and is the answer not in the manual?
Questions and answers