
Related Manuals for Cookology TEL600SS/A


Summary of Contents for Cookology TEL600SS/A
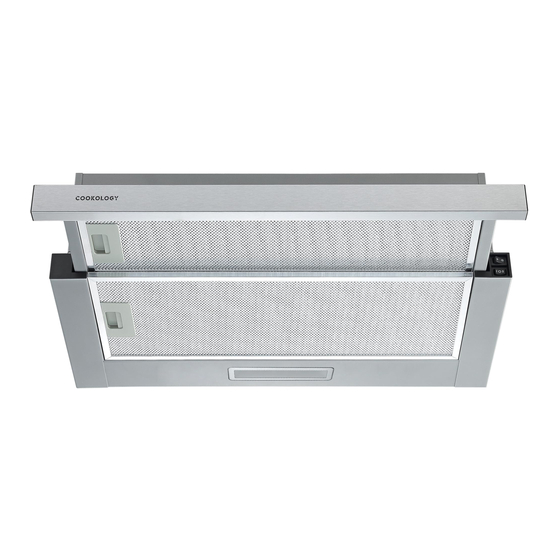
- Page 1 TEL600SS/A Cooker Hood Instruction Manual Please register the warranty for this product on www.Cookology.com...
-
Page 2: Table Of Contents
Content 1…………………………………..………………………………Safety instructions 2…………………………………..………………………………Installation 3…………………………………..………………………………Start using your cooker hood 4…………………………………..………………………………Troubleshooting 5…………………………………..………………………………Maintenance and cleaning 6…………………………………..………………………………Environment protection... -
Page 3: Safety Instructions
SAFETY INSTRUCTIONS his manual explains the proper installation and use of your cooker hood, please read itcarefully before using even if you are familiar with the product. The manual should be keptin a safe place for future reference. of a cooker hood or other cooking Never to do: fume extractor, the operation of open flued gas appliances should be tested... - Page 4 appliance in a safe way and ● f the voltage rating of the lamp is less understand the hazards involved. than the rated voltage of the appliance, Children shall not play with the the voltage rating of the lamp shall appliance.
- Page 5 than electricity are simultaneously in ● steam cleaner is not to be used. operation, the negative pressure in the ● EVER try to extinguish a fire with room must not exceed 4 Pa (4 x 10 water, but switch off the appliance and bar).
- Page 6 Pic 1 2. Install the L-shaped bracket on the top of the hood by two screws (4mm x 10mm). See pic 2. Pic 2 3. The cooker hood is wall mounted with 4 screws (4mm x 30mm) and wall plugs. Mount the cooker hood on the wall on the back of the cooker hood with 2 screws (4mm x 30mm) and wall plugs.
- Page 7 Pic 4 INSTALLATION (Cabinet Mounting) Fix the outlet to the cooker hood with 2pcs screws(ST4*8). Then fix the expansion pipe on the outlet, and lead it to outdoors. See pic5. Pic 5 2. Drill 6 φ 6mm holes on the cabinet splint. And mount the cooker hood on the cabinet with 6 screws (4x35mm) and flat washers.
- Page 8 Pic 6 If there is gap between the wall and the cooker hood, you may install the L-shaped bracket on the bottom of the hood with two screws (3 x 12mm). The installation of the L-shaped bracket is optional. Note: The expansion pipe mentioned in all installation is not included in the product. WARNING: ➢...
-
Page 9: Start Using Your Cooker Hood
Start Using Your Cooker Hood Rocker switch Rocker switch 1. Insert the power plug into the socket. 2. Push switch ① to , the lamp will be on; push switch ① to “0”, the lamp will be off. 3. Push the switch ② into “I、II”, the motor will be on “low、high” two speeds, push into “0”, the motor will be off. -
Page 10: Maintenance And Cleaning
NOTE: Any electrical repairs to this appliance must conform to your local, state and federal laws.Please contact the service centre if in any doubt before undertaking any of the above.Always disconnect the unit from the power source when opening the unit. MAINTENANCE AND CLEANING Caution: •... - Page 11 GREASE MESH FILTERS The mesh filters can be cleaned by hand. Soak them for about 3minutes in water with a mild detergent and then brush it gently with a soft brush. Do not apply too much pressure so as to avoid any damage to it . (Leave to dry naturally out of direct sun light) Filters should be washed separately to crockery and kitchen utensils.
- Page 12 BULB REPLACEMENT The bulb must be replaced by the manufacturer, its Important : service agent or similarly qualified persons. Always switch off the electricity supply before carrying out any operations on the appliance. When handling bulb, make sure it has completely cooled down before any direct contact with hands.
-
Page 13: Environment Protection
At the end of life, the appliance should not be disposed of with household waste. Check with you Local Authority or retainer for recycling advice. Please register the warranty for this product on www.Cookology.com Cookology Limited Ground floor, 71 Lower Baggot Street, Dublin 2, D02 P593...
Need help?
Do you have a question about the TEL600SS/A and is the answer not in the manual?
Questions and answers