
Subscribe to Our Youtube Channel
Related Manuals for Cookology TUB350SS/A++


Summary of Contents for Cookology TUB350SS/A++
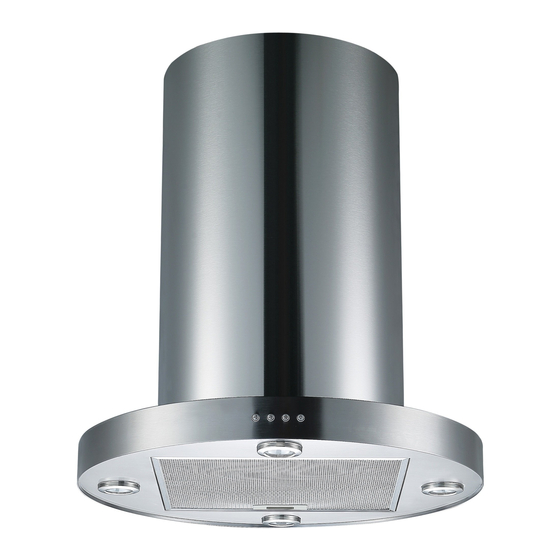
- Page 1 TUB350SS/A++ Cooker Hood Instruction Manual Please register the warranty for this product on www.Cookology.com Content...
- Page 2 1…………………………………..………………………………Safety instructions 2…………………………………..………………………………Installation 3…………………………………..………………………………Start using your cooker hood 4…………………………………..………………………………Troubleshooting 5…………………………………..………………………………Maintenance and cleaning 6…………………………………..………………………………Environment protection...
-
Page 3: Safety Instructions
SAFETY INSTRUCTIONS his manual explains the proper installation and use of your cooker hood, please read it carefully before using even if you are familiar with the product. The manual should be kept in a safe place for future reference. extractor, the operation of open flued Never to do: gas appliances should be tested by a... - Page 4 during operation. Be careful to avoid ● lways put lids on pots and pans touching the heating elements. when cooking on a gas cooker. Children younger than 8 years old ● hen in extraction mode, air in the should stay away unless they are room is being removed by the cooker under permanent supervision.
-
Page 5: Installation (Vent Outside)
INSTALLATION (VENT OUTSIDE) MOUNTING OF THE V-FLAP If the cooker hood does not have an assembled V-flap 1, you should mount the half- parts to its body.The images only show an example of how to mount the V-flap, because the outlet may vary according to different models and configuration s. To mount the V-flap 1 you should: •... - Page 6 4. According to the hanging board, drill 12 holes on the ceiling. Use 12 pcs ST60× 40mm screws to fix the hanging board on the wooden ceiling or use 8 pcs concrete anchor to fix the hanging board on the concrete ceiling. See Pic 2. 5.
- Page 7 7. 4pcs ST4*8 big flat screws will be used to connect the inside chimney into the hanging board, then put on the outside chimney, a hook will be used to put up the outside chimney in order to the next installation, see pic 5. 8.
- Page 8 HINTS FOR EXHAUST DUCT INSTALLATION The following rules must be strictly followed to obtain optimal air extraction: • Keep expansion pipe short and straight. • Do not reduce the size or restrict the expansion pipe. • When using the expansion pipe always install the pipe pulled taut to minimize pressure loss.
- Page 9 ➢ WARNING: For safety reason, please use only the same size of fixing or mounting screws which are recommended in this instruction manual. ➢ Failure to install the screws or fixing device in accordance with these instructions may result in electrical hazards. Start Using Your Cooker Hood Electronic button There are five buttons:...
-
Page 10: Troubleshooting
button and power button will beam. Press low button again and the motor will stop. Indicator light of low button and power button will be off,and run by circle. 7. Low speed, mid speed and high speed cannot work at the same time. When hood is on high speed, press low speed, it will turn to low speed at once;... - Page 11 • External surfaces are susceptible to scratches and abrasions, so please follow the cleaning instructions to ensure the best possible result is achieved without damage. GENERAL Cleaning and maintenance should be carried out with the appliance cold especially when cleaning.Avoid leaving alkaline or acid substances (lemon juice, vinegar etc.) on the surfaces.
-
Page 12: Bulb Replacement
should be changed at three or six months according to your cooking habit. The installation procedure of activated carbon filter is as below. 1.Remove the grease filter first. Press the lock and pull it downward. See pic 10. 2.Insert the carbon filter into the rectangular hole, fitting it over the motor. See pic 11. Raise the two fixing bars, until they are horizontal over the carbon filter. -
Page 13: Environmental Protection
• ILCOS D code for this lamp is:DSR-1.5/65-S-64 – LED modules –round lamp – Max wattage: 4×1.5 W – Voltage range: DC 4V – Dimensions: ENVIRONMENTAL PROTECTION: This product is marked with the symbol on the selective sorting of waste electronic equipment. This means that this product must not be disposed of with household waste but must be supported by a system of selective collection in accordance with Directive 2012/19/EU. - Page 14 Please register the warranty for this product on www.Cookology.com Cookology Limited Ground floor, 71 Lower Baggot Street, Dublin 2, D02 P593 The Wright Buy Ltd Unit 2 Piperell Way, Haverhill, Suffolk, CB9 8QW, United Kingdom...
Need help?
Do you have a question about the TUB350SS/A++ and is the answer not in the manual?
Questions and answers