Table of Contents
Advertisement
Quick Links
Advertisement
Table of Contents

Related Manuals for Insportline Drakkaris


Summary of Contents for Insportline Drakkaris
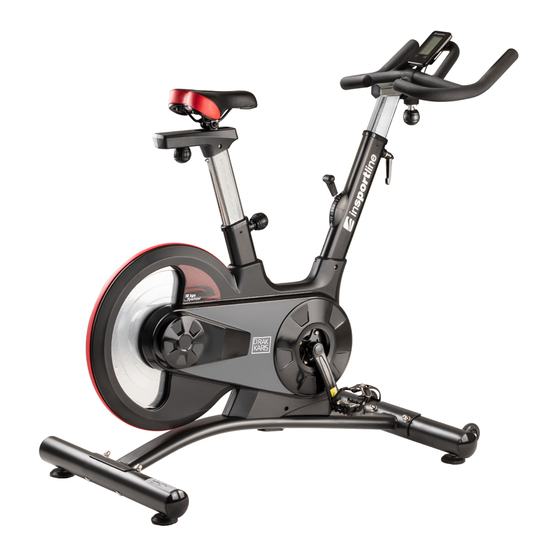
- Page 1 USER MANUAL – EN IN 20067 Indoor Bike inSPORTline Drakkaris...
-
Page 2: Table Of Contents
CONTENTS SAFETY INSTRUCTIONS ........................3 IMPORTANT NOTES ..........................3 PARTS LIST ............................4 DIAGRAM ..............................7 ASSEMBLY ............................. 8 CONSOLE ............................. 11 USE ............................... 12 CORRECT BODY POSTURE ....................... 13 EXERCISE INSTRUCTIONS ........................ 13 MAINTENANCE ............................ 14 STORAGE ............................. 14 IMPORTANT NOTICE ........................... -
Page 3: Safety Instructions
SAFETY INSTRUCTIONS • To ensure the best safety of the exerciser, regularly check it on damages and worn parts. • If you pass on this exerciser to another person or if you allow another person to use it, make sure that that person is familiar with the content and instructions in these instructions. •... -
Page 4: Parts List
contents of the delivery are complete by referring to the parts list of the assembly and operating instructions. • Be sure to set up the exerciser in a dry and even place and always protect it from humidity. If you wish to protect the place particularly against pressure points, contamination, etc., it is recommended to put a suitable, non-slip mat under the exerciser. - Page 5 32*12 (M16x1,5) Φ22*20 Fixing shaft Screw 3 M6*12 Nut 2 M12*1,25 Screw M8*16 Nut 1 M12,1,25 Φ28*6,5 Crank end cap End cap 2 38*38*2,0 Φ16* Φ6 Gasket Left crank 170*15 Φ58*28 Crank cover Bearing 6004ZZ Right crank 170*15 Plastic sleeve 38*38*3,0 Washer Screw...
- Page 6 HT250/ Φ453*72 Flywheel Φ12*160 Flywheel shaft Breaking pad Screw M6*41 Φ10*M6*42 Spacer Washer 2 Screw 2 M6*12 Breaking system Rubber washer 95*16*9 End cap 2 80*40*1,5 110*16*4 Console ST-6521 Screw 3 M5*10 Sensor SR-202 Screw 3 ST4,8*13 Left seat cover 255*33*77...
-
Page 7: Diagram
DIAGRAM... -
Page 8: Assembly
ASSEMBLY Make sure you have enough space before folding. Make sure no part is missing. STEP 1 Secure the front stabilizer (15) to the main frame (16) with 2 washers (5), nuts (6) and screws (3). Secure the rear stabilizer (4) to the main frame (16) with 2 washers (5), nuts (6) and screws (3). STEP 2 Attach the seat post (10) to the main frame (16) and secure with the knob (7) To adjust the desired height, loosen the knob (7) and then tighten it again. - Page 9 STEP 3 Attach the handlebar post (17) to the main frame (16). Secure with the knob (19) and adjust to the desired height. Attach the handles (18) with the knob (22) and screw (25). Attach the console (72) to the handles (17) with 4 screws (73). STEP 4 The pedals are marked L - left, R - right.
- Page 10 Use the brake (63) to increase the load.
-
Page 11: Console
CONSOLE BUTTONS MODE/RESET Confirm the setting Hold for 2 seconds to reset all data Sets TIME, DISTANCE, CALORIES, PULSE Hold down to increase values faster (Console cannot be use) FUNCTIONS SCAN Displays TIME - DISTANCE - CALORIES - PULS - RPM / SPEED in sequence Displays revolutions per minute and speed, functions are displayed every 6 seconds SPEED Displays speed... -
Page 12: Use
5. Use MODE to select the displayed function except RPM (SPEED) If the console does not receive a signal for 4 minutes, it will automatically turn off. If you remove the battery, the values are reset. If the display is difficult to read, replace the battery. Battery: 3V CR2032 - 1 pc 1. -
Page 13: Correct Body Posture
When exercising, it's important to choose the right load and the right tempo. Try to keep it throughout the exercise. It is not recommended to choose a high pace right from the start. Increase tempo after about a week of regular exercise. The high pace is not equal to the faster burning of calories. Correct calorie burning is reflected in an appropriate and regular exercise. -
Page 14: Maintenance
Inside upper thigh Sit on the floor and place your feet together. Knees are pointed outwards. Pull your feet as close as possible to your groin. Press your knees carefully downwards. Keep this position for 30-40 seconds if possible. Calves and Achilles tendon Lean against a wall with your left leg in front of the right one and your arms forward. -
Page 15: Important Notice
IMPORTANT NOTICE • This indoor bike comes with standard safety regulations and is only suitable for home use. Any other use is prohibited and may be dangerous to users. We are not responsible for any injury caused by improper and forbidden use of the machine. •... - Page 16 The Seller provides the Buyer a 24 months Warranty for Goods Quality, unless otherwise specified in the Certificate of Warranty, Invoice, Bill of Delivery or other documents related to the Goods. The legal warranty period provided to the Consumer is not affected. By the Warranty for Goods Quality, the Seller guarantees that the delivered Goods shall be, for a certain period of time, suitable for regular or contracted use, and that the Goods shall maintain its regular or contracted features.
Need help?
Do you have a question about the Drakkaris and is the answer not in the manual?
Questions and answers