Table of Contents
Advertisement
Quick Links
Advertisement
Table of Contents

Related Manuals for Insportline Hodore UB


Summary of Contents for Insportline Hodore UB
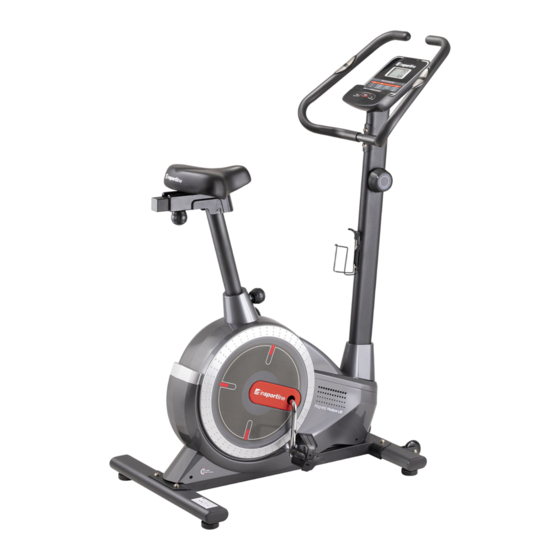
- Page 1 USER MANUAL – EN IN 20072 Exercise bike inSPORTline Hodore UB...
-
Page 2: Table Of Contents
CONTENTS SAFETY INSTRUCTIONS ........................3 IMPORTANT NOTES ..........................3 PARTS LIST ............................4 DIAGRAM ..............................6 ASSEMBLY ............................. 8 CONSOLE ............................. 12 NOTE: ..............................12 TROUBLESHOOTING .......................... 13 USE ............................... 13 EXERCISING INSTRUCTIONS ......................14 CORRECT BODY POSTURE ....................... 14 MAINTENANCE ............................ -
Page 3: Safety Instructions
SAFETY INSTRUCTIONS • To ensure the best safety of the exerciser, regularly check it on damages and worn parts. • If you pass on this exerciser to another person or if you allow another person to use it, make sure that that person is familiar with the content and instructions in these instructions. •... -
Page 4: Parts List
• The general rule is that exercisers and training devices are no toys. Therefore, they must only be used by properly informed or instructed persons. • Stop your work-out immediately in case of dizziness, nausea, chest pain or any other physical symptoms. - Page 5 Nut M8 Nut M10x1.0x6 End cap stabilizer Screw with eyelet M6x36 Nut M10 U shaped bracket Spring washer Ø6 Leveling feet Handlebar post cover Nut M6 S10 Flywheel bracket Right chain cover Screw with eyelet M8x75 Left crank cover Screw M8x20 Right crank cover Screw Φ8x32 Pulley...
-
Page 6: Diagram
DIAGRAM... -
Page 8: Assembly
ASSEMBLY STEP 1 Attach the leveling feet (28) to the front stabilizer (6). Attach the leveling feet (28) to the rear stabilizer (7). STEP 2 Remove the two screws (12), the two washers (21) from the front stabilizer (6). Remove the two screws (12), the two washers (21) from the rear stabilizer (7). - Page 9 STEP 3 Remove the four screws (12) of the two washers (21, 13) from the main frame (1). Slide the handlebar cover (29) onto the bottom of the handlebar post (3). Pass the load adjustment cable (18) through the bottom of the handlebar post (3) and pull it out through the square hole of the handlebar post (3).
- Page 10 STEP 4 Remove the three nuts (25) and the three washers (37) from the seat (38). Attach the seat (38) to the saddle slider triangle (5) using the three nuts (25) and the three washers (37) that you removed. Remove the washer (33) and the hand nut (32) from the saddle slider (5) and attach the saddle slider (5) to the seat post (4) with the washer (33) and the hand nut (32).
- Page 11 STEP 6 Remove the two screws (12), the two washers (13) from the handles (3). Pass the pulse cable (10) from the handle (3) into the handle holder hole and pass through the top of the handle holder (3). Attach the handles (2) to the handle holder (3) using the two screws (12) and two washers (13) that you removed.
-
Page 12: Console
CONSOLE BUTTONS MODE Confirm the function selection. Set the time, distance, calories and pulse values if the console is not in scan mode. RESET Resets time, distance, and calorie values. DISPLAY SCAN Press the MODE button to select SCAN. The display will show the functions of time, speed, distance, calories, total distance and pulse. -
Page 13: Troubleshooting
TROUBLESHOOTING Error Solution Recumbent is not stable Stabilize with stabilizing feet The data is not displayed 1. Check the cable connection 2. Check the battery status 3. Replace the batteries No pulse detected 1. Make sure the cables are properly connected 2. -
Page 14: Exercising Instructions
who want to burn excess calories. Regular breathing, regular exercise, reasonable tempo, and balanced diet can lead to your desired results. EXERCISING INSTRUCTIONS A successful workout begins with warm-up exercises and ends with cool-down (relaxing) exercises. The warm-up exercises should make your body ready for the main workout. The cool-down phase should protect your muscles from injuries and cramps. -
Page 15: Storage
• Do not expose the device to direct sunlight. STORAGE Keep the exercise bike in a clean and dry environment. Make sure the power switch is turned off and the exercise bike is not plugged into the power socket. IMPORTANT NOTICE •... - Page 16 otherwise specified in the Purchase Agreement, in the Amendment to this Contract or in another written agreement. Warranty Conditions Warranty Period The Seller provides the Buyer a 24 months Warranty for Goods Quality, unless otherwise specified in the Certificate of Warranty, Invoice, Bill of Delivery or other documents related to the Goods. The legal warranty period provided to the Consumer is not affected.
Need help?
Do you have a question about the Hodore UB and is the answer not in the manual?
Questions and answers