Advertisement
Quick Links
Advertisement

Summary of Contents for Insportline IN 185 Kapara
- Page 1 USER MANUAL – EN IN 185 Indoor Cycling Bike inSPORTline Kapara...
-
Page 3: Instruction Use
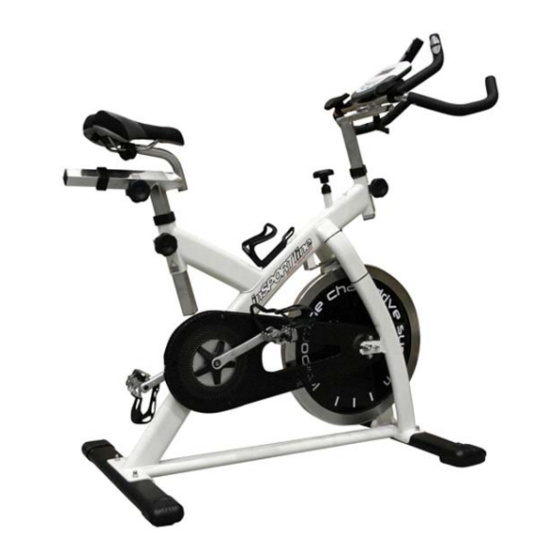
INSTRUCTION USE 1) This model is designed to be used as a “spin “ cycle in fitness studios and health clubs. It has a fixed wheel driven flywheel and should only be used under professional supervision. 2) Installation – it is important that the device is correctly assembled and we recommend that suitably qualified personnel carry out installation and assembly. - Page 4 Remove seat and clean tube Check brake pads for wear-align Check brake adjustment Check security of all knobs & release lever Check toe straps for signs of wear Check crank bolts and re-tighten Make sure pedals are screwed in Check chain tension Oil chain Wipe the anti-rust oil on the flywheel Check bottom bracket...
- Page 5 Step two Attach the handlebar post inserting into the head tube on the frame. Using knob to adjust and tighten the height in proper position. Then attached handlebar slider (21) on the handlebar post (23), use release lever (22) to adjust and tighten the handlebar in proper position.
- Page 6 Step five Attach the computer (41) to the handlebar plate using fixed bolt (42). Adjusting the resistance To adjust the exercising resistance on the complete spinning bike by the brake knob (31) of brake system, and then simply loosen (-) or tighten (+). The flywheel should rotate freely without resistance when you loosen (-) the brake system totally.
- Page 7 EXERCISE MONITOR – INSTRUCTION MANUAL FRONT VIEW HOW TO REMOVE BATTERY: Pull off the battery cover and place two of SIZE-AAA or UM-4 batteries into battery housing on back of monitor, please refer to below illustrations. Insure batteries are correctly positioned and battery springs are in proper contact with batteries. 3.
- Page 8 TIME: Press the button of ENTER to TIME function and press the UP or DOWN button to enter the value you want. Count up: Without setting the time value, the monitor will count up the time from 00:00~99:59. Count down: Setting the exercise time from 1:00~99:00 minutes, the monitor will count down from your setting values.
-
Page 9: Parts List
If no pulse signal input within 16 seconds, the display will indicate “P”. It is a power saving device. Customer can press key to restart Pulse function. PULSE RECOVERY: When you stop to exercise and desire to test your pulse recovery. Press this button to proceed your pulse recovery and place the palms of your hands on the both of contact pads for one minute. - Page 10 Screw & nut Magnet Spring bracket Flywheel Handlebar Inner chain guard Release lever w/washer Seat slider Handle bar post Seat post Outer chain guard Knob fixed washer Flywheel axle Washer for bottle cage Fixed wheel sprocket Flywheel bearing...
-
Page 11: Exploded Drawing
EXPLODED DRAWING...


Need help?
Do you have a question about the IN 185 Kapara and is the answer not in the manual?
Questions and answers