
Related Manuals for Linak DL5


Summary of Contents for Linak DL5
- Page 1 U S E R M A N U A L DL5/DL6 system To learn more about LINAK please visit: W W W . L I N A K . C O M...
-
Page 3: Table Of Contents
DL5/DL6 system ....................7 Mounting guidelines for the DESKLINE ® DL5/DL6 system ................8 Mounting guidelines CBD4/CBD5 ....................... 10 Electrical connection of the DL5/DL6 system....................12 ® Initialisation of the DESKLINE DL5/DL6 parallel systems ................. 13 Accessories and repair ............................14 Disposal of LINAK’s products .......................... -
Page 4: Preface
We are also constantly improving our products to meet customer requirements. This User Manual will tell you how to install, use and maintain your LINAK DESK- LINE ®... -
Page 5: Important Information
• Stop the DL5/DL6 • Switch off the power supply and pull out the mains plug. • Relieve the DL5/DL6 of any loads, which may be released during the work. Before start-up: • Make sure that the system has been installed as instructed in this User Manual. -
Page 6: During Operation
(continued) • System connection. The individual parts must be connected before the con- trol box is connected to the mains. See the User Manual for LINAK actuators, if necessary. During operation • If the control box makes unusual noises or smells, switch off the mains volt- age immediately. -
Page 7: Misc. On The Deskline
There is a 36 months’ warranty on the DESKLINE products against manufactur- ing faults from the production date of the individual products (see label). LINAK A/S’ warranty is only valid in so far as the equipment has been used and maintained correctly and has not been tampered with. Furthermore, the system must not be exposed to violent treatment. -
Page 8: Mounting Guidelines For The Deskline
Mounting guidelines for the DESKLINE DL5 and DL6 system The lifting units must always be mounted with the motor housings upwards and pointing towards each other (see fi gure 2). The steel motor housing is supplied with 6 pcs. of M6 threaded holes meant for mounting on the desk frame. - Page 9 The DESKLINE ® DL5/DL6 system can only be used in push applications with the motor housing mounted upwards. Placement of a monitor directly above the motor housing may cause malfunction of the monitor. Magnets inside the motor may interrupt the picture on the monitor depending on the distance and type of monitor.
-
Page 10: Mounting Guidelines Cbd4/Cbd5
Mounting guidelines CBD4/CBD5 The control box is to be fastened with 4 screws (3 screws for CBD5) with a head diameter between ø 8 and ø 10 mm. Out of regard for the tension surface ø 10 mm is preferable. See drawing appendix for placing of mounting holes and the space the CBD takes up. - Page 11 The earth connec- tion does not protect other electrical products. CBD4/CBD5 with mains cut-off If the power cable is damaged it has to be replaced by an authorised LINAK service centre to avoid any danger. Hook for cable relief Mains cable DL5/DL6...
-
Page 12: Electrical Connection Of The Dl5/Dl6 System
The DESKLINE DL5/DL6 system is to be connected as shown on fi gure 4. Each DL5/DL6 is to be connected to the sockets on the control box by means of the motor cables, which have an 6-pin plug in each end. -
Page 13: Initialisation Of The Deskline Dl5/Dl6 Parallel Systems
The CBD5 can control DL5 and DL6 in 2 parallel and 3 parallel while the CBD4 can control DL5 and DL6 in 2, 3, and 4 parallel so that the desk is always kept horizontal. -
Page 14: Accessories And Repair
Accessories Please contact your nearest LINAK dealer for information. Repairs Systems should only be repaired by an authorised LINAK service centre or engineer. Systems to be repaired under warranty must be sent to an author- ised LINAK service centre. Warning! By unauthorised opening of the system there is a risk that it may malfunction at a later date. -
Page 15: Disposal Of Linak's Products
Disposal of LINAK’s products As LINAK’s customers often ask us how our products can be disposed of or scrapped we have prepared this guidance that enables a classifi cation to dif- ferent waste fractions for recycling or combustion. Guidance We recommend that our products be disassembled as much as possible and divided into different waste groups for recycling or combustion. - Page 16 "Details regarding safe disposal of used and leaking batteries: Batteries should be disposed in accordance with appropriate federal, state and local regulations. LINAK recommends that used or leaking batteries are disposed through local recycling system. Please do not throw used or leaking batteries in normal household waste or in nature.
-
Page 17: Labels
Label for CBD4 Label for CBD5 Label for DL6 Label for DL5... -
Page 18: Drawing Appendix
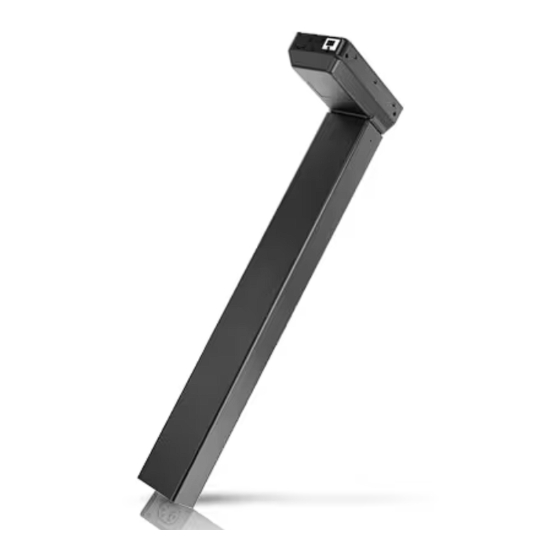
DRAWING APPENDIX ® DESKLINE DL5/DL6 System: DL5 lifting unit... - Page 19 DL5 lifting unit “no crossbar” version...
- Page 20 DL6 lifting unit DL6 lifting unit “no crossbar” version...
- Page 21 CBD4 CBD5...
- Page 22 LINAK shall be responsible solely that the LINAK products comply with the specifi ca- tions set out by LINAK and it shall be the responsibility of the LINAK customer to en- sure that the specifi c LINAK product can be used for the application in question.
-
Page 24: Addresses
LINAK cannot guarantee the correct and actual status of said information on its products. JAPAN While LINAK uses its best efforts to fulfi l orders, LINAK LINAK K.K. Phone: +81 45 533 0802 . Fax: +81 45 533 0803 cannot, for the same reasons as mentioned above, guarantee E-mail: linak@linak.jp .
Need help?
Do you have a question about the DL5 and is the answer not in the manual?
Questions and answers