Table of Contents
Advertisement
Quick Links
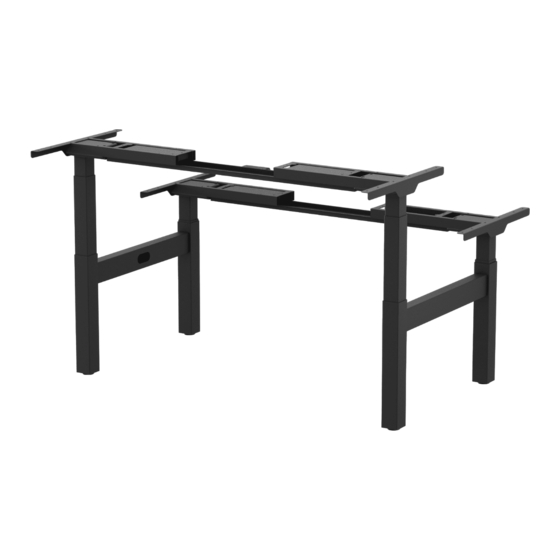
3 Stage Height Adjustable
Back-to-Back Desk (HAFD233)
Assembly Instructions
UNPACKING INSTRUCTIONS
Carefully open the carton, and lay out the parts
on a protective surface to avoid damage. Check
pack contents against the parts list to ensure all
components have been recieved. Do not use damaged
or defective parts. Carefully read all instructions before
starting assembly of the desk.
Advertisement
Table of Contents

Summary of Contents for Arrow HAFD233
- Page 1 3 Stage Height Adjustable Back-to-Back Desk (HAFD233) Assembly Instructions UNPACKING INSTRUCTIONS Carefully open the carton, and lay out the parts on a protective surface to avoid damage. Check pack contents against the parts list to ensure all components have been recieved. Do not use damaged or defective parts.
- Page 2 PARTS OVERVIEW DESK FRAME PARTS LIST LEG BEAM PARTS LIST Part Description Part Description Part Description Part Description M6 x 10 CSK Leg Beam M8 x 16 Left Lifting Column Right Lifting Column M6 x 10 Decorative Cover Allen Key Cable Tidy Tray M6 x 16 OPTIONAL CABLE TRAY PARTS LIST...
- Page 3 STEP 1 Install the lifting columns (1 & 2). TOP TIP Please pay attention to the left or For each component, always start right lifting column. all screws in their threads before tightening any screw fully. Insert the lifting columns (1 & 2) into the ends of the supporting beam (4).
- Page 4 STEP 4 (OPTIONAL) Install the screen brackets (11). Screen bracket (11) Screen bracket (11) Leg beam (8) Keyhole slot STEP 5 (OPTIONAL) Install the central cable tray (10). Central cable tray Central cable tray Loosen Central cable tray Loosen the screws underneath the central cable tray (10) with the 4mm allen key (F), slide apart to fit and Stretch hook the cable tray onto the keyhole slot.
- Page 5 STEP 6 Install the desktop cross beam (5). Connect the desktop cross beam (5) to the supporting beam (4) with screws (A) and tighten the screws with 4mm allen key (F). STEP 7 Connect cables (6 & 7) to control box. Connect the desktop cross beam (5) to the supporting beam (4) with screws (A)
- Page 6 STEP 9A Install the cable tidy tray (3) - Method 1. 2. Hook in cable Hook in one side tidy tray Press in the other side 1. Start screws loosely Tighten Start the screws (B) into the supporting beam (4) with 4mm allen key (F), do not tighten. Hook one edge of the cable tidy tray (3) under the screw head then press in the other side.
- Page 7 HEIGHT CONTROL INSTRUCTIONS TECHNICAL DATA Column Number POSITION preset buttons Maximum Load 125kg UP button Maximum Speed 38mm/second Input Voltage 100-240v Lowest Position 580mm Highest Position 1230mm Desktop Size Width 1100-1900 mm LED display Depth 700 or 800mm Duty Cycle Continuous operation for 2 mins ALERT button DOWN button...
- Page 8 Manufactured for Arrow Group Global Ltd sales@arrowgroup.com +44 (0)1502 533433...


Need help?
Do you have a question about the HAFD233 and is the answer not in the manual?
Questions and answers