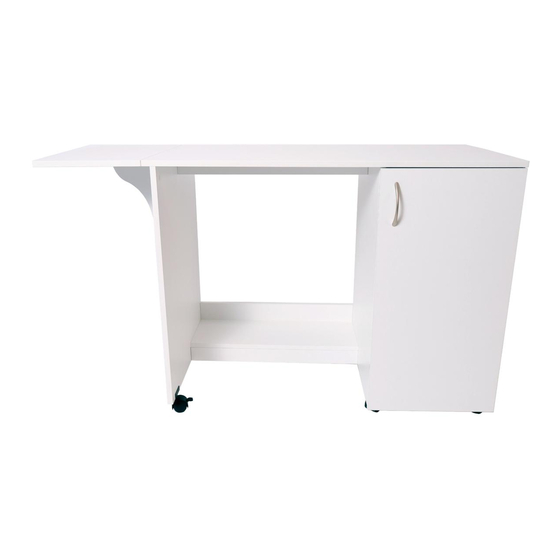
Summary of Contents for Arrow Hobby Craft Desk X1001
- Page 1 H o b by Cra f t D e s k ASSEMBLY INSTRUCTIONS Model Number: X1001 White Hobby Craft Desk Assembly Instructions - Rev. 3.22.21...
-
Page 2: Parts List
Par ts List Hobby Craft Desk Assembly Instructions - Rev. 3.22.21... -
Page 3: Hardware Included
Hardware Included Cam x18 Cam Cover x18 Bolt M4x10 x28 Bolt M4x20 x2 Connecting Bolt Dowel x24 4x12 4x15 4x30 4x50 Support Pin x4 3M Protection Pad x4 Handle x1 Leveler Support Hinge x4 KP Door Hinge x2 Non-locking Caster x2 Locking Caster x2 Locking Caster with Clip x2 Tools Needed... - Page 4 Turn clockwise to lock Cover cam lock. Insert bolt through pre-drilled illustrated. flush with surface. The hole in edge of panel. cam with bolt. arrow direction must be in the direction of the hole! Hobby Craft Desk Assembly Instructions - Rev. 3.22.21...
- Page 5 Assembly Instructions - Rev. 3.22.21 Hobby Craft Desk...
- Page 6 Assembly Instructions - Rev. 3.22.21 Hobby Craft Desk...
- Page 7 Assembly Instructions - Rev. 3.22.21 Hobby Craft Desk...
- Page 8 180° 180° Assembly Instructions - Rev. 3.22.21 Hobby Craft Desk...
- Page 9 180° Assembly Instructions - Rev. 3.22.21 Hobby Craft Desk...
- Page 10 180° Note: Short edge of panel E is the bottom panel and will attach to B panel. Assembly Instructions - Rev. 3.22.21 Hobby Craft Desk...
- Page 11 180° 180° Assembly Instructions - Rev. 3.22.21 Hobby Craft Desk...
- Page 12 Assembly Instructions - Rev. 3.22.21 Hobby Craft Desk...
- Page 13 180° Assembly Instructions - Rev. 3.22.21 Hobby Craft Desk...
- Page 14 Assembly Instructions - Rev. 3.22.21 Hobby Craft Desk...
- Page 15 Attaching KP Door Hinge, first install b1 bolts then install s2 screws by using an electric screwdriver. Assembly Instructions - Rev. 3.22.21 Hobby Craft Desk...
- Page 16 Assembly Instructions - Rev. 3.22.21 Hobby Craft Desk...
-
Page 17: Additional Limitations
(detailed receipt), and photos of the product. Arrow will replace any defective part (at its sole option), excluding labor. Replacement parts will be warranted for only the remaining period of the original Warranty.


Need help?
Do you have a question about the Hobby Craft Desk X1001 and is the answer not in the manual?
Questions and answers