Table of Contents
Advertisement
Quick Links
Advertisement
Table of Contents

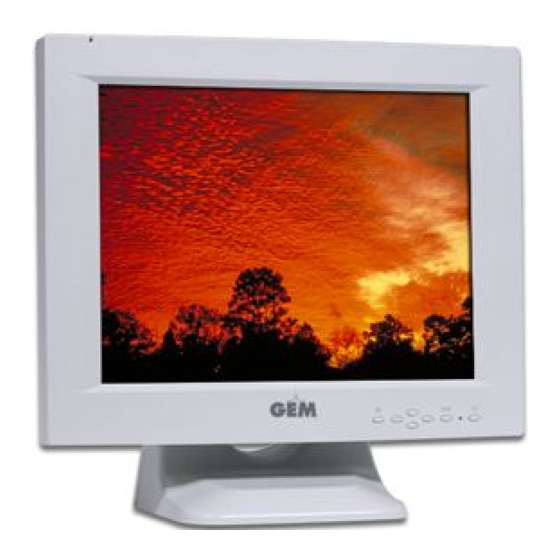
Summary of Contents for Microtek C580
-
Page 2: Table Of Contents
FCC Information Important Safeguards Installation Control Key Pads on the Front Panel Layout of Cable & Connector on the Back Cover How to enter OSD Menu Factory Default Timing Setting Specifications Energy Declaration Cleaning the LCD Screen Trouble-Shooting Table of Contents... -
Page 3: Fcc Information
4. Do not place near or over a radiator or other heat-generating equipment. 5. Do not place this video monitor on an unstable cart, stand or table. The video monitor may fall and cause serious injury to child or adult. -
Page 4: Installation
Connect power cable to the power outlet. Turn on the monitor and the computer. Wait about 30 seconds to adjust the picture with the adjustment controls to obtain the most optimum picture. Note: Please do not press the panel heavily because the surface of LCD panel is soft. -
Page 5: Layout Of Cable & Connector On The Back Cover
Layout of Cable & Connector on the Back Cover 1. D-Sub Connector 2. Audio Line-in 3. Earphone Output (optional) 4.AC In How to enter OSD Menu (1) Press Menu button and the OSD as shown will appear on the screen. (2) The OSD Menu contains 9 icons representing 9 functions for adjustment. - Page 6 Display signal input resolution and H,V frequency . Select the duration of no operation to exit OSD Menu. Adjust OSD windows Horizontal position. Adjust OSD windows Vertical position. Select language for OSD menu. Adjust volume. Default monitor setting to factory setting.
- Page 7 Message of Auto Tuning Notice 1. This function has to be executed when full screen picture is displayed. When the screen is painted with black or character strings on the black background, this function may not perform correct tuning. When the displayed picture is not suitable for tuning, the failure message as shown below is displayed and tuning is aborted.
- Page 8 Message of Video Input The message below will be displayed when horizontal and vertical synchronous signal from outside is off or out of acceptable range of this system. This message is erased in about 5 seconds and the system goes into the power saving mode. (1) No H_sync or V_sync input (2) H_sync or V_sync out of range OUT OF RANGE...
-
Page 9: Factory Default Timing Setting
60.0 KHz / 75.0 Hz Note Some brand of display cards may be not compatible with the LCD monitor due to the weak input signal or inappropriate grounding wires. We suggest users to alter the resolution, frequency or displaying card in order to ensure the best quality for display. -
Page 10: Specifications
Specifications LCD type Input Signal Dot Pitch Scanning frequency Resolution Pixel Rate Display Color View Angle (CR>10) Control Type Plug & Play Audio Dimension (mm) Panel (HxWxD) Base (WxD) Overall (HxWxD) Tilt AC Input Power Management Power Dissipation Regulatory Compliance Ambient Temperature Humidity (Relative) 15.1... -
Page 11: Energy Declaration
Power Saving Position A1 Power Saving Position A2 We recommend you to switch off the monitor when it is not in use for quite a long time Cleaning the LCD Screen 1. Make Sure the LCD monitor is turned off and never spray or pour any liquid directly onto the screen or case. -
Page 12: Trouble-Shooting
Trouble-Shooting If you are experiencing difficulties with your monitor, check the following table for possible solutions. Problem ? No picture ? Image is scrolling or unstable ? LED on the monitor is not lit ? Picture is fuzzy ? Picture bounces or wave pattern...


Need help?
Do you have a question about the C580 and is the answer not in the manual?
Questions and answers