Advertisement
Quick Links
Advertisement

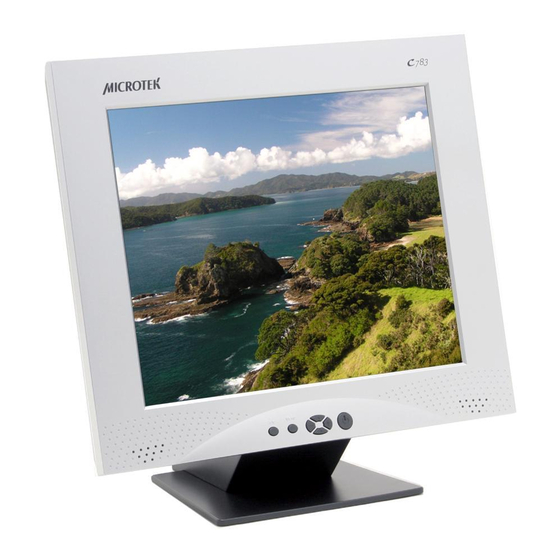
Summary of Contents for Microtek C783
- Page 1 CONTENT...
- Page 2 Operation Instructions FCC RADIO FREQUENCY INTERFERENCE STATEMENT WARNING:(FOR FCC CERTIFIED MODELS) FCC Warning: Note EMI Certification Note...
- Page 3 Safety Precautions WARNINGS:...
- Page 4 Care and Maintenance Care Safety Tips...
- Page 5 If a problem occurs, contact your dealer or authorized service center. This monitor is a microprocessor-controlled color monitor which uses a TFT LCD panel. The monitor conforms to EPA Energy Star and VESA DPMS (Display Power Management Signaling) power management standards.
- Page 6 Open the shipping carton and check the contents. If any items are missing or damaged, contact your dealer immediately. The package should include the following items: • Analog Color TFT LCD Monitor • Accessory Box: VGA cable x1 AC-DC adapter x1...
- Page 7 Before you connect the cables, make sure that the monitor and the system unit power switches are OFF. Plug one end of the 15pin signal cable to the monitor and the other end to the video signal connector at the rear of the system. Tighten the two screws on the cable connector on both ends.
- Page 8 The Monitor control functions are located on the lower center of the front panel. Details follow below. Description of control keys: Power Switch - / + : Decrease/Increase or Volume control Cursor Up/Down or Brightness control MENU: Activates on-screen display functions...
- Page 9 Use the power switch to turn power ON or OFF. We recommend turning your system power on first, followed by the LCD monitor. These keys have two functions, controlled by the MENU key. When the OSD screen is activated, these two keys are uses to decrease or increase the values of the selected items.
- Page 10 The LCD monitor is designed to work with a range of compatible video adapters on the market. Due to possible deviations between these video adapters, you may need to make some adjustments on the adapter to make sure it fits your monitor.
- Page 11 Note: We strongly recommend that you use this item to get optimum visual quality. Use the & key to select auto-adjustment, then press - or + to get the optimized quality. Use the & key to select the icon, then press - or +. The screen below will appear.
- Page 12 Use the & key to select the icon, then press - or +. The screen below will appear. If you want to go back to the previous OSD menu screen, press the MENU key, The OSD screen will then appear. Use the &...
- Page 13 In the OSD screen, you will see the Horizontal frequency (HF), Vertical frequency (VF), display resolution (MODE) and the monitor Firmware version (ROM LEVEL). These settings are automatically detected by the monitor and cannot be changed by the user.
- Page 14 Table 1 shows standard video mode settings that have been pre-adjusted at the factory for accurate video display. These setting are stored in the monitors memory. Table 1. Factory-Preset Modes...
- Page 15 17" LCD Monitor Overall Dimensions (H x W x D): Shipping Weight (G/W): Effective display area (H/V) Display colors: Brightness: Contrast Ratio: Scan Frequencies: Horizontal Vertical Number of Pixels: Pixel pitch: Picture Tube: Power: Input Consumption Video Connector: Audio connector...
- Page 16 User Controls On Screen Display Adjustment Control Type: Compatibility: Environmental Limits: Operating Temp. Storage Temp. Operating Humidity Storage Humidity Agency Approval Emissions Energy Saving Safety On/Off Power Button Select and adjust button Auto-adjustment Contract, Brightness H-position, V-position Color temperature Multi-language Auto Adjustment Volume, Mute Digital...
- Page 17 Pin 1 Pin 2 Pin 1 Pin 2 Pin 3 Pin 4 Pin 5 Pin 6 Pin 7 Pin 8 Pin 9 Pin 10 Pin 11 Pin 12 Pin 13 Pin 14 Pin 15 Ground +12V output Analog Red Input Analog Green Input Analog Blue Input Ground...


Need help?
Do you have a question about the C783 and is the answer not in the manual?
Questions and answers