Table of Contents
Advertisement
Quick Links
Advertisement
Table of Contents

Related Manuals for Microtek JTX V7s


Summary of Contents for Microtek JTX V7s
-
Page 2: Fcc Compliance Statement
FCC Compliance Statement This device complies with part 15 of the FCC Rules. Operation is subject to the following two conditions: 1. this device may not cause harmful interference, and 2. this device must accept any interference received, including interfer- ence that may cause undesired operation. -
Page 3: Radio Frequency Interference Statement
CE mark for Class B ITE EN61000-3-2/1995; EN61000-3-3/1995, EN55024/1998, EN60950/1992+A1+A2+A3+A4+A11) Radio Frequency Interference Statement Warning: This is a Class B product. In a domestic environment, this product may cause radio interference in which case the user may be required to take adequate measures. -
Page 4: Table Of Contents
Your New LCD Monitor Unpacking Identifying Components Adjusting the Viewing Angle Connecting AC Power, Video and Audio Cable Power Management System The LCD Monitor’s Control Panel Adjusting the Monitor’s Display LCD Monitor Specifications Supported Timing LCD Monitor Wall Mounting Troubleshooting... -
Page 6: Your New Lcd Monitor
LCD Monitor and your computer do not overheat. Set up your LCD Monitor so that the panel is not fac- ing a window where sunlight often comes in. The glare caused by sunlight reflecting off of the LCD Monitor’s screen will make it difficult... - Page 7 If you find any item to be missing or appear to be damaged, contact your dealer immediately. Do not throw away the packing material or shipping carton in case you need to ship or store the LCD Monitor in the future.
-
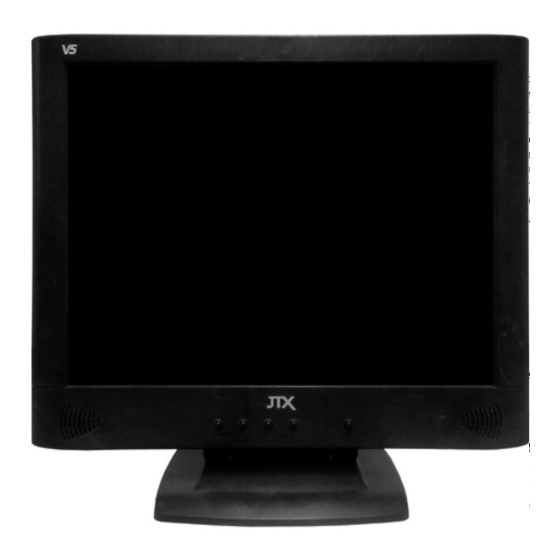
Page 8: Identifying Components
This LED indicator stays lit when the power is on and blinks when the LCD monitor is in power-saving mode. 2. Monitor Stand 3. LCD Screen The LCD monitor screen is a 17-inch TFT 1280 x 1024 screen. 4. LCD Monitor Control Panel Refer to Chapter 2 for more details. - Page 9 B. "Hot Keys" for Quick Adjustment of Monitor Settings Figure 1-2: "Hot Keys" 1. Auto-adjust "hot key": Press button 2 to apply the monitor setting automatically. A small “AUTO ADJUST” OSD is also displayed. 2. Adjust-volume "hot key": Press button 3 to allow you to adjust the audio volume directly.
-
Page 10: Adjusting The Viewing Angle
1. DC Power Jack for AC adapter 2. Audio Line-in 3. VGA Cable Connector Adjusting the Viewing Angle The LCD Monitor’s vertical angle setting range is from -5° to 20°. Figure 1-3: LCD Monitor’s Rear Ports Figure 1-4: Angle Settings... -
Page 11: Connecting Ac Power, Video And Audio Cable
When the LCD Monitor is in power-saving mode or detects an incorrect timing, the Monitor screen will go blank and the power LED indicator will start to blink. -
Page 12: The Display Controls
This button lets you go through the suboptions within a par- ticular OSD control (ex. Auto Adjust, H-Position, etc. under "Monitor Control" in the OSD). Once you are within a subop- tion (ex. in H-Position), you can also use this button to increase values. -
Page 13: Power Switch
5. Power Switch This button lets you turn power for the LCD monitor ON or OFF. This is also a "hot key" to close the OSD menu while it is on display. -
Page 14: Adjusting The Monitor's Display
Each main menu and submenu item is covered below. Pressing the OSD Menu button causes the following screen to appear (an example): Monitor-Control Option The Monitor-Control option allows you to adjust the LCD monitor’s display characteristics. AUTO-ADJUST : Applies automatic monitor settings for optimal viewing. - Page 15 V- POSITION: Moves the LCD monitor’s display up or down on a vertical plane. PHASE: Adjusts the focus and clarity of the display. CLOCK: Adjusts the display's pixel alignment. RESET: Resets the H- Position, V-Position, Phase and Clock parameters. GRAPH./TEXT: Switches between the text and graphic options.
- Page 16 CONTRAST: Adjusts the difference between the lightest and darkest areas of the LCD monitor’s display screen. BRIGHTNESS: Adjusts the level of light or brightness on the LCD monitor’s display screen. Brightness should be adjusted together with Contrast. COLOR: Selects the LCD monitor’s color display. The available options are 9300, 6500 and User.
- Page 17 Take note that the OSD menu will close automatically if left inactive for a few seconds. Note: 1.No video When the monitor is ON and there is no Video signal received, the “NO VIDEO” message will be displayed. 2.Signal out of monitor’s supported range When the frequency range is out of the monitor’s specifications, or the...
-
Page 18: Lcd Monitor Specifications
LCD Monitor Specifications LCD Panel Control Functions Power On-Screen Dis- Main Menu play (OSD) Monitor Con- trol OSD Control Graphic Con- trol Misc. Control OSD Exit Display Area 337.920 mm x 270.336 mm (17.0-inch diagonal) Display Colors Video Interface Analog port: VGA Compatible Analog RGB (15-pin D-Sub) - Page 19 Scanning Fre- quency (Analog mode) Power Man- agement Power Con- sumption Dimensions WxHxD Net Weight Approx. Power Supply 50/60Hz single-phase Stand-alone AC Adapter (External) Options Environment Operating/Storage (0˚/-20˚C to 40˚/60°C) Audio Regulatory Meets VESA DPMS ON: 40W max. OFF/Power Saving Mode: Less than 5W (Measured from AC inlet) 15.9 x 15.8 x 9.2 in.
-
Page 20: Supported Timing
Supported Timing Item Standards Resolution 640x400 PC98 640x400 PC98 MAC 13” 640x480 mode MAC 16” 832x624 mode MAC 17” 1024x768 mode 640x350 640x400 640x480 VESA 640x480 VESA 640x480 VESA 800x600 SVGA 800x600 VESA 800x600 VESA 800x600 720x400 1024x768 VESA 1024x768 VESA 1024x768 1024x768... - Page 21 *Once a mode is optimized, there is no need to make any further ad- justment as long as the VGA card remains unchanged. *Specifications are subject to change without notice.
-
Page 22: Lcd Monitor Wall Mounting
LCD Monitor Wall Mounting This LCD Monitor complies with the VESA standard for wall mounting. Follow the steps below for wall mounting of your LCD Monitor: Step 1 a. Press the switch (tab) located at the back near the base of the monitor. -
Page 23: Troubleshooting
VGA card is selected. This LCD Monitor supports multiple VGA modes. Refer to Appendix B for a listing of the factory preset modes supported by this LCD Monitor. PROBLEM: Display is unclear and unstable To stabilize and clarify your display, follow this procedure in this order: 1. - Page 24 PROBLEM: There is no LCD display If there is no display on the LCD, please perform the following steps: 1. Make sure that the power indicator on the LCD Monitor is lit, all connections are secure, and the system is running on the correct timing.
Need help?
Do you have a question about the JTX V7s and is the answer not in the manual?
Questions and answers