Advertisement
Available languages
Available languages
H-878
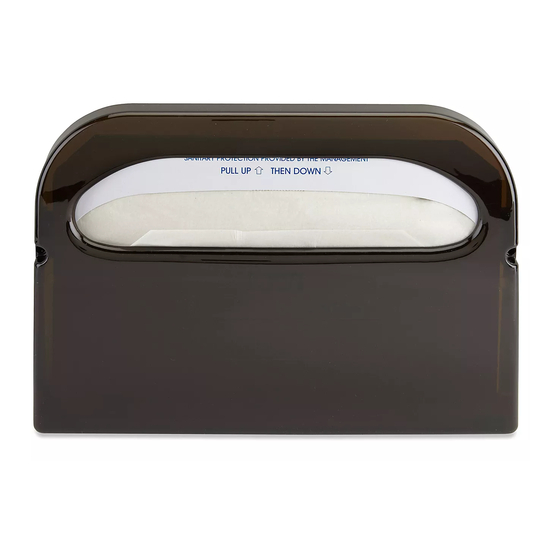
PLASTIC TOILET SEAT
COVER DISPENSER
TOOLS NEEDED
Drill
Drill Bit
NOTE: Ensure that proper mounting hardware
is used for appropriate wall composition.
Adhesive strips may not be compatible with
wall surface.
PAGE 1 OF 6
1-800-295-5510
uline.com
Phillips Head Screwdriver
Dispenser x 1
MOUNTING INSTRUCTIONS − ADHESIVE STRIPS
Figure 1
Level
PARTS
Adhesive Strip x 3
(already attached)
1.
Remove backing from adhesive strips.
(See Figure 1)
2. Press dispenser firmly onto surface.
Adhesive Strips
Para Español, vea páginas 3-4.
Pour le français, consulter les pages 5-6.
0621 IH-878
Advertisement
Table of Contents

Related Manuals for U-Line H-878


Summary of Contents for U-Line H-878
- Page 1 Para Español, vea páginas 3-4. Pour le français, consulter les pages 5-6. H-878 1-800-295-5510 uline.com PLASTIC TOILET SEAT COVER DISPENSER TOOLS NEEDED Drill Drill Bit Phillips Head Screwdriver Level PARTS Adhesive Strip x 3 (already attached) Dispenser x 1 MOUNTING INSTRUCTIONS − ADHESIVE STRIPS Remove backing from adhesive strips.
- Page 2 MOUNTING INSTRUCTIONS − SCREWS NOTE: Screws are not included with dispenser. 2. Drill into wall at two marked locations with appropriate-sized drill bit. Insert wall anchors if Hold dispenser up to desired location and mark two necessary. (See Figure 3) holes on the wall where screws will be inserted.
- Page 3 H-878 800-295-5510 uline.mx DESPACHADOR DE CUBREASIENTOS PARA BAÑO − PLÁSTICO HERRAMIENTAS NECESARIAS Taladro Broca Desarmador de Cruz Nivelador PARTES 3 Tiras Adhesivas (ya fijas) 1 Despachador INSTRUCCIONES DE INSTALACIÓN − TIRAS ADHESIVAS NOTA: Asegúrese de que se utilice la tornillería Retire el respaldo de las tiras adhesivas.
- Page 4 INSTRUCCIONES DE INSTALACIÓN − TORNILLOS NOTA: Los tornillos no se incluyen con el 2. Perfore en la pared las dos ubicaciones marcadas con la broca del tamaño adecuado. Inserte los despachador. taquetes si es necesario. (Vea Diagrama 3) Sostenga el despachador en la ubicación deseada y marque dos orificios en la pared donde se colocarán los tornillos.
- Page 5 H-878 1-800-295-5510 uline.ca DISTRIBUTEUR DE COUVRE-SIÈGES DE TOILETTE EN PLASTIQUE OUTILS REQUIS Perceuse Mèche de Tournevis Niveau à perceuse cruciforme bulles PIÈCES Bande adhésive x 3 (déjà attaché) Distributeur x 1 INSTRUCTIONS DE MONTAGE – BANDES ADHÉSIVES REMARQUE : Assurez-vous que le matériel a.
- Page 6 INSTRUCTIONS DE MONTAGE – VIS REMARQUE : Les vis ne sont pas incluses avec 2. Percez le mur aux deux endroits marqués à l'aide d'une mèche de perceuse de taille appropriée. le distributeur. Insérez des ancrages muraux si nécessaire. 1. Tenez le distributeur à l'emplacement désiré et (Voir Figure 3) marquez deux trous sur le mur où...
Need help?
Do you have a question about the H-878 and is the answer not in the manual?
Questions and answers