Intermec Trakker Antares 2410 Quick Start Manual
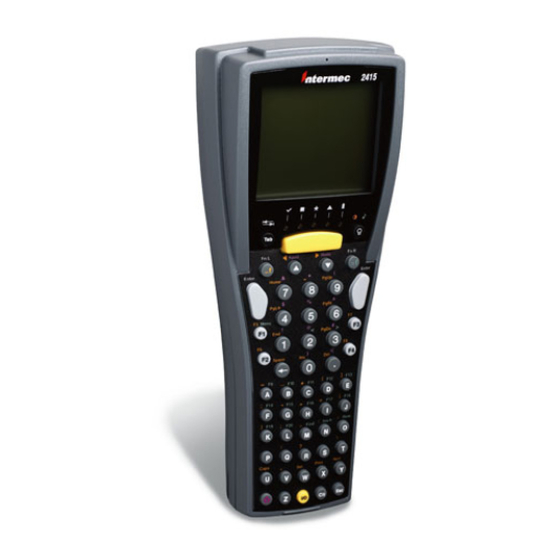
Handheld terminal
Hide thumbs
Also See for Trakker Antares 2410:
- System manual (374 pages) ,
- Supplementary manual (123 pages) ,
- User manual (2 pages)
Table of Contents
Advertisement
Quick Links
Advertisement
Table of Contents

Related Manuals for Intermec Trakker Antares 2410


Summary of Contents for Intermec Trakker Antares 2410
- Page 1 Quick Start Guide Trakker Antares® 241X Handheld Terminal...
- Page 2 The information contained herein is proprietary and is provided solely for the purpose of allowing customers to operate and service Intermec- manufactured equipment and is not to be released, reproduced, or used for any other purpose without written permission of Intermec.
-
Page 3: Table Of Contents
C d 39 nuggetfont Contents About This Guide... 5 Introducing the Trakker Antares 241X Terminals... 5 Equipment You Need to Get Started ... 6 Using the Terminal for the First Time ... 6 Unpack the Terminal ... 7 Charge and Install the Battery Pack ... 7 Turn On the Terminal ... - Page 4 C d 39 nuggetfont Trakker Antares 241X Handheld Terminal Quick Start Guide...
-
Page 5: About This Guide
Trakker Antares 2410 and 2415 terminals. You may need ® to refer to additional Intermec documents to configure the 241X for your data collection network. For a list of documents see “Where to Go From Here” on page 19. -
Page 6: Equipment You Need To Get Started
(RF) network. The 2415 provides real-time communications to a host either through access points and the Intermec Gateway or Data Collection Server (DCS) 30X, or directly through access points. The 2415 can also run client/server applications, TE 2000 emulation applications, and Data Collection Browser ... -
Page 7: Unpack The Terminal
Check the contents of the box against the invoice for completeness. If there is a problem, contact your local Intermec service representative. Charge and Install the Battery Pack... -
Page 8: Turn On The Terminal
069429, réf. n° 073929, ou réf. n° 073930 seulement. L’utilisation de tout autre bloc-batterie présente un risque d’incendie ou d’explosion. Contact your local Intermec sales representative for replacement main battery packs. DISPOSE OF USED BATTERY PACKS PROMPTLY. KEEP THEM AWAY FROM CHILDREN. - Page 9 System Manual (P/N 071389). 2415 Terminal With TE 2000 Application The 2415 tries to connect to the Intermec Gateway, DCS 30X, or directly to the host. Before you can start a TE session, you need to configure the radio parameters and the network parameters.
-
Page 10: Set The Time And Date
C d 39 nuggetfont Set the Time and Date 1 Press ( \ 2 4 8 to access the TRAKKER Antares 2400 Menu System. The Main Menu appears. Note: You must press the Enter key ( \ ) on the left side of the terminal. -
Page 11: (Optional) Configure The Serial Port Parameters
C d 39 nuggetfont 5 Press \, and then press % twice to exit the TRAKKER Antares 2400 Menu System. Choose OK to save your changes. If you are using the Wavelink Avalanche client management system, you can quickly configure the parameters for your terminal. -
Page 12: (2435 Only) Configure The Network Parameters
Activate field. 2 (UDP Plus) In the Controller IP Address field, enter the IP address of the Intermec Gateway or DCS 30X in your network. The IP address must be in the form n.n.n.n, where each n is a number from 0 to 255. You must separate each n by a period. -
Page 13: (2415 Only) Configure The Radio Parameters
“DHCP (Terminal)” in the 2400 Family system manual. To configure the Advanced Network parameters Note: If the Intermec Gateway, DCS 30X, or host is on a different subnetwork from the terminal, you must configure the subnet mask and the default router. -
Page 14: Choosing Your Te 2000 Configuration
C d 39 nuggetfont Depending on the radio that is in the devices, you must match certain parameters on the 2415s and on the access points. Press ( \ 2 4 8 to access the TRAKKER Antares 2400 Menu System. Choose Configuration Menu > Communications Menu >... -
Page 15: Using The Keypad
C d 39 nuggetfont To change the TE 2000 configuration 1 On your terminal, press ) !. If you have a 37-key keypad, press ( 5. The TE 2000 main menu appears. Main Menu 1) Set-up Parms 2) LCD Parms 4) Tests 5) Version Info 6) Exit Menus... -
Page 16: Learning About The Bar Code Symbologies
C d 39 nuggetfont Using the Keypad Position on the Keypad Color Middle of the key Left side above the key Orange Centered above the key Pink Right side above the key Green Note: The 37-key international keypad has five different keys that you can access. -
Page 17: Changing The Beep Volume
C d 39 nuggetfont Status LED Descriptions Icon Name Description Good Read This LED turns on when you successfully scan a bar code label. User Defined This LED is user defined. You can program this LED to turn on and off for any task or error within your application. -
Page 18: Useful Bar Codes
C d 39 nuggetfont Useful Bar Codes Backlight On *%.1* *%.1* Darker Display Contrast *$+DJ9* *$+DJ9* Raise Beep Volume *$+BV9* *$+BV9* Enter Accumulate Mode *+/* *+/* Default Configuration *.+0* *.+0* Save Configuration in Flash Memory *.+1* *.+1* TRAKKER Antares 2400 Menu System *..-.* *..-.* Specifications... -
Page 19: Where To Go From Here
Data Collection Browser Client User’s Guide (P/N 070011). The Intermec web site at www.intermec.com provides our current manuals as PDF files for you to download. To order accessories and printed documentation, contact your local Intermec representative. - Page 20 C d 39 nuggetfont 6001 36th Avenue West Everett, WA 98203 U.S.A. www.intermec.com © 2004 Intermec Technologies Corp. All Rights Reserved Trakker Antares 241X Handheld Terminal Quick Start Guide *069540-004* P/N 069540-004...
Need help?
Do you have a question about the Trakker Antares 2410 and is the answer not in the manual?
Questions and answers