Table of Contents
Advertisement
Quick Links
Advertisement
Table of Contents

Related Manuals for SGM Q-10


Summary of Contents for SGM Q-10
- Page 1 USER MANUAL Q-S E R I E S Q-10 Q-10 P O I...
- Page 2 Q-10 SERIES USER MANUAL REV. E © 2018 SGM Light A/S ® . The information in this document is subject to change without notice. SGM and all affiliated companies disclaim liability for any injury, damage, direct or indirect loss, consequential or economic loss, or any other loss occasioned by the use of, inability to use, or reliance on the information contained in this manual.
-
Page 3: Table Of Contents
Contents Safety information ........................4 Overview ..........................5 Preparing for installation ......................6 Installing / rigging the Q-10 Series ....................6 Tilt Lock ..........................7 Connecting AC power ........................8 Configuring the device .......................8 Connecting to a DMX control device ....................9 Configuring the device for DMX control ..................10 Using standalone operation ......................11... -
Page 4: Safety Information
Read the following safety precautions carefully before unpacking, installing, powering, or operating the device. SGM luminaries are intended for professional use only. They are not suitable for household use. Les luminaires SGM sont impropre à l’usage domestique. Uniquement à usage professionnel. -
Page 5: Overview
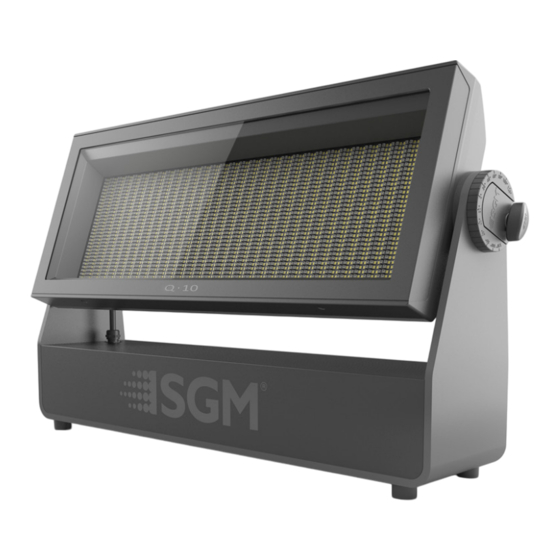
Overview The Q-10 / Q-10 POI is an RGBW LED luminaire with high output, designed for multiple applications, including applications where wireless operation is essential. Q-10 features: • Powerful all-in-one SGM LED luminaire, with a total of 4,096 SMD LEDs and 8 individually controllable segments, weighing around 20 kg. -
Page 6: Preparing For Installation
While the base of the standard fixtures include 1/4 turn fasteners camlocks to mount the omega brackets, the POI products come with M-10 nuts for M-10 screws. The standard Q-10 may be installed in any orientation and it might take up to three Ø 18 mm omega brackets per fixture. -
Page 7: Tilt Lock
2. Bolt the clamp securely to the omega bracket with a M12/ ½” bolt (min. grade 8.8 C5M) and a lock nut. 3. Align the omega bracket with the two 1/4 turns in the Q-10 base. For standard Omega bracket, insert the fasteners into the Q-10 base bracket, and turn both levers a full1/4-turn clock wise to lock. -
Page 8: Connecting Ac Power
Please refer to page 16-17 for connecting AC power in POI fixtures. After connecting the Q-10 to power, run the on-board test by selecting TEST → AUTOMATED TEST in the menu, to ensure that the fixture and each LED are functioning correctly. -
Page 9: Connecting To A Dmx Control Device
UP + DOWN arrows simultaneously = flip the display upside-down Connecting to a DMX control device The Q-10 Series is controllable using a DMX control device, and it can be connected using either a DMX cable, or via the fixture’s built-in CRMX wireless receiver system. -
Page 10: Configuring The Device For Dmx Control
For independent control, each Q-10 must be assigned its own DMX start address. For example, if the first Q-10 is set to 6ch CTC DMX mode with a start DMX address of 113, the following Q-10 in the DMX chain should then be set to a DMX address of 119. As the first fixture uses all the first 6 DMX channels, including channel 113, the next available channel is 119 (113+6=119 >>... -
Page 11: Using Standalone Operation
Please note: In POI versions, configuring the fixtures can only be done through RDM. Setting a static color manually The Q-10 can be configured to display a predefined and static color. To set up a static color select ENTER → MANUAL → QUICK COLOR. -
Page 12: Fixture Properties
Effects Colors and LED Panels The Q-10 Series features 2,048 RGB SMD LEDs and 2,048 white SMD LEDs divided in 8 individually controllable segments, which generates wide-ranging color effects and pixel-mapping combinations for creative lighting designs. The fixture can operate in RGB calibrated mode, which ensures that colors are compatible across the range of SGM fixtures. -
Page 13: Control Menu
Info Product Type Displays product type Firmware Version Displays installed firmware version Serial Number Displays SGM serial# RDM ID Displays RDM ID. (Unique RDM ID for identification ) DMX View Up to 504 DMX addresses Displays received DMX levels Temperatures... -
Page 14: Rdm
Supported RDM functions The Q-10 Series features support for various RDM functions. RDM (Remote Device Management) is a protocol enhancement to USITT DMX512 that allows bi-directional communication between the fixtures and the controller over a standard DMX line. This protocol will allow configuration, status monitoring, and management. -
Page 15: Poi Permanent Outdoor Installation
14 for more information. In Q-10 POI, the DMX address and DMX mode can only be set through RDM. When addressing through USB powered DMX / RDM devices, ensure DMX link is terminated, and keep a short cable length as far as possible. - Page 16 The Q-10 POI base has six M-10 nuts that can be used for installation and rigging. The SGM Omega bracket (not included) or a customized bracket is needed to install the fixture. Consider the dimensions below of the Q-10 POI base for customized mounting brackets purposes.
- Page 17 Figure 19: Connecting DMX and AC Power in Q-10 POI Connecting a wireless transmitter in POI In POI versions with wireless it is necessary to pair the fixture with a new transmitter (by default the fixture is linked to the SGM factory transmitter).
-
Page 18: Accessories
To get to know all the available Q-10 accessories, see www.sgmlight.com or contact your local SGM dealer. Barndoors The Q-10 Series features 4-way barndoors. The barndoors are designed and intended to be mounted on the fixture without the use of any tools. -
Page 19: Maintenance
To maintain adequate cooling, fans must be cleaned periodically. Whenever necessary, clean the Q-10 Series using a soft cloth dampened with a solution of water and a mild detergent. Do not use products that contain solvents, abrasives, or caustic agents for cleaning, as they can cause damage to hardware, cables, and connectors. -
Page 20: Fixtures And Accessories
Q-10, Std, BL..................................P/N: 80033100 Q-10, POI, BL................................... P/N: 80270403 The Q-10 Series can be ordered in any RAL color. Contact your local SGM dealer for ordering customized color housings. Q-10 Accessories 2 m power cable with powerCON TRUE1 connector......................P/N: 07860040 SGM USB uploader cable ..............................P/N: 83062011... -
Page 21: User Notes
User Notes... - Page 22 SGM Light A/S Sommervej 23 8210 Aarhus V Denmark Tel: +45 70 20 74 00 info@sgmlight.com www.sgmlight.com...
Need help?
Do you have a question about the Q-10 and is the answer not in the manual?
Questions and answers