Table of Contents
Advertisement
Advertisement
Table of Contents

Related Manuals for Wallbox Supernova


Summary of Contents for Wallbox Supernova
- Page 1 INSTALLATION MANUAL Supernova...
-
Page 2: Table Of Contents
Instructions of the Document MECHANICAL INSTALLATION GETTING STARTED Civil Works Datasheet Using Wallbox installation-kit Nameplate and Copyright Prefabricated concrete foot with Wallbox Manufacturer Contact compatible mounting plate and Information Chemical anchors in concrete Preliminary Considerations Placing Safety Instructions ELECTRICAL INSTALLATION... -
Page 3: Installation Manual Supernova
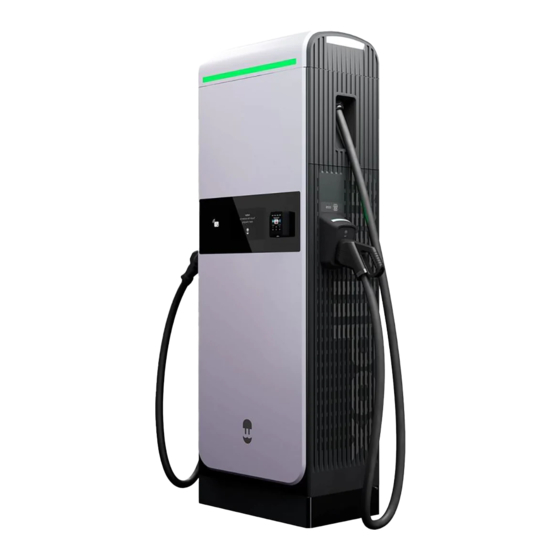
INSTALLATION MANUAL SUPERNOVA GETTING STARTED Datasheet Purpose and Scope of the Document The purpose and scope of this document is to introduce Supernova fast DC Connectors CCS2, CHAdeMO Charging Protocol ISO15118 (including Plug&Charge*) charging station and to outline the instructions for its correct installation. -
Page 4: Nameplate And Copyright
PASEO CASTELLANA, 95 - PLT 28 Zip Code 28046 City MADRID Province Madrid Country Spain Homepage www.wallbox.com Copyright All rights to copyright, registered trademarks, and trademarks reside with their respective owners. Copyright © 2022 WALL BOX CHARGERS, S.L.U. All rights reserved. -
Page 5: Preliminary Considerations
• The content of the packaging is fragile, do not stack one Supernova on the other. relevant to the WALLBOX products. The presence of any such description of a standard or reference to a standard is not a representation that all of the WALLBOX products referenced in this document support all of the features of the described or referenced standard. -
Page 6: Limited Warranty
Safety Instructions Safety Instructions Classifications and Ratings • In no event shall WALLBOX be liable for direct, indirect, special, incidental, or consequential damages arising from use or installation of any software or hardware described in this document. Intended Use • This document is originally written in English. Other language versions are a translation of Type of construction: the original document and WALLBOX cannot be held liable for errors in the translation. -
Page 7: Safety Icons
10 minutes. Installation Some internal components connected to the ground (TNS system). and maintenance must be carried of Supernova can remain hot Nature of short-circuit protective device(s): 100A curve D SCPD (Short- out only when the power is off. -
Page 8: Inside The Box
GETTING STARTED GETTING STARTED Inside the Box Required Tools Materials The following tools required for the installation of Supernova are recommended for the Supernovas installation (not provided): Charging Point Installation manual EU pallet Antivandalic Key • 2x Spanner (size 24 mm) for M16 nuts •... -
Page 9: Transport And Unpacking
M12 nuts. Therefore x6 M10x35 Screws shall be unscrewed any lifting system compatible with the from the front and back of Supernova. eu-pallet could be used to lift it, move DISCLAIMER it and transport it to the place of the Store the Supernova in the original installation. -
Page 10: Unpacking
TRANSPORT AND UNPACKING TRANSPORT AND UNPACKING Unpacking Unpacking Remove the side parts of the packaging to Unpack the EV guns and plug them in the take out the internal top cover. holsters. Then, unpack the installation kit. Take out the hoses from the boxes placed Carefully lift the charger with a forklift or in front and in the back of the charger. -
Page 11: Product Description And Site Preparation
PRODUCT DESCRIPTION AND SITE PREPARATION External view Internal view The images below show the different connections of the divide from the outside. The image below shows the internal view of Supernova Fast Charging station. Threads for eye bolts Top Cover Electrical Panel B... -
Page 12: Site Space Requirements
Cable Reach During the installation, make sure to leave a certain minimum Depending on the version purchased, Supernova fast charging station distance from possible objects around it, in order to allow the door comes with a 3 m, 5 m or 7 m cable. The following figure shows the opening and to facilitate possible maintenance operations. -
Page 13: Door And Keys Instructions
Introduction Instructions Supernova has three doors: one on the left side, one in the front and the last one on the right side. The doors must always be opened sequentially from left to right. To open the first door, shift the Use the key included in the installation door lock cover to the right. -
Page 14: Mechanical Installation
• To ensure the optimal installation and the durability of the Supernova, use the foundation kit (template and concrete base). - Page 15 Before placing the around the template. The resulting depth Supernova, the top metal plate must should be less than 0.45 m. It is important be perfectly level, always above the that the cables are loose enough and that concrete surface, not submerged.
-
Page 16: Prefabricated Concrete Foot With Wallbox Compatible Mounting Plate
The four holes present at the base of Supernova need to be aligned with the bars coming out of the floor. 8. Fix the chargers with 4 M16 washers and 4 M16 screws. -
Page 17: Placing
Screw the 4 M16 washers and the Raise the Supernova with a forklift or a crane and place it 4 M16 nuts until the Supernova is above the four rods that protrude from the ground. -
Page 18: Electrical Installation
Assembly Part Size Quantity Tools recommended The Supernova must be connected to an electrical network with the following specifications: (3P + N + PE): 400/230 V +/- 10%; 50 Hz. Electrical 5 Screws Hexagon socket wrench Cabinet... - Page 19 N PE L2 L3 make sure that the voltage between phases does not pass 400V (-/+10%) and that all phases are in order. IMPORTANT The charger must be powered on only by Wallbox service engineerings. L2 L3 N PE L2 L3...
-
Page 20: Final Mechanical Preparation
ELECTRICAL INSTALLATION FINAL MECHANICAL PREPARATION Final Steps Grid Connection Observations Material • The short-circuit current at the connection point cannot exceed 10 kA. Assembly Part Size Quantity Tools Recommended • The impedance of the loop with respect to ground must not exceed 80 Ω. •... - Page 21 In case you used a crane, remove the eye bolts from the top by screwing 7 screws (DIN 912 M5). of Supernova and replace them with 2 top cover screws. Fix the Foot Cover Front with the Foot Cover Back by screwing 6 external screws on the sides of the Foot Covers (Safety Torx for M6).
- Page 23 V-1.0...
Need help?
Do you have a question about the Supernova and is the answer not in the manual?
Questions and answers