Advertisement
Advertisement
Table of Contents

Related Manuals for Wallbox Power Sharing


Summary of Contents for Wallbox Power Sharing
- Page 1 Wallbox Power Sharing Installation manual WBPS-IM-001-EN...
-
Page 2: Table Of Contents
Contents Product description ....................................................3 Startup ............................................................4 Connection scheme ....................................................4 Main Connections ...................................................... 5 Installing ..........................................................6 Protection recommendations ..............................................8 WBPS-IM-001-EN... -
Page 3: Product Description
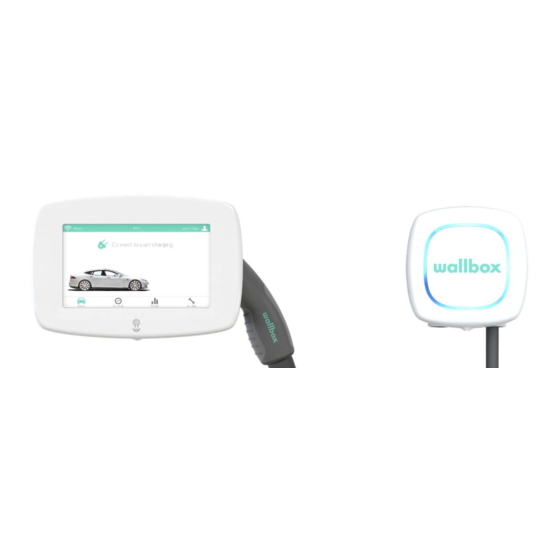
1. Product description Power Sharing is the newest concept that allows multiple vehicles to be charging at the same time using current from the same grid. The main advantage of this functionality is that all connected vehicles can be charged with the total maximum power available. -
Page 4: Startup
Pulsar is Slave – Needs to be set on the internal selector Version 1 on Power Sharing requires to install the Pulsar termination (Pulsar identified as end of line) It is mandatory that the first charger is a Commander and the last a Pulsar identified as a “Pulsar termination”. -
Page 5: Main Connections
4. Main Connections The Mains are three-phase. The system can be connected either single-phase or three-phase. Diagram of connection for Power Sharing on three-phase. Diagram of connection for Power Sharing on single-phase. All chargers must be connected to same line. WBPS-IM-001-EN... -
Page 6: Installing
5. Installing Please follow the installation manual for Commander and Pulsar to mount each charger. The Commander will be the Master. Select position on current selector to: Position 8 (63 A) – Up to 5 slaves Position 9 (150 A) – Up to 14 slaves The Pulsar will be the Slave. - Page 7 The CAN bus cable can be installed along the power cables, in the same cable conduit. Every charger must be connected to the pins following the schematic. WBPS-IM-001-EN...
-
Page 8: Protection Recommendations
Commander (Connector P2) Pulsar (Connector P2) CABLE CABLE PIN 1 none PIN 1 none PIN 2 none PIN 2 none PIN 3 none PIN 3 none PIN 4 CAN_H PIN 4 CAN_L PIN 5 CAN_L PIN 5 CAN_H 6. Protection recommendations For safety reasons, an RCD (Residual Current Device) and an MCB (Main Circuit Breaker) should be installed. - Page 9 WBPS-IM-001-EN...
Need help?
Do you have a question about the Power Sharing and is the answer not in the manual?
Questions and answers