Advertisement
Quick Links
Advertisement

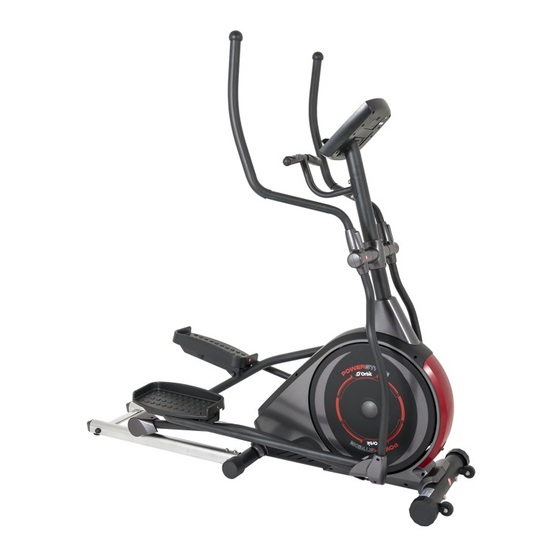
Summary of Contents for Orbit OBE8731T
- Page 1 OBE8731T...
-
Page 2: Important Safety Notice
Before You Start Thank you for purchasing this Product! For your safety and benefit, read this manual carefully before using the machine. Prior to assembly, remove components from the box and verify that all the listed parts were supplied. Assembly instructions are described in the following steps and illustrations. IMPORTANT SAFETY NOTICE PRECAUTIONS BE SURE TO READ THE ENTIRE MANUAL BEFORE YOU ASSEMBLE OR OPERATE YOUR... -
Page 3: Exploded Diagram
EXPLODED DIAGRAM... -
Page 4: Parts List
PARTS LIST Part No. Description Part No. Description Main frame 39a/b Right swing tube cover Handlebar post Bearing 6003Z 3L/R Guide rail 1 pr Bushing Rear supporting tube Universal joint 5L/R Swing bar 1 pr Short axle 6L/R Handlebar 1 pr Hex bolt M12x125 φ12*φ24*2 Roller bracket... - Page 5 φ8*1.5*φ25 Arch washer Sensor wire φ8*1.5*φ20 Arch washer Extension wire Wave washer D21 Pulse wire Nylon nut M10 Front cover Nylon nut M8 NOTE: Most of the listed assembly hardware has been packaged separately, but some hardware items have been preinstalled in the identified assembly parts. In these instances, simply remove and reinstall the hardware as assembly is required.
- Page 6 ASSEMBLY INSTRUCTIONS Step one: A: Lock the front bottom tube (10) into the main frame (1) with Inner hex screw (13), spring washer (27) and arch washer (34). B: Lock the rear bottom tube (12) into the main frame (1) with Inner hex screw (14), spring washer (27) and arch washer (34).
- Page 7 Step three: A: Lock the swing bar (5L/R) to the long axis of handlebar post (2) with hex bolt (16), flat washer (31), spring washer (28) and wave washer (36) B: Lock the pedal bar (9L/R) to the roller bracket(7)with hex bolt (44),flat washer (45) and nylon nut (46).
- Page 8 Step five: A. Connect the pulse wire (74) and extension wire (73) with the wires of the computer (70), and then lock the computer (70) into the bracket of handlebar (2) with screw (71). B. Lock the left swing tube cover (52a/b) and right swing tube cover (39a/b) into the swing bar (5L/R) with screw (25).
-
Page 9: Warm-Up And Cool-Down
WARM-UP and COOL-DOWN A successful exercise program consists of a warm-up, aerobic exercise, and a cool-down. Do the entire program at least two and preferably three times a week, resting for a day between workouts. After several months, you can increase your workouts to four or five times per week. WARM-UP The purpose of warming up is to prepare your body for exercise and to minimize injuries. - Page 10 CONSOLE INSTRUCTION MANUAL Key Functions START/STOP: 1. Start & Pauses workouts. Start body fat measurement. 3.Operates only when in stop mode. Holding key for 3 seconds will reset all function value to be zero. DOWN Decrease value of selected workout parameter: TIME, DISTANCE, etc. During the workout, it will decrease the resistance load.
- Page 11 BODY FAT PROGRAM(P12) Setting Data for Body Fat Selecting “BODY FAT Program ” using UP OR DOWN KEY then pressing ENTER. “Male ” will flash so Gender can be adjusted using UP OR DWON KEY, press ENTER to save gender & move to next data. “...


Need help?
Do you have a question about the OBE8731T and is the answer not in the manual?
Questions and answers