Table of Contents
Advertisement
Quick Links
Advertisement
Table of Contents

Related Manuals for Orbit OBR8523FC


Summary of Contents for Orbit OBR8523FC
-
Page 2: Important Safety Notice
IMPORTANT SAFETY NOTICE Note the following precaution before assembling and operating the machine. 1. Assemble the machine exactly as the descriptions in the instruction manual. 2. Check all the bolts, nuts and other connections before using the machine for the first time to ensure the machine is in the safe condition. -
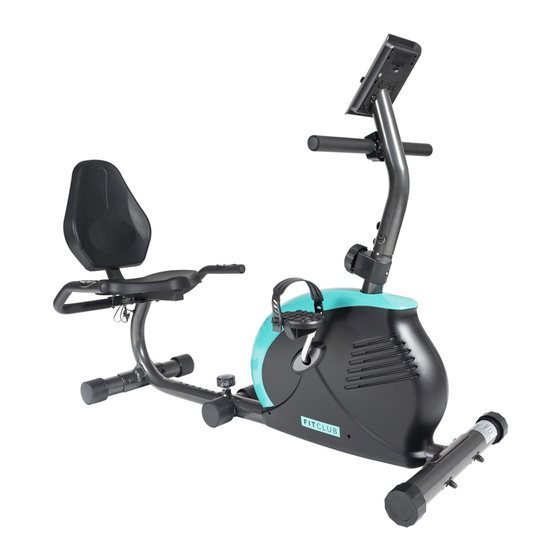
Page 3: Exploded Diagram
EXPLODED DIAGRAM... -
Page 4: Parts List
PARTS LIST DESCRIPTION DESCRIPTION Front main frame Foam grip Rear main frame Square end cap Seat frame Backrest Handlebar Seat Crank Round end cap Rear bottom tube Tension control 7 L/R Pedals 1 pr Computer Front bottom tube Tension control cover Carriage bolt Flat washer Arc washer... - Page 5 Assembly Instruction Step 1: Attach the front bottom tube(8)and rear bottom tube(6)to the front main frame(1) and rear main frame(2)with the carriage bolt(9), arc washer(10), acorn nut(11), and attach front end cap (13) to the front main frame(1). Step 2: Firstly, connect the pulse sensor wire (32) and connecting wire (33) well.
- Page 6 Step 3: Fix the seat (25) and backrest (24) to the seat frame (3) with the Allen head bolt (21), flat washer (18). Step 4: A: Fix the seat frame (3) to the rear main frame (2) with Hexagon head screw(14) and flat washer (18).
- Page 7 Step 5: Attach the Pedal (7L/R) to the crank (5). NOTE: Be sure the pedal marked (R) is attached to the crank (R) and tighten in clockwise direction, the pedal marked (L) is attach to the crank (L) and tightened in the counterclockwise direction. Or, it would damage the pedals.
- Page 8 Step 6: Connect the sensor wire (34) and connecting wire (33) with the wires coming from the computer (28). And then fix the handlebar post(39) to the front main frame (1) with hexagon head screw(21) and arc washer(10). Step7: A: Tighten handlebar(15) to the handlebar post(39) with Hexagon round screw(40), elastic washer(35) and flat washer(18).
-
Page 9: Using Your Recumbent Bike
USING YOUR RECUMBENT BIKE Using your Recumbent bike will provide you with several benefits. It will improve your physical fitness, tone your muscles and in conjunction with a calorie controlled diet, help you lose weight. WARM-UP PHASE The purpose of warming up is to prepare your body for exercise and to minimize injuries. Warm up for two to five minutes before strength-training or aerobic exercising.
Need help?
Do you have a question about the OBR8523FC and is the answer not in the manual?
Questions and answers