
Related Manuals for Maxx Ice MIM50-0


Summary of Contents for Maxx Ice MIM50-0
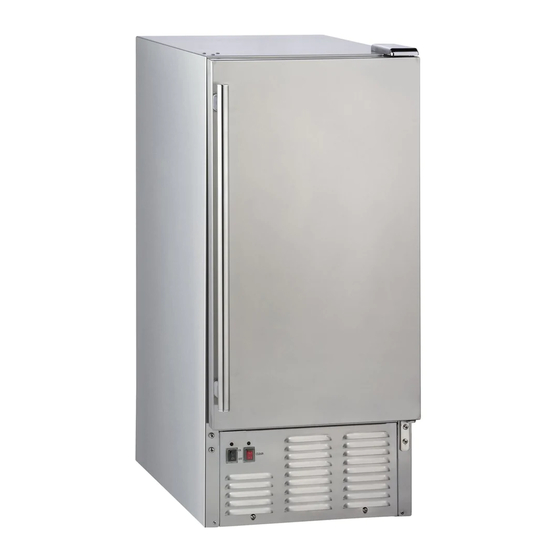
- Page 1 INSTRUCTION MIM50-0 MANUAL Automatic Outdoor Ice Maker English MIM50-0MAN 0511 REV A PLEASE READ THESE INSTRUCTIONS CAREFULLY BEFORE USE...
-
Page 3: Important Safeguards
Before the ice maker is used, it must be properly positioned and installed as described in this manual, so read the manual carefully. MAXX ICE strongly recommends that you have a professional install your new machine. The warranty may be affected or voided by an incorrect installation .To reduce the risk of fire, electrical shock or injury when... - Page 4 • It is important for the ice maker to be leveled in order to work properly. You may need to make several adjustments to level it. • All installations must be in accordance with local plumbing code requirements. • Make certain that the hoses are not pinched or kinked or damaged during installa- tion.
-
Page 5: Technical Specifications
TECHNICAL SPECIFICATIONS MIM50-0 Model: 115VAC ~ 60Hz Electrical power: 13.2kWh/100 lbs of ice Power consumption: 3.7A/4.8A Ice-making/Ice-harvest rated current: R134a 7.06oz Refrigerant: 350psig/130psig High/Low Side Pressure: 14.6”×23.6”×33.5” Width × Depth × Height (with feet): 370.84mm x 599.44mm x 850.9mm 14.6”×23.6”×34.9”... -
Page 6: Installation
INSTALLATION Remove packaging materials IMPORTANT: Do not remove any permanent instruction labels or the data label on your ice maker. Remove tape and glue from your ice maker before using. • To remove any remaining tape or glue, rub the area briskly with your thumb. Tape or glue residue can also be easily removed by rubbing a small amount of liquid dish soap over the adhesive with your fingers. - Page 7 INSTALLATION soft copper tubing with a shut-off valve. • The ice maker requires a continuous water supply with a minimum pressure of 15 psig and a static pressure not to exceed 80 psig. The temperature of the water feed- ing into the ice maker should be between 41°F (5°C) and 90°F (32°C) for proper oper- ation.
- Page 8 INSTALLATION ** The ice maker should always be plugged into its own individual electrical outlet. ** It is recommended that a separate circuit, serving only your ice maker, be provided. Use receptacles that cannot be turned off by a switch or pull chain. The fuse (or circuit breaker) size should be 15 amperes.
- Page 9 INSTALLATION Leveling the Ice Maker It is important for the ice maker to be leveled in order to work properly; otherwise water will not flow as it should through the evaporator (ice mold). Ice production will be less than normal, and operation will be noisy.
- Page 10 To replace door on hinges: 1. Using a flat screwdriver, remove the plug buttons from the screw holes opposite the door hinges, top and bottom. Set aside. 2. Remove the bottom hinge and place it on the opposite side at the bottom of the door.
- Page 11 Drain IMPORTANT: This ice maker is not a freezer, it must connect to a drain line. Your ma- chine comes equipped with a gravity drain. Depending on your plumbing setup, a condensation pump may be required. Poor drainage will cause a high rate of melt- ing in the ice storage bin and may cause flooding or your machine to shut off.
-
Page 12: Operation
Built-in Installation: If this method of installation is chosen, it will still be necessary to allow adequate venti- lation space around the unit. The following additional items must be observed. 1. Place ice maker in front of installation location. Remove the legs and place the unit flat on the floor or on a platform depending on your installation requirements. - Page 13 Cold Ice- Ice- preservation harvesting making stage stage stage 2. After three minutes, the machine will automatically go into the ice-making stage, and the sound of flowing water will be heard. 3. When the batch of ice has been fully formed, the ice will automatically be har- vested to the ice storage bin.
- Page 14 How the Machine Uses the Water Evaporator t a r The ice maker begins with a fixed charge of water that is contained in Water inlet t e l r e t the water trough. As the water flows to the freezing evaporator surface, the portion of water that does not contain mineral impurities will freeze and stick to the ice cube molds.
- Page 15 CLEANING & MAINTANANCE: CAUTION: If the ice maker is left unused for a long time, before the next use it must be thoroughly cleaned. Follow carefully any instructions provided for cleaning or use of sanitizing solution. Do not leave any solution inside the ice maker after cleaning. Periodic cleaning and proper maintenance will ensure efficiency, top performance, and long life.
- Page 16 1. Disconnect the power to the unit. 2. Open the door and take out the removable ice storage bin. With a clean cloth, wipe down the interior of the unit with a sanitizing solution made of 1 ounce of house- hold bleach and 2 gallons of hot water (95ºF to 115ºF).
- Page 17 4. With a brush, clean the tube with a dilute solution of warm water and a mild de- tergent such as dishwashing liquid. After removing the dirt and lint from the surface, rinse the tube with clean water. 5. Replace the distribution tube 6.
- Page 18 6. Prepare a sanitizing solution made of 1 ounce of household bleach and 2 gallons of hot water (95º to 115ºF). Wipe the entire bin inside and outside, covering the entire surface of the walls. 7. Fill a spray bottle with the sanitizing solution and spray all corners and edges mak- ing sure to cover all surfaces with the solution.
-
Page 19: Troubleshooting
TROUBLESHOOTING Before Calling for Service If the unit appears to be malfunctioning, read through the OPERATION section of this manual first. If the problem persists, check the Troubleshooting Guide below and on the following page. The problem could be something very simple that can be solved without a service call. - Page 20 TROUBLESHOOTING Problem Possible Cause Probable Correction Check if the water supply pressure is below 15 psig. Cubes are partially formed or Not enough water in the water Check water supply; filter are white at the bottom. trough.. may be restricted. Check for a water leak at the water trough..
- Page 21 NOTES:...
- Page 22 NOTES:...
- Page 23 NOTES:...
- Page 24 www.maxxice.com 3355 Enterprise Ave, Suite #160, Fort Lauderdale, FL 33331 Phone:(954) 202-7419 · Fax:(954) 202-7337...
Need help?
Do you have a question about the MIM50-0 and is the answer not in the manual?
Questions and answers