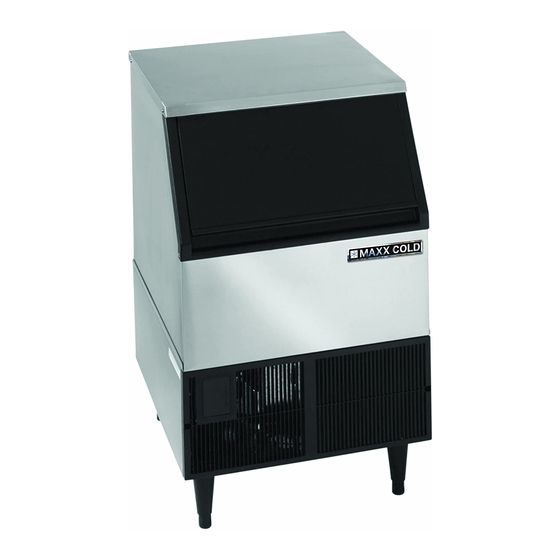
Maxx Ice MIM250 Service Manual
Automatic ice maker
Hide thumbs
Also See for MIM250:
- User manual (24 pages) ,
- Service, installation, and instruction manual (56 pages) ,
- Service, installation, and instruction manual (56 pages)
Advertisement
Table of Contents
- 1 Table of Contents
- 2 Installation Guidelines
- 3 How the Ice Maker Works
- 4 Water System
- 5 Exploding Drawing
- 6 Troubleshooting
- 7 Before Maintenance
- 8 Troubleshootingguide
- 9 Adjustment and Replacement
- 10 Advanced Component Troubleshooting Techniques
- 11 Compressor Check
- 12 Spare Parts List
- Download this manual
See also:
User Manual
Advertisement
Table of Contents
Troubleshooting

Related Manuals for Maxx Ice MIM250


Summary of Contents for Maxx Ice MIM250
- Page 1 Automatic Ice maker Service manual MIM250...
-
Page 2: Table Of Contents
Table of contents Installation Guidelines ---------------------------------------------------------3 How the Ice Maker Works ----------------------------------------------------4 Water System --------------------------------------------------------------------5 Wiring Connections and Controller ------------------------------------------8 Exploding Drawing -------------------------------------------------------------11 TroubleShooting ----------------------------------------------------------------13 Before Maintenance ------------------------------------------------------------13 Basic Checking ------------------------------------------------------------------13 TroubleshootingGuide ----------------------------------------------------------14 Adjustment and Replacement -------------------------------------------------19 Advanced component troubleshooting techniques --------------------------20 Spare parts list ------------------------------------------------------------------- 26... -
Page 3: Installation Guidelines
Installation Guidelines Note: Installation should be performed by a trained Service Technician. For proper operation of the ice machine, the following installation guidelines must be followed. Failure to do so may result in loss of production capacity, premature part failures, and may void all warranties. -
Page 4: How The Ice Maker Works
8. Oil the fan motor if the motor has an oil fitting. Cleaning and Sanitizing Harvest problems may occur if the following procedures are not performed every 6 months. 1. Remove the ice machine front panel. 2. Make sure that all the ice is off of the evaporator. If ice is being made, wait for cycle completion, then turn the machine “OFF”... - Page 5 Cooling System...
- Page 6 ITEM NO DESCRIPTION Compressor Discharge tube Cu three ways Condenser Drier and filter Capillary tube Connection tube Hot gas valve Hot gas tube Evaporator (Ice Mold) Fan blade(φ200X28°) Suction pipe Motor 5W Motor 10W Temperature sensor of the evaporator Temperature sensor of the condenser Controller During the icemaking stage, the hot gas solenoid valve is closed.
-
Page 7: Water System
Water System ITEM NO. DESCRIPTION Water supply tube Water inlet connector Nut of water inlet tube Supporting tube Water pump inlet tube Floater valve Water trough Water pump Water pump outlet tube Ice slideway Water distribution tube Evaporator (Ice Mold) Magnetism switch Gasket Screw cap... - Page 8 surface of the cold evaporator where the purest water is converted to ice. The unfrozen water returning to the trough. At the end of freeze cycle and during harvest, the water dump valve is opened and the mineral laden remaining water is pumped down the drain. Wiring Connection :...
- Page 9 Circuit Description 1. Electrify Status For The First Time As the icemaker is properly installed. switch on the water tap, let the water trough full (reach on the level), then turn the Power switch to the ON position on the back panel. The icemaker will start working automatically In this status, the time is fixed about 3 minutes.
- Page 10 When green LED and yellow LED is lit, it means the unit is working in the cold preservation stage . 4.Red LED: power indicator light. The power is on when the red LED is lit. 5. Mode button: Mainly for service. When this button is pressed, it can change from ice making mode to ice harvest mode, or from ice harvest mode to ice making mode.
-
Page 11: Exploding Drawing
Exploding Drawing... - Page 12 Item No. Description Ice scoop Top panel Drain nut Condenser Hot gas valve body (EVU3) Hot gas valve coil(042N4212) Compressor Compressor starting device component Water trough Floater valve water inlet pipe screw Drain valve Water out tube of pump Water pump Water inlet Condenser sensor Evaporator sensor...
-
Page 13: Troubleshooting
Troubleshooting ELECTRICAL SHOCK HAZARD Disconnect Electrical Power Before Beginning Removal of Parts Before Maintenance 1. Be sure the electrical supply is 115 VAC, 60Hz, 15A and is properly grounded to protect maintenance personnel against electrical shock. 2. Are any electrical leads loose? Danger of short circuit? If so, disconnect power. Basic Troubleshooting Some problems can be pinpointed through the service technician’s senses of hearing, sight and touch. -
Page 19: Adjustment And Replacement
Adjustment and Replacement Replace Control box, fuse and the sensor of temperature ELECTRICAL SHOCK HAZARD Disconnect Electrical Power Before Beginning Removal of Parts Replacing Control Box Fuse and Temperature Sensor Remove the rear cover and the louvered front panel or the side panel on a modular unit. Locate the electronic control box in the unit. -
Page 20: Advanced Component Troubleshooting Techniques
3. Replacing the hot gas valve, drier and evaporator Remove the top panel. Locate the drier and hot gas valve, open weld, replace the drier and hot gas valve, weld, recover refrigerant, evacuate and weigh in the charge on the nameplate. Reverse the above steps to reassemble. -
Page 21: Compressor Check
Compressor Check Compressor and Start Components The compressor should run during the entire cycle. If the machine is in the ON position but the compressor is not running, check the compressor contactor to see if it is engaged. If the contactor is not engaged, the problem is not with the compressor or the compressor start components. - Page 22 Thermostatic Expansion Valve (TXV) The thermostatic expansion valve meters the flow of refrigerant into the evaporator changing its state from a highpressure liquid to a lowpressure liquid. This drop in pressure causes the refrigerant to cool. The cooled refrigerant absorbs heat from the water circulating over the evaporator. As the evaporator fills with liquid refrigerant, the evaporator becomes colder.
- Page 23 functioning properly. If the hot gas valve leaks during the freeze cycle, ice will not form on the top of the evaporator and suction pressure will be higher than normal. To check if the hot gas valve is leaking, let the machine run in the freeze cycle for approximately 5 minutes. Now feel the temperature between the inlet and outlet of the valve.
- Page 24 where the temperature and pressure of the vapor are increased. The high temperature, high pressure vapor flows to the condenser where the heat is removed, causing the vapor to return to the liquid form, making the refrigerant ready to flow back to the evaporator to pick up more heat. ice machine use R134a or R404a refrigerant.
-
Page 25: Spare Parts List
Bin Control Operation The bin control is used to shut the machine off when the bin fills with ice. The bin control must be checked upon installation or initial startup and when performing maintenance. Adjustments are notcovered under warranty. There is one bin switch for each evaporator. The actuator arm of the bin switch comes in contact with the splash curtain. - Page 26 1880001701 Floater valve 1864529100 water inlet pipe screw 1854700800 Drain valve 1864512101 Water out tube of pump 1858904400 Water pump 1864526600 Water inlet 1851700700 Condenser sensor 1851701002 Evaporator sensor 1864550603 Water sprinkler 1880024701 Evaporator (Ice Mold) 1861701802 Ice slideway 1853703602 Wiring harness 1854005700 Magnetism switch...
Need help?
Do you have a question about the MIM250 and is the answer not in the manual?
Questions and answers
Is there a way to adjust the freezer part and make it colder the cubes are kind of wet and melting
To adjust the Maxx Ice MIM250 freezer to make it colder, follow these steps:
1. Press and hold the “Clean” button and the “Mode” button together for at least 3 seconds.
2. The unit will enter the ice size adjustment mode.
3. Follow the on-screen or manual instructions to modify the temperature setting.
This adjustment allows you to control the ice size, which indirectly affects the freezing temperature.
This answer is automatically generated