Table of Contents
Advertisement
Quick Links
Advertisement
Table of Contents

Related Manuals for MeiTrack T1


Summary of Contents for MeiTrack T1
- Page 1 MEITRACK T1 User Guide MEITRACK T1 User Guide...
- Page 2 MEITRACK T1 User Guide Change History File Name MEITRACK T1 User Guide Project Creation Date 2014-06-10 Update Date 2018-08-02 Subproject User Guide Total Pages Version V2.8 Confidential External Documentation Copyright © 2018 Meitrack Group All rights reserved. - 2 -...
-
Page 3: Table Of Contents
6.2 Charging the Device ............................- 8 - 6.3 LED Indicator ..............................- 8 - 6.4 Configuring Device Parameters by Meitrack Manager ................. - 9 - 6.5 Tracking by Mobile Phone ..........................- 9 - 6.6 Common SMS Commands .......................... - 11 - 6.6.1 Setting Authorized Phone Numbers –... -
Page 4: Copyright And Disclaimer
The user manual may be changed without notice. Without prior written consent of Meitrack Group, this user manual, or any part thereof, may not be reproduced for any purpose whatsoever, or transmitted in any form, either electronically or mechanically, including photocopying and recording. -
Page 5: Product Functions And Specifications
Built-in 8 MB buffer for recording driving routes (storing 8,192 GPRS cache records, 256 SMS cache records, and 131,072 GPS logs) Mileage report Low power alert for internal battery Build-in vibration sensor and 3-axis accelerometer Copyright © 2018 Meitrack Group All rights reserved. - 5 -... -
Page 6: Functions Of Optional Accessories
1 SOS button (for sending SMSs or dialing) 1 power button Memory 8 MB buffer Sensor 3-axis accelerometer (used to wake the device up by vibration and detect towing alerts) Copyright © 2018 Meitrack Group All rights reserved. - 6 -... -
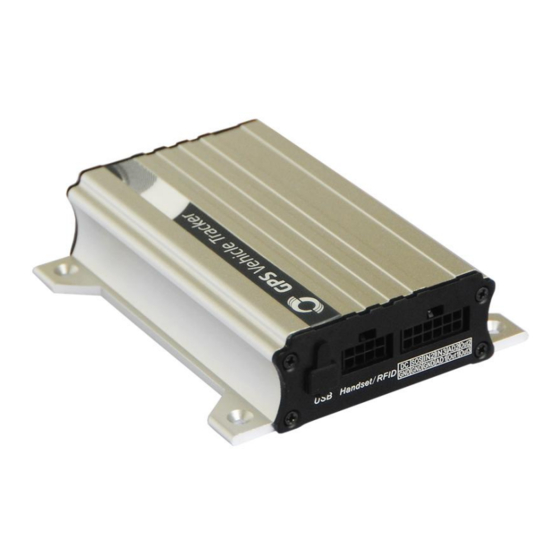
Page 7: T1 And Accessories
Ultrasonic fuel level sensor A52 digital temperature sensor + A61 sensor box Tire pressure sensor iButton 5 Appearance GSM indicator GPS indicator Power button GSM antenna GPS antenna connector connector Copyright © 2018 Meitrack Group All rights reserved. - 7 -... -
Page 8: First Use
6.3 LED Indicator Press and hold down the power button for 3–5 seconds to start the device. GPS Indicator (Blue) Steady on A button or an input is triggered. Copyright © 2018 Meitrack Group All rights reserved. - 8 -... -
Page 9: Configuring Device Parameters By Meitrack Manager
Connect the device to a computer by using the USB cable. Run Meitrack Manager, then the following dialog box will appear. Turn on the device, then Meitrack Manager will detect the device model automatically and the parameter page will appear accordingly. - Page 10 GPRS reaches the normal level. 0Km/h Indicates the speed. Unit: km/h Indicates the remaining battery power. None http://maps.meigps Indicates the map link. None .com/?lat=22.51378 Latitude: 22.513781 1&lng=114.057183 Longitude: 114.057183 Copyright © 2018 Meitrack Group All rights reserved. - 10 -...
-
Page 11: Common Sms Commands
If no phone numbers are set and commas are remained, phone numbers set before will be deleted. If you need to delete all listen-in phone numbers, send 0000,A72. Example: Sending: 0000,A72,13844444444,13855555555 Reply: 353358017784062,A72,OK Copyright © 2018 Meitrack Group All rights reserved. - 11 -... -
Page 12: Setting The Smart Sleep Mode - A73
For details about SMS commands, see the MEITRACK SMS Protocol. Note: The default SMS command password is 0000. You can change the password by using Meitrack Manager and SMS command. The device can be configured by SMS command with a correct password. After an authorized phone number is set, only the authorized phone number can receive the preset SMS event report. -
Page 13: Installing The T1
MEITRACK T1 User Guide For more information about how to add a tracker, see the MEITRACK GPS Tracking System MS03 User Guide (chapter 4 "Getting Started"). The MS03 supports the following functions: Track by time interval or distance. Query historical trips. -
Page 14: Power Cable/Ground Wire (Pin 1/2)
Otherwise, the device may be damaged. 8.2.1 Power Cable/Ground Wire (Pin 1/2) Connect the power cable (red) and ground wire (black) to the positive and negative charges of the vehicle battery Copyright © 2018 Meitrack Group All rights reserved. - 14 -... -
Page 15: Acc And Door Detection (Pin 5/7)
ON-OFF-ON. If input 3 is connected to the "Start" position, after the engine is started, the platform will read it as OFF-ON-OFF. If installed correctly, after the engine is started, the platform will read it as OFF-ON. 8.2.3 Output Control (Pin 10/11) Copyright © 2018 Meitrack Group All rights reserved. - 15 -... -
Page 16: Sensor Input
Pin 12 is connected to A61+A52 temperature sensor or iButton by default. For details, see the MEITRACK Temperature Sensor User Guide and MEITRACK iButton User Guide. Note: The white plug on the T1 harness consists of the power cable (red), ground wire (black), AD2 cable (blue), and SEN cable (green). -
Page 17: Installing The Rfid Reader (Rs232 Port)
White Reserved (TX, T1 sends data to the RFID reader.) Remarks: The T1 RFID reader is not compatible with the MVT600 RFID reader. In the MVT600, the RS232 port is a Wiegand port. Note: The RS232 port can be used with either the Speaker + microphone or the camera at a time. -
Page 18: Mounting The T1
Green RX, T1 receives data from the camera. White TX, T1 sends data to the camera. To connect T1 to a camera, a 4-pin to 8-pin cable is required. Connect the device to Connect the camera to the 8-pin interface.
Need help?
Do you have a question about the T1 and is the answer not in the manual?
Questions and answers