Table of Contents
Advertisement
Advertisement
Table of Contents

Subscribe to Our Youtube Channel
Related Manuals for MeiTrack T366


Summary of Contents for MeiTrack T366
- Page 1 MEITRACK T366 User Guide MEITRACK T366 User Guide...
-
Page 2: Change History
Project T366 Creation Date 2016-11-16 Update Date 2018-01-05 Hardware Version H1.1 or later Software Version T366_V067 or later Subproject User Guide Total Pages File version V1.5 Confidential External Documentation Copyright © 2018 Meitrack Group All rights reserved. - 2 -... - Page 3 6.3 Device Configuration ..........................- 12 - 6.3.1 Installing the USB Driver ........................- 12 - 6.3.2 Configuring Device Parameters by Meitrack Manager ............... - 13 - 6.4 Tracking by Mobile Phone ........................... - 14 - 6.5 Common SMS Commands .......................... - 15 - 6.5.1 Real-Time Location Query –...
- Page 4 MEITRACK T366 User Guide 8.2 Mounting the T366 ............................. - 23 - Copyright © 2018 Meitrack Group All rights reserved. - 4 -...
-
Page 5: Copyright And Disclaimer
The user manual may be changed without notice. Without prior written consent of Meitrack Group, this user manual, or any part thereof, may not be reproduced for any purpose whatsoever, or transmitted in any form, either electronically or mechanically, including photocopying and recording. -
Page 6: Gps Data Filtering
Note: The alert results vary according to the device installation, vehicle model, vehicle weight, and driving behaviors. After the device has been installed properly, you can use the Meitrack Manager software to adjust the harsh acceleration and braking alert values by every 10 mG. You can also use the D79 command to set the values. -
Page 7: Auto Arming
For details, see section 6.5.6 "Setting I/O Port Status – C08." 2.1.6 Auto Arming You can enable the auto arming function by B27 command, Meitrack Manager software or MS03 tracking platform. This function is disabled by default. When the device is in sleep mode and the function has been enabled, the device will enter auto arming state. -
Page 8: Starting The Engine By Rfid/Ibutton
An iButton key or RFID card has been authorized. The tracker's output 1 is connected to the engine control cable through a relay. The RFID ignition function has been enabled by Meitrack Manager or MS03 tracking platform. The RFID event has been enabled. -
Page 9: Functions Of Optional Accessories
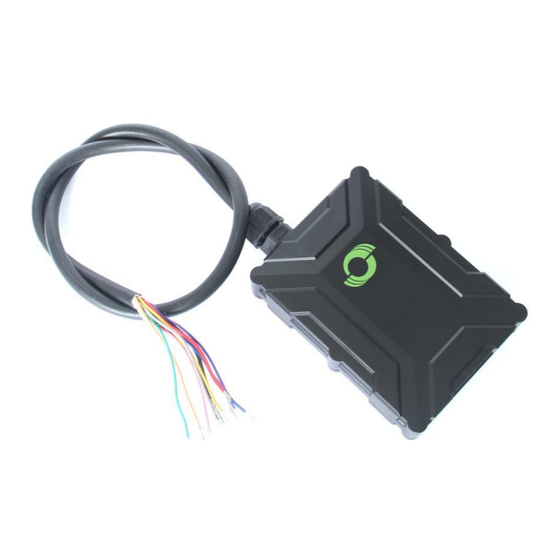
A57 speaker Two-way calling A58 microphone Two-way calling 3.2 Specifications Item Specifications Dimension 80.5 mm x 60 mm x 23.5 mm Weight 100g I/O power cable length 50 cm Copyright © 2018 Meitrack Group All rights reserved. - 9 -... -
Page 10: Product Versions
Two-way calling & RS232 T366_F5 Internal Support Support H1.2 version 4 T366 and Accessories T366 and standard accessories: T366 tracker (with a cable of 50 cm in length) Copyright © 2018 Meitrack Group All rights reserved. - 10 -... -
Page 11: Appearance
Available for the device with an external antenna connector (two hardware versions available: internal or external antenna) Ultrasonic fuel level sensor Connect to the RS232 port (T366 RS232 version: F2/F3/F5) LED display Connect to the RS232 port (T366 RS232 version: F2/F3/F5) -
Page 12: First Use
No base station signal is received. 6.3 Device Configuration 6.3.1 Installing the USB Driver Decompress the stsw-stm32102.zip file provided by Meitrack, locate the following file, and install the USB driver on a computer with 64-bit Windows system. Copyright © 2018 Meitrack Group All rights reserved. -
Page 13: Configuring Device Parameters By Meitrack Manager
C:/windows/system32/drivers/ directory. Then restart the computer. 6.3.2 Configuring Device Parameters by Meitrack Manager This section describes how to use Meitrack Manager to configure the device on a computer. Procedure: Install the USB driver and Meitrack Manager. -
Page 14: Tracking By Mobile Phone
MEITRACK T366 User Guide Run Meitrack Manager, then the following dialog box will appear. Turn on the device, then Meitrack Manager will detect the device model automatically and the parameter page will appear accordingly. For details about MEITRACK Manager, see the MEITRACK Manager User Guide. -
Page 15: Common Sms Commands
Phone number: A phone number contains a maximum of 16 bytes. If no phone numbers are set, leave them blank. Phone numbers are empty by default. Phone number 1/2/3: Set these phone numbers to authorized phone numbers. When you call the tracker by using Copyright © 2018 Meitrack Group All rights reserved. - 15 -... -
Page 16: Setting The Smart Sleep Mode – A73
6.5.5 Controlling Output Status – C01 SMS sending: 0000,C01,Speed,ABCDE SMS reply: IMEI,C01,OK Description: When the speed is 0, no speed limit exists. That is, when the tracker receives a command, the output control takes Copyright © 2018 Meitrack Group All rights reserved. - 16 -... -
Page 17: Setting I/O Port Status – C08
IO1: Mn parameter value is 0, 4, 5, 7, or 8. IO2: Mn parameter value is 0, 1, or 2. IO3: Mn parameter value is 0, 1, or 2. IO4: Mn parameter value is 0, 1, 2, or 3. Copyright © 2018 Meitrack Group All rights reserved. - 17 -... -
Page 18: Setting Idling Time – D34
Visit http://ms03.trackingmate.com, enter the user name and password, and log in to the MS03. (Purchase the login account from your provider.) For more information about how to add a tracker, see the MEITRACK GPS Tracking System MS03 User Guide (chapter 4 "Getting Started"). -
Page 19: Installing The T366
MEITRACK T366 User Guide Support OTA updates. For details, see the MEITRACK GPS Tracking System MS03 User Guide. 8 Installing the T366 8.1 Installing an I/O Cable 8.1.1 Interface Definition The standard I/O cable is an 8-pin cable, including the power, analog input, and negative/positive input and output interfaces. -
Page 20: Wiring Diagram
The buzzer should be connected to 5 V power supply. If it connects to more than 12 V power supply, the device may be damaged due to large current. The I/O cable of T366 RS232 version is an 11-pin cable. Besides the above 8 pins, there are the following 3 pins. RS232-Tx... - Page 21 MEITRACK T366 User Guide T366 RS232 version: Copyright © 2018 Meitrack Group All rights reserved. - 21 -...
-
Page 22: Setting Code Matching Of The Rf Remote Control
(event 58) will be generated by SMS or GPRS and the device will dial the authorized phone numbers in sequence. Copyright © 2018 Meitrack Group All rights reserved. - 22 -... -
Page 23: Connecting The Microphone And Speaker
Mount the device in the vehicle by cable tie. Note: Do not install it at a metal covered place. If you have any questions, do not hesitate to email us at info@meitrack.com. Copyright © 2018 Meitrack Group All rights reserved.
Need help?
Do you have a question about the T366 and is the answer not in the manual?
Questions and answers