Sign In
Upload
Download
Table of Contents
Contents
Add to my manuals
Delete from my manuals
Share
URL of this page:
HTML Link:
Bookmark this page
Add
Manual will be automatically added to "My Manuals"
Print this page
×
Bookmark added
×
Added to my manuals
Manuals
Brands
FLIR Manuals
Security Camera
SV87-KIT
User manual
FLIR SV87–KIT User Manual
Vibration monitoring solution
Hide thumbs
Also See for SV87–KIT
:
User manual
(60 pages)
1
2
3
4
Table Of Contents
5
6
7
8
9
10
11
12
13
14
15
16
17
18
19
20
21
22
23
24
25
26
27
28
29
30
31
32
33
34
35
36
37
38
39
40
41
42
43
44
45
46
47
48
49
50
51
52
53
54
55
56
57
58
59
60
61
62
63
64
page
of
64
Go
/
64
Contents
Table of Contents
Bookmarks
Table of Contents
Table of Contents
1 Advisories
Copyright
Quality Assurance
Documentation
Disposal of Electronic Waste
2 Introduction
3 Safety
4 Product Descriptions
Product Call-Out Description
Remote Monitoring Gateway GW65 Overview
SV87 Remote Sensor Overview
Mobile App Overview
Windows App Overview
5 Quick Steps
Quick Steps for Standalone Operation
Quick Steps for Windows PC Operation
6 Sensor Installation
Sensor Placement Considerations
Mounting the Sensors
Where Sensors Should Not be Placed
Determining the Number of Sensors to Place on Equipment
Documenting Sensor Locations
7 Mapping a Test Site
Assets
Sensor Groups
Test Points
Sensor Identification
8 Communication Preparation
Communication Basics
Choosing PC-Based or Standalone Control
How to Decide
Standalone System Block Diagram
Windows PC Operation Block Diagram
Preparing a Communications System
Preparing the Mobile App
Preparing the Windows PC App
Historical Sensors' Option
Preparation for Sensor Placement
9 Mobile App Screen Set
FLIR Mobile App Screens
Trend Charts
ISO 10816-1 Mechanical Vibration Sensor Alerts
10 Windows PC App
Opening Windows App Screen
The Information Tab
The Sensors Tab
The Trend Chart Screen
Alarm Status Tab
The Archive Tab
11 Fast Fourier Transform (FFT)
Background
Time-Domain and Frequency-Domain Methods
Determining Machine Defects by Vibration Characteristics
12 Toggling Standalone and Local Server Modes
13 GW65 Field Firmware Updates
Firmware Update Procedure Using the Mobile App
14 Three-Year Limited Warranty
15 Customer Support
16 Specifications
GW65 Remote Monitoring Gateway Specifications
SV87 Remote Sensor Specifications
Advertisement
Quick Links
1
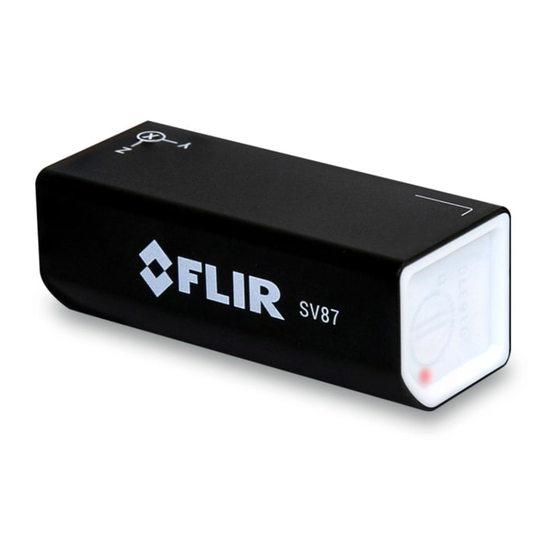
Sv87 Remote Sensor Overview
2
Quick Steps for Standalone Operation
3
Sv87 Remote Sensor Specifications
Download this manual
User Manual
Vibration Monitoring
Solution
SV87–KIT (GW65 Remote Monitoring Gateway and SV87
Vibration / Temperature Remote Sensors)
Table of
Contents
Previous
Page
Next
Page
1
2
3
4
5
Advertisement
Table of Contents
Need help?
Do you have a question about the SV87–KIT and is the answer not in the manual?
Ask a question
Questions and answers
Related Manuals for FLIR SV87–KIT
Measuring Instruments FLIR SV87-KIT User Manual
Vibration monitoring solution (gw65 remote monitoring gateway and sv87 vibration / temperature remote sensors) (60 pages)
Security Camera FLIR SR-100 Installation And Operation Manual
Sr-series, thermal camera (46 pages)
Security Camera FLIR SR-124 Installation And Operation Manual
Sr-series fixed-site thermal security cameras (28 pages)
Security Camera FLIR SR-100 PT Installation And Operation Manual
Sr-pt thermal camera (21 pages)
Security Camera FLIR SR-348 Installation And Operation Manual
Sr-series fixed-site thermal security cameras (28 pages)
Security Camera FLIR SR-606 Installation And Operation Manual
Sr-series fixed-site thermal security cameras (28 pages)
Security Camera FLIR PTZ-35x140MS Installation And Operation Manual
(43 pages)
Security Camera FLIR SyncroIP Camera Series Quick Setup Manual
(2 pages)
Security Camera FLIR SyncroIP Series Firmware Update Instructions
(3 pages)
Security Camera FLIR Saros Installation And User Manual
(39 pages)
Security Camera FLIR Saros DM Series Installation And User Manual
(54 pages)
Security Camera FLIR Saros DM-695-S Installation And User Manual
(52 pages)
Security Camera FLIR FLIR T4 series User Manual
(277 pages)
Security Camera FLIR C23 Series Manual
Mpx cameras (80 pages)
Security Camera FLIR Quasar CM-6405 Installation And User Manual
Mini-dome (119 pages)
Security Camera FLIR Raymarine CAM220IP Installation Instructions Manual
(54 pages)
This manual is also suitable for:
Gw65
Sv87
Table of Contents
Print
Rename the bookmark
Delete bookmark?
Delete from my manuals?
Login
Sign In
OR
Sign in with Facebook
Sign in with Google
Upload manual
Upload from disk
Upload from URL


Need help?
Do you have a question about the SV87–KIT and is the answer not in the manual?
Questions and answers