Table of Contents
Advertisement
Quick Links
I
n
s
t
a
l
l
a
I
n
s
t
a
l
l
a
FLIR Systems, Inc.
70 Castilian Drive
Goleta, CA 93117
Phone: 888.747.FLIR (888.747.3547)
International: +1.805.964.9797
http:// www.flir.com
427-0042-00-10 Revision 130
t
i
o
n
a
n
d
t
i
o
n
a
n
d
O
p
e
r
a
t
i
o
O
p
e
r
a
t
i
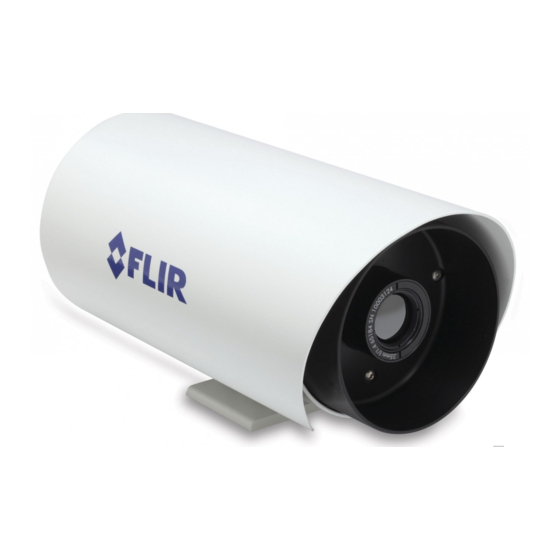
Camera Models
SR-124
SR-117
SR-348
SR-334
SR-313
SR-309
SR-645
SR-625
SR-612
Copyright © 2011 FLIR Systems, Inc.
n
M
a
n
u
o
n
M
a
n
u
SR-112
SR-324
SR-304
SR-618
SR-606
a
l
a
l
1
Advertisement
Table of Contents


Need help?
Do you have a question about the SR-124 and is the answer not in the manual?
Questions and answers