3D Systems Cube User Manual
Hide thumbs
Also See for Cube:
- User manual (121 pages) ,
- Quick start manual (32 pages) ,
- Lesson (15 pages)
Table of Contents
Advertisement
Quick Links
INF User Guide
INF User Guide
Introduction
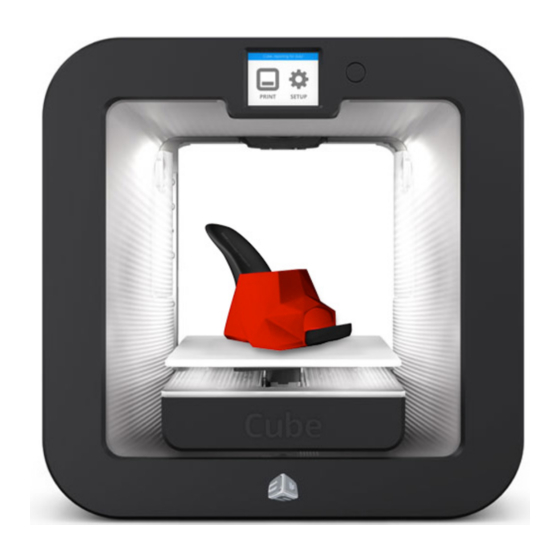
Thank you for purchasing the Cube® 3D Printer. This printer is portable with a plug
and print design that enables everybody in the family to express their creativity like
never before. With multiple material colors to choose from and two types of
materials, enjoy the freedom to print in your true colors or mix it up. With its ready-
to-print technology, the Cube provides a new dimension to your imagination and
helps you share your creations with others in the Cubify community at Cubify.com.
Advertisement
Table of Contents

Related Manuals for 3D Systems Cube


Summary of Contents for 3D Systems Cube
- Page 1 INF User Guide Introduction Thank you for purchasing the Cube® 3D Printer. This printer is portable with a plug and print design that enables everybody in the family to express their creativity like never before. With multiple material colors to choose from and two types of materials, enjoy the freedom to print in your true colors or mix it up.
-
Page 2: Copyright Information
©2015 by 3D Systems, Inc. All rights reserved. This document is subject to change without notice. This document is copyrighted and contains proprietary information that is the property of 3D Systems, Inc. The 3D Systems logo, 3D Systems, Cube and Cubify are registered trademarks of 3D Systems, Inc. Use of the Cubify.com website constitutes acceptance of its Terms of Service and Privacy Policy. -
Page 3: Important Safety Information
SHOCK WARNING: INDICATES A POTENTIAL SHOCK HAZARD. Safety Guidelines Follow all safety rules in this section and observe all cautions and warnings in this guide. DO NOT modify any safety features or make modifications to the Cube. Doing so is prohibited and voids the manufacturer’s warranty. - Page 4 3D prints are not accessible to young children. These 3D prints are potential choking hazards for young children. DO NOT change a material cartridge during printing; doing so may damage the Cube. HOT SURFACE HAZARD: DO NOT TOUCH THE PRINT JETS DURING SETUP AND OPERATION.
-
Page 5: Inf Printing Best Practices
INF Printing Best Practices Reduce Shifting Material differences between PLA/ABS and INF can cause the print pad to shift when printing supports with INF material. Friction stickers should be added to the print pad level adjustment knobs. Remove the print pad from the printer. Wipe the adjustment knobs with a clean, soft cloth dampened with water. - Page 6 NOTE: Once the stickers have been placed, do not add more stickers at any time. Dispose of all debris from the bins.
- Page 7 Reinstall the print pad. Perform the Auto level procedure. Reduce Printing Defects Auto Level should be performed at the beginning of each test and each time the display prompts you to perform the procedure.
- Page 8 Glue Using Cube Glue is always recommended for printing, especially for areas of the print pad where INF prints. Ensure that glue is applied to the print pad in an area that is larger than the base of your part.
- Page 9 Purging is not always required but is recommended after performing a long print. This will ensure that both jets are clear and ready for the next print. Purge the PLA print jet and then purge the INF print jet before printing a new part. Position The Part To Optimize The Print For best results, position PLA parts in a way where there are fewer horizontal spans between vertical features.
- Page 10 You may also add a sidewalk to your print to increase the footprint. Use PLA material to anchor your part to the print pad. Preferred Note the contact point of this part. Adding a sidewalk will stabilize it even more. Not Preferred Note the limited contact point of this part.
- Page 11 Level The Nozzles If PLA and INF material do not adhere to one another, check the nozzle level. Print the nozzle level test file and adjust as needed. NOTE: Auto Level should always be performed before the Auto Gap procedure. NOTE: Auto Level should be performed when the printer is positioned away from bright lights or direct sunlight.
- Page 12 NOTE: The Auto Level procedure will begin. Once the Auto Level procedure has completed, select the checkmark to verify the Z- Gap. If the print pad is out of range, proceed to the Manual Level procedure. The printer will begin checking the Z-gap. NOTE: The printer will perform an automated gap measurement.
- Page 13 NOTE: If Auto Gap is not successful, it is recommended that you perform Auto Level and Auto Gap again. Select AUTO LEVEL to continue. NOTE: If Auto Gap is not successful the second time, select PLATE MAINTENANCE. For more information, refer to the section titled Print Pad Maintenance.
- Page 14 When prompted, loosen the lock screw that is indicated on the touchscreen display. Select the checkmark to continue. NOTE: Use a 1.5 mm Allen wrench that is included with the printer. NOTE: The lock screw (1) is located just below the adjustment knob (2). The lock screw for adjustment knob B can be accessed from the front of the printer.
- Page 15 When prompted, tighten the lock screw enough to ensure the adjustment knob does not easily turn. Select the checkmark to continue. Caution: Do not over-tighten the lock screw. This can damage the adjustment knob and void the manufacturer’s warranty. Reinstall the print pad and select the checkmark to perform the Auto Level procedure again.
- Page 16 Select the checkmark to continue. NOTE: If Auto Gap is not successful, it is recommended that you perform Auto Level and Auto Gap again. Select AUTO LEVEL to continue. NOTE: If Auto Gap is not successful the second time, select PLATE MAINTENANCE.
-
Page 17: Manual Gap Adjustment
Gap Is Too Large If the lines are more prominent (see the illustration below) and not tightly fused, the gap is too large. Auto Level and Auto Gap should be performed. When the gap is too large, the first layer may begin to fray when removing the print from the print pad. - Page 18 NOTE: The print pad must be clean and free from glue and print material. NOTE: Ensure the print jet nozzles are clean and free from print material. This can usually be accomplished by pulling out the print material with your fingers.
- Page 19 Glue Using Cube Glue is always recommended for printing, especially for areas of the print pad where INF prints. Ensure that glue is applied to the print pad in an area that is larger than the base of your part.
Need help?
Do you have a question about the Cube and is the answer not in the manual?
Questions and answers