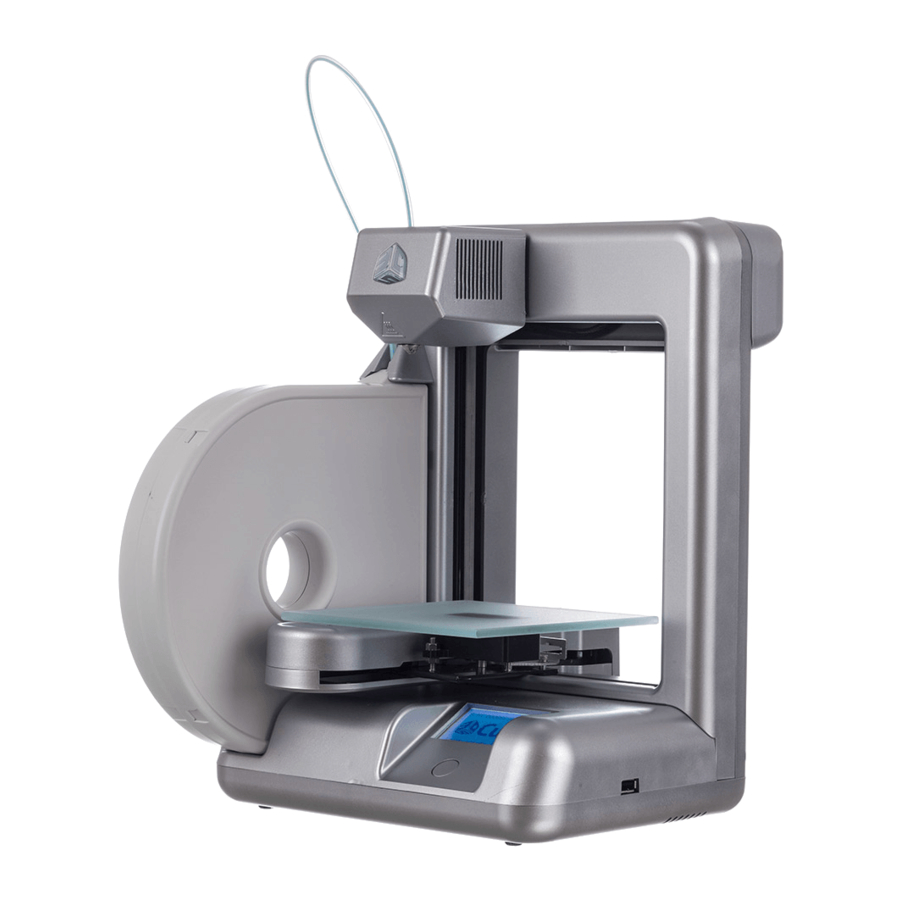
3D Systems Cube Lesson
Replacing the print tip
Hide thumbs
Also See for Cube:
- User manual (121 pages) ,
- Quick start manual (32 pages) ,
- Documentation (8 pages)

Related Manuals for 3D Systems Cube


Summary of Contents for 3D Systems Cube
- Page 1 3D SYSTEMS University Cube 3D Printer “Lesson –Replacing the Print Tip” Revision date: 10/20/13 2016年6月14日...
- Page 2 Objectives After completing this lesson you will: Be able to remove the damaged print tip Know the steps for installing the new print tip...
- Page 3 Tools You Will Need Print Tip Assembly 2.5mm Hex Driver Pliers T10 Torx Key...
- Page 4 First Steps Before beginning this process please remove all filament from the print jets and check that your print pad is level. For instructions on how to do this please refer to the CubeX users guide...
- Page 5 Removing the Damaged Print Tip Turn off the CubeX and Unplug it from the mains power. Unplug the print tip from the Print jet sensor board and feed the wire down the hole to the print tip.
- Page 6 Removing the Damaged Print Tip Unfasten the print tip holding bolt.
- Page 7 Removing the Damaged Print Tip The print tip and print jet are assembled by sliding the print tip into the print jet and twisting it (as pictured).
- Page 8 Removing the Damaged Print Tip To remove the print jet you will need to twist it and pull down, eventually you will find the correct orientation and the print tip should easily slide out.
- Page 9 Installing the New Print Tip Feed the print tip wires up through the print jet carriage and plug them into the Print Jet sensor board.
- Page 10 Installing the New Print Tip Slide the new print tip into the print jet and turn it until the print tip wires are orientated to travel straight up to the Print Jet sensor board.
-
Page 11: Next Steps
Next Steps If you have a DUO or TRIO follow the steps below. Level the print tips (refer to “leveling and Z-gap settings” lesson) Set the print jet offsets (refer to “setting the print jet offsets” lesson). Note: Those sections will cover the following section. - Page 12 Fastening the Print Tip on a Cube X A CubeX with a single print jet does not have a second or third nozzle to reference the print tip level. Instead you have to use the CubeX wiping stick. 1. Power on the CubeX printer...
- Page 13 Fastening the Print Tip on a Cube X 3. Raise the print pad until it is approximately 5mm away from the print tip. 4. Slowly raise the print pad until the print tip is touching it.
- Page 14 Fastening the Print Tip on a Cube X 5. Continue raising the print pad until there is approximately 0.5mm between the print pad and the CubeX wiping stick. 6. Turn the CubeX printer off and unplug it from the mains...
- Page 15 Fastening the Print Tip on a Cube X 7. Using the 2.5mm hex driver, tighten the print tip holding bolt (pictured) to lock the print jet in place. With the print tip fastened you can now turn on the CubeX...
Need help?
Do you have a question about the Cube and is the answer not in the manual?
Questions and answers