3D Systems CubePro Original Instructions Manual
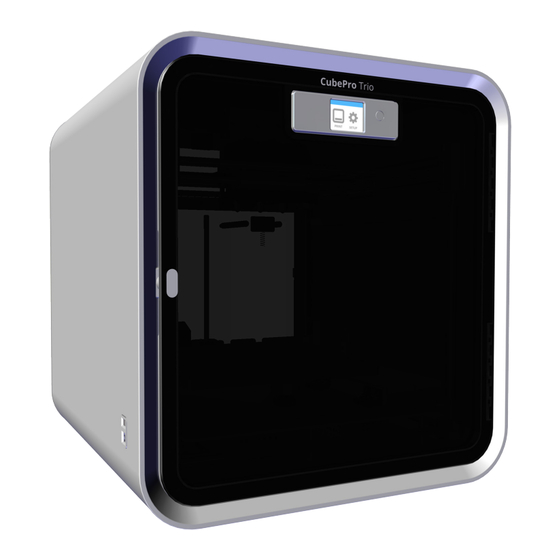
Prosumer 3d printer
Hide thumbs
Also See for CubePro:
- User manual (89 pages) ,
- Replacement manual (52 pages) ,
- Repair manual (40 pages)

Related Manuals for 3D Systems CubePro


Summary of Contents for 3D Systems CubePro
- Page 1 CubePro ™ Prosumer 3D Printer Cartridge Bay Replacement Guide Original Instructions...
-
Page 2: Fcc Notice
3D Systems, Inc. Cubify, and the 3D Systems logo are registered trademarks of 3D Systems, Inc. CubePro is a trademark of 3D Systems, Inc. Use of the Cubify.com website constitutes acceptance of its Terms of Service and Privacy Policy. -
Page 3: Warranty
CubePro 3D Printer. The warranty period for the CubePro 3D printer is the shorter of (i) 90 days from the date your CubePro 3D printer is activated or (ii) 24 months after the CubePro 3D Printer is shipped from 3D Systems to the end customer or intermediary. -
Page 4: Important Safety Information
Follow all safety rules in this section and observe all cautions and warnings in this guide. • Do not modify any safety features or make modifications to the CubePro. Doing so is prohibited and voids the warranty. • Use of print materials other than genuine 3D Systems components may void the warranty. -
Page 5: A Cartridge Bay
AT A GLANCE Cartridge Bay 1 Inner Floor Cartridge Bay 2 Cartridge Bay 3 Outer Floor Jet Wiper 3D Systems, Inc. -
Page 6: E Cartridge Bay
Cartridge Bay 1 Delivery Tube 2 Cartridge 1 Sensor Delivery Tube 3 Delivery Tube 1 Cartridge 3 Sensor Interior Heater Cartridge Bay 3 Cartridge Bay 2 Cartridge Bay 2 Hinges Cartridge 2 Sensor 3D Systems, Inc. -
Page 7: Cartridge Bay
Cartridge Bay 2 Clamp Roller Cartridge Alignment Guides Cartridge 2 Sensor Material Cartridge Mount Rings Cartridge Sensor Shim Cartridge Sensor Cartridge Sensor Connector 3D Systems, Inc. - Page 8 401897 Host USB 401895 Cartridge 1 Sensor 401889 Head Loom 401899 Display Cable 401896 Cartridge 2 Sensor 401896 Cartridge 3 Sensor 401892 401894 Relay to Power Supply 401889 Print Jet Nozzles J18B 401898 Device USB J18B Front 3D Systems, Inc.
-
Page 9: Tools Needed
Once the print pad has raised, turn off the main power switch on the right side of the printer. Disconnect the power cord from the printer. WARNING: THE PRINTER MUST BE POWERED OFF AND DISCONNECTED FROM UTILITY POWER. 3D Systems, Inc. - Page 10 Using a 3 mm hex head driver, loosen and remove all nine (9) 3 mm hex head bolts securing the inner floor. Retain the screws for reassembly. Lift the front of the floor plate and carefully disconnect the cables from the cartridge sensors. 3D Systems, Inc.
-
Page 11: Delivery Tube
12. Carefully tilt the inner floor at an angle and pull it out of the printer. CAUTION: Ensure the heater assembly is properly supported as you tilt the floor. Place the heater assembly on the printer outer floor away from other components. 3D Systems, Inc. - Page 12 15. Insert the three (3) 3 mm hex head screws (A) through the cartridge Back Left View bay and then through the inner floor. CAUTION: Do not over-tighten the screws. Over-tightening the screws could damage the inner floor and void the manufacturer’s warranty. 3D Systems, Inc.
- Page 13 Bottom of Inner Floor 18. To replace cartridge bay 2, loosen and remove the four (4) 2.5 mm hex head cap screws (A) and 7 mm nuts (B) securing the lower hinge of cartridge 2 to the inner floor. 3D Systems, Inc.
- Page 14 Bottom of Inner Floor 21. Carefully tilt the inner floor at an angle and place it into the printer. CAUTION: As you rotate the inner floor horizontally, make note of the position of the interior heater assembly. 3D Systems, Inc.
- Page 15 24. Reconnect the material cartridge bay sensors. 25. Maneuver the interior heater and position it above the inner floor. 26. Lower the inner floor and align the screw holes with the standoffs underneath. 3D Systems, Inc.
- Page 16 31. Install the material cartridges. Refer to the user guide for more information. 32. Once the material cartridges have been installed, navigate to the Materials screen and select CARTRIDGE STATUS. Verify that the installed cartridges are recognized by the printer. 3D Systems, Inc.
- Page 17 3D Systems, Inc. 333 Three D Systems Circle | Rock Hill, SC | 29730 www.3dsystems.com ©2014 3D Systems, Inc. All rights reserved. PN: 403167-00 Rev. A...
Need help?
Do you have a question about the CubePro and is the answer not in the manual?
Questions and answers