Table of Contents
Advertisement
Quick Links
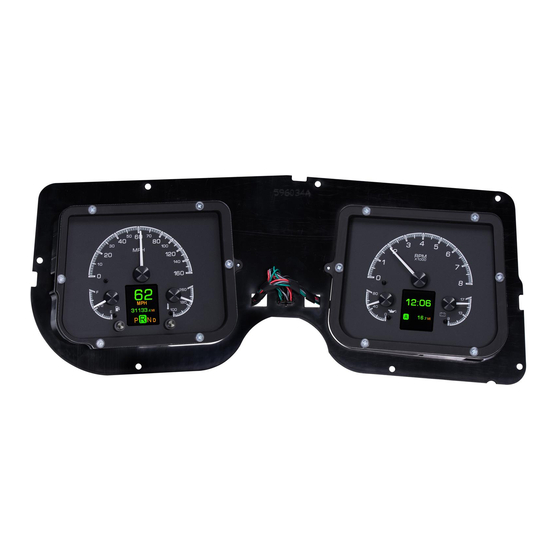
HDX-68C-CVL
Dakota Digital HDX Instrument Installation
For 1968 Chevelle, Malibu and El Camino
Your new HDX-68C-CVL kit includes:
HDX Display
Buzzer
Universal Sender
Pack
Installation Manuals
Gear Block-off
Main Harness
Control Box
Lens
Installation
1. Remove the stock gauge panel from the car.
Manual # 650577B
Advertisement
Table of Contents

Related Manuals for Dakota Digital HDX-68C-CVL


Summary of Contents for Dakota Digital HDX-68C-CVL
- Page 1 HDX-68C-CVL Dakota Digital HDX Instrument Installation For 1968 Chevelle, Malibu and El Camino Your new HDX-68C-CVL kit includes: HDX Display Buzzer Universal Sender Pack Installation Manuals Gear Block-off Main Harness Control Box Lens Installation 1. Remove the stock gauge panel from the car.
- Page 2 2. Remove the five screws holding the gauge cluster to the dash panel. Save this hardware as it will be reused. 3. Remove the seven screws that hold the stock gauges to the lens spacer. Save this hardware as it will be reused.
- Page 3 5. This step is optional for automatic transmission bezels only. If you purchased a separate GSS universal gear kit from Dakota Digital, the gear position can be displayed in the HDX message centers; therefore the stock gear position indicator can be removed.
- Page 4 7. Connect the provided Main Harness and the Buzzer (optional for audio feedback) to the back of the HDX system. Buzzer Connector 8. Re-install the cluster into the vehicle using the factory hardware and refer to the main manual for wiring instructions to complete the HDX installation.
Need help?
Do you have a question about the HDX-68C-CVL and is the answer not in the manual?
Questions and answers