Advertisement
Table of Contents
Your new HDX-2200 kit includes:
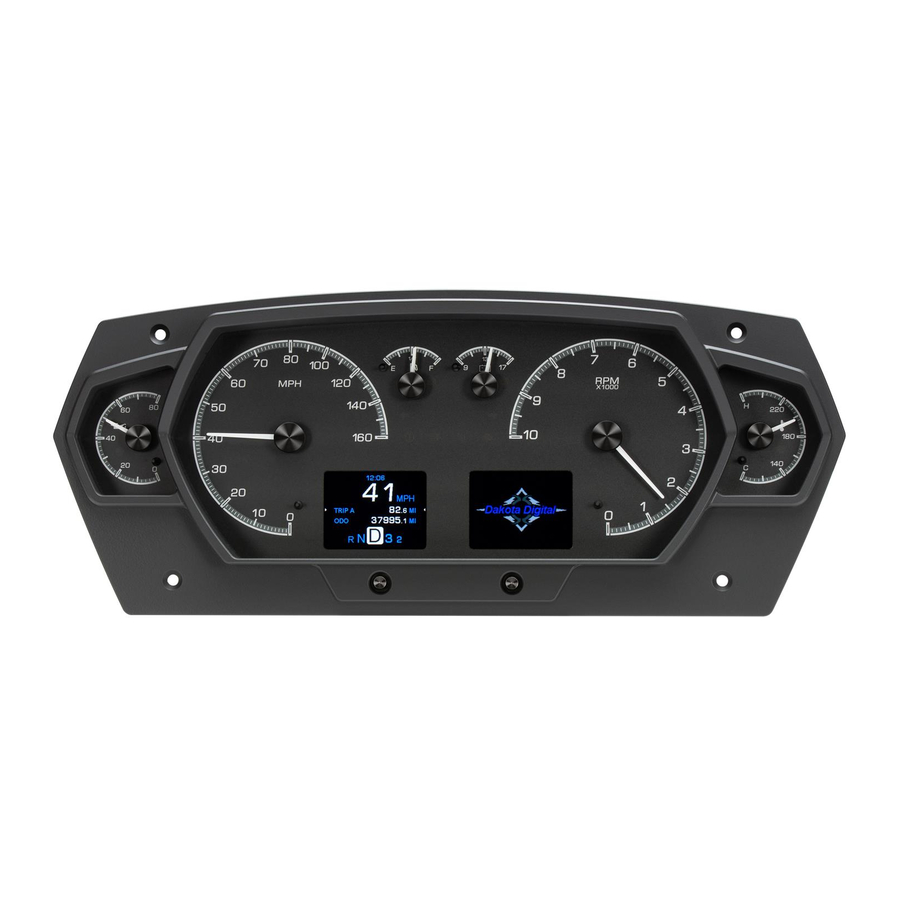
HDX Display
Universal Sender Pack
Installation
1. Use the provided template to mark out the opening and mounting holes needed to fit the HDX display
in the desired location. Ensure there is adequate clearance with overall size including behind the
desired mounting location; the display requires approximately 2" of depth.
HDX-2200
Dakota Digital Universal HDX Instrument Installation
Buzzer
Installation Manuals
and Cutout Template
Main Harness
(4) Flanged Nuts
(4) 10-32 X 1.5"
Screws
Control Box
Manual # 650660
Advertisement
Table of Contents

Summary of Contents for Dakota Digital HDX-2200
- Page 1 HDX-2200 Dakota Digital Universal HDX Instrument Installation Your new HDX-2200 kit includes: HDX Display (4) Flanged Nuts Installation Manuals (4) 10-32 X 1.5” Buzzer and Cutout Template Screws Universal Sender Pack Control Box Main Harness Installation 1. Use the provided template to mark out the opening and mounting holes needed to fit the HDX display in the desired location.
- Page 2 2. With the appropriate opening cut and mounting holes drilled, carefully place the HDX display from the front side and use the provided screws and nuts to secure the HDX display to the dash. Manual # 650660...
- Page 3 3. Connect the provided harness and the buzzer (optional for audio feedback) to the back of the HDX system and refer to the main manual for wiring instructions to complete the HDX installation. Buzzer Connector WARNING: This product can expose you to chemicals including lead, which is known to the State of California to cause cancer and birth defects or other reproductive harm.


Need help?
Do you have a question about the HDX-2200 and is the answer not in the manual?
Questions and answers