Table of Contents
Advertisement
Quick Links
Advertisement
Table of Contents

Subscribe to Our Youtube Channel
Related Manuals for Humanscale QuickStand Under Desk


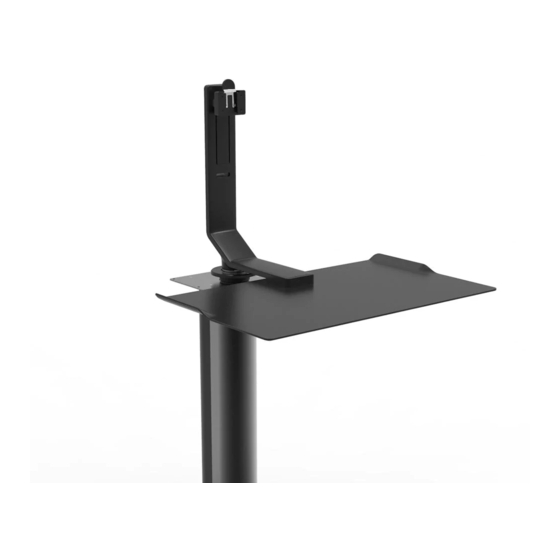
Summary of Contents for Humanscale QuickStand Under Desk
- Page 1 IN STALL AT ION IN STRUCT IO N S...
-
Page 2: Parts Required
10’ Power cord (x2 for dual monitor) 10’ Monitor Signal Cable (X2 for dual monitor) 10’ USB extension cables (X2 for cable mouse & keyboard) Customer Service: N America +1 800 400 0625 / International +353 (0)1 858 0910 www.humanscale.com... -
Page 3: Install Mounting Plate
Align the tem ST EP 1 front edge an of the desk Locate and Drill Hole Step 1 Step 2 • Place the paper template aligning to the front edge of the desk. Place the paper template aligning to the front edge of the desk. Install steel studded mounting plate to underside of desk, by aligning it •... - Page 4 Adjust foot of column. inside the inner tube. *Do not over tighten foot as it will start to lift the desk. ST EP 4 Release Locking Mechanism Step 4 • Loosen the screw located in the center of the locking mechanism. Loosen the screw located in the center of the locking mechanism.
-
Page 5: Cable Installation
ST EP 7 ( F OR SINGL E / DUA L MONITOR ) Install Keyboard Tray • The front edge of the keyboard tray must be at the front edge of the table. • Loosen the 6 acorn nuts in Step 3 to rotate the unit for adjustment if needed. -
Page 6: Cable Routing
Step 9 Step 9a ST EP 9 B ( F O R SINGL E / DUA L MONI TOR ) Leave enough cable slack for the monitors to adjust up&down and secure For wired keyboard and mouse, break away the tab in the front of the cover with cable clips. -
Page 7: Adjusting The Counterbalance
monitor height using a 6mm allen wrench. system. Set the height of the monitor so the top of the screen comes to the users eye level. ST EP 12 ( F OR SINGL E / DUA L MONITOR ) Adjust Monitor Height •... - Page 8 Step 5 Step 6 Move to top of desk and install the open architecture mount to the column. Next install keyboar Then install M2/M8/Mflex onto the mount. Refer to the user manual for ST EP 6 ( F OR M2, M 8 O R M / FL E X) installation on the monitor arm.
- Page 9 Step 7 Step 7a For wired keyboard and mouse, break away the tab in the front of the cover Raise the keyboard tray to the highest position. and run the cable through the channel and secure with cable cover. Follow Run the monitor cables down the monitor arm/ mflex and through the rear ST EP 8 B ( F O R M2, M 8 O R M / FL E X) the rest of the cables down the colomn.
- Page 10 Step 8 Step 9 Keyboard tray at its highest position, route all cables through the cable Attach the Vesa plate to your monitor and Install monitor on monitor arm. ST EP 10 ( F O R M2, M 8 O R M / FL E X) holder as shown here and exit the cables to the side closer to the power and CPU.
- Page 11 T IP S F O R UNINSTA LL AT ION Removing Plastic Cover (Monitor Stand) Removing Plastic Cover (Cable Cover) Removing plastic cover (monitor stand) Removing plastic cover (monitor stand) Removing plastic cover (cable cover) Removing plastic cover (cable cover) To remove the plastic covers, pull up on the area shown in the image.
Need help?
Do you have a question about the QuickStand Under Desk and is the answer not in the manual?
Questions and answers